

Table of Contents
The Samsung Galaxy Note Edge can be extended by an inductive cover to load the battery. Samsung also sell a Flip Wallet cover for the Note Edge. The Flip Wallet cover have the ability to detect if it is closed or not to automatically switch the screen on for example. However there is no product which combine both features. This is a guide to make an inductive Flip Wallet Cover yourself.
Requirements:
- Samsungs original Flip Wallet cover
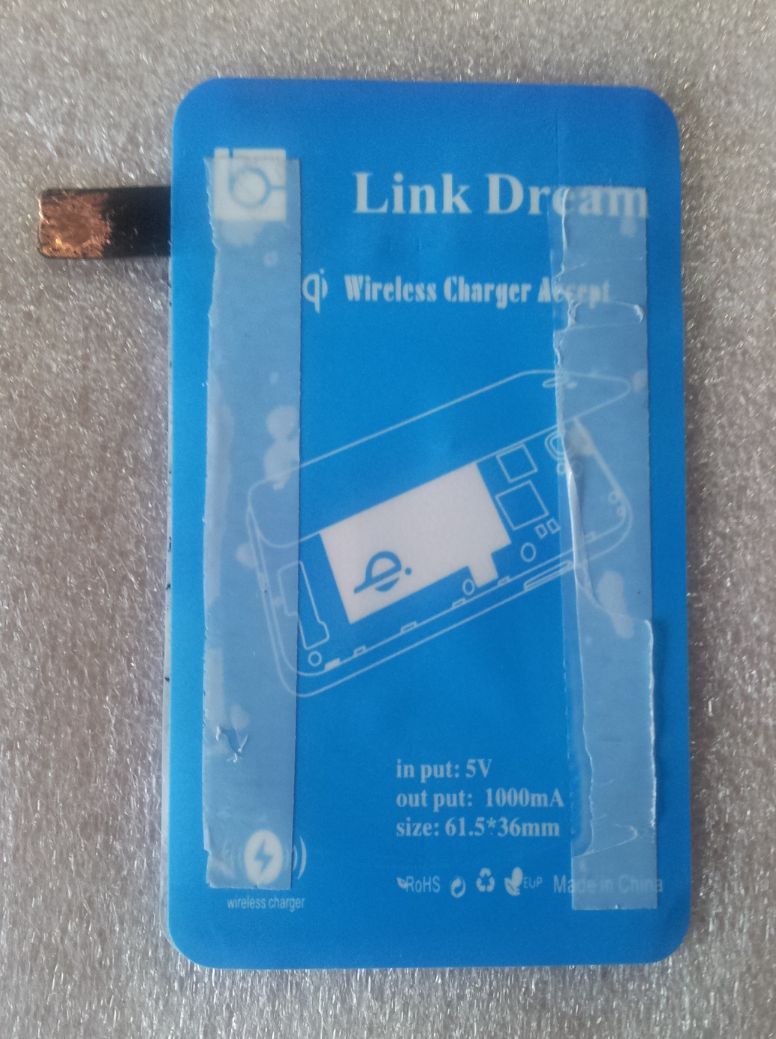
- An inductor for the Galaxy Note Edge from a third-party vendor
- A sharp knife
- two-sided adhesive tape
- A metal file
- small pliers
Overview
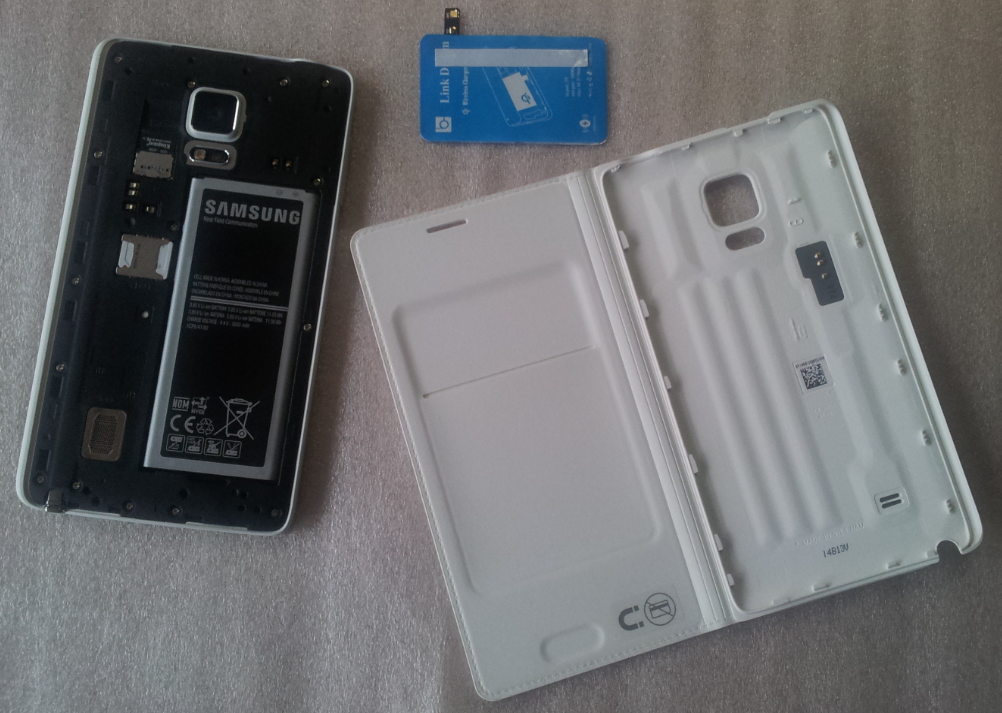
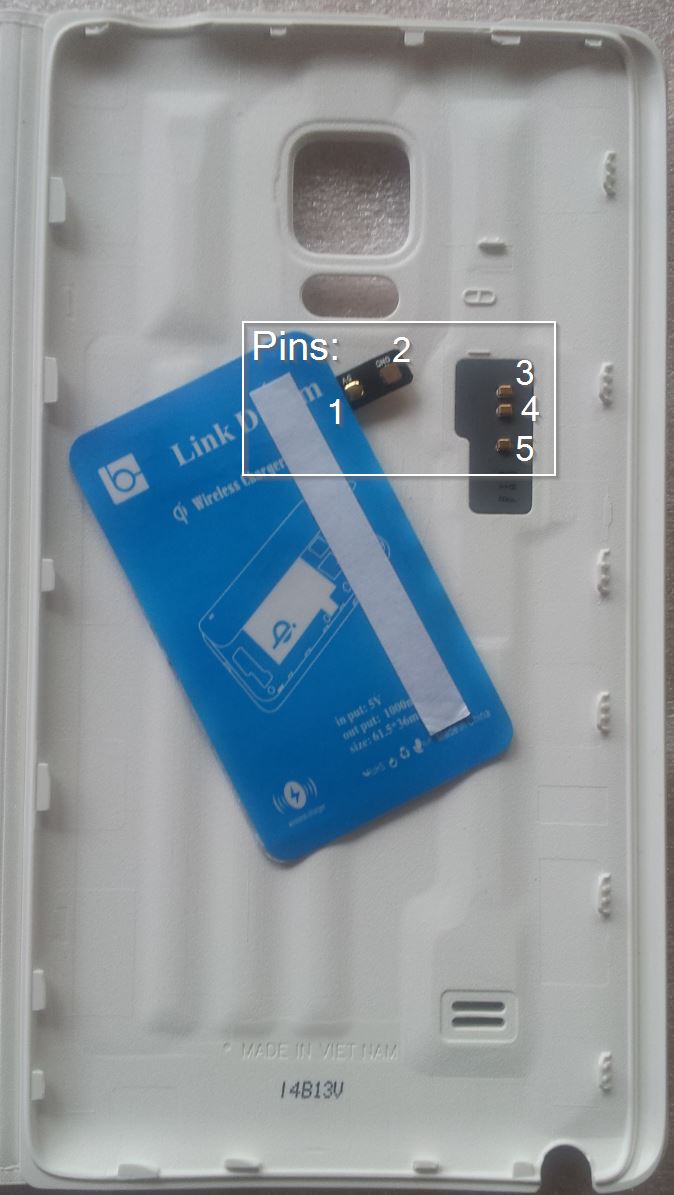
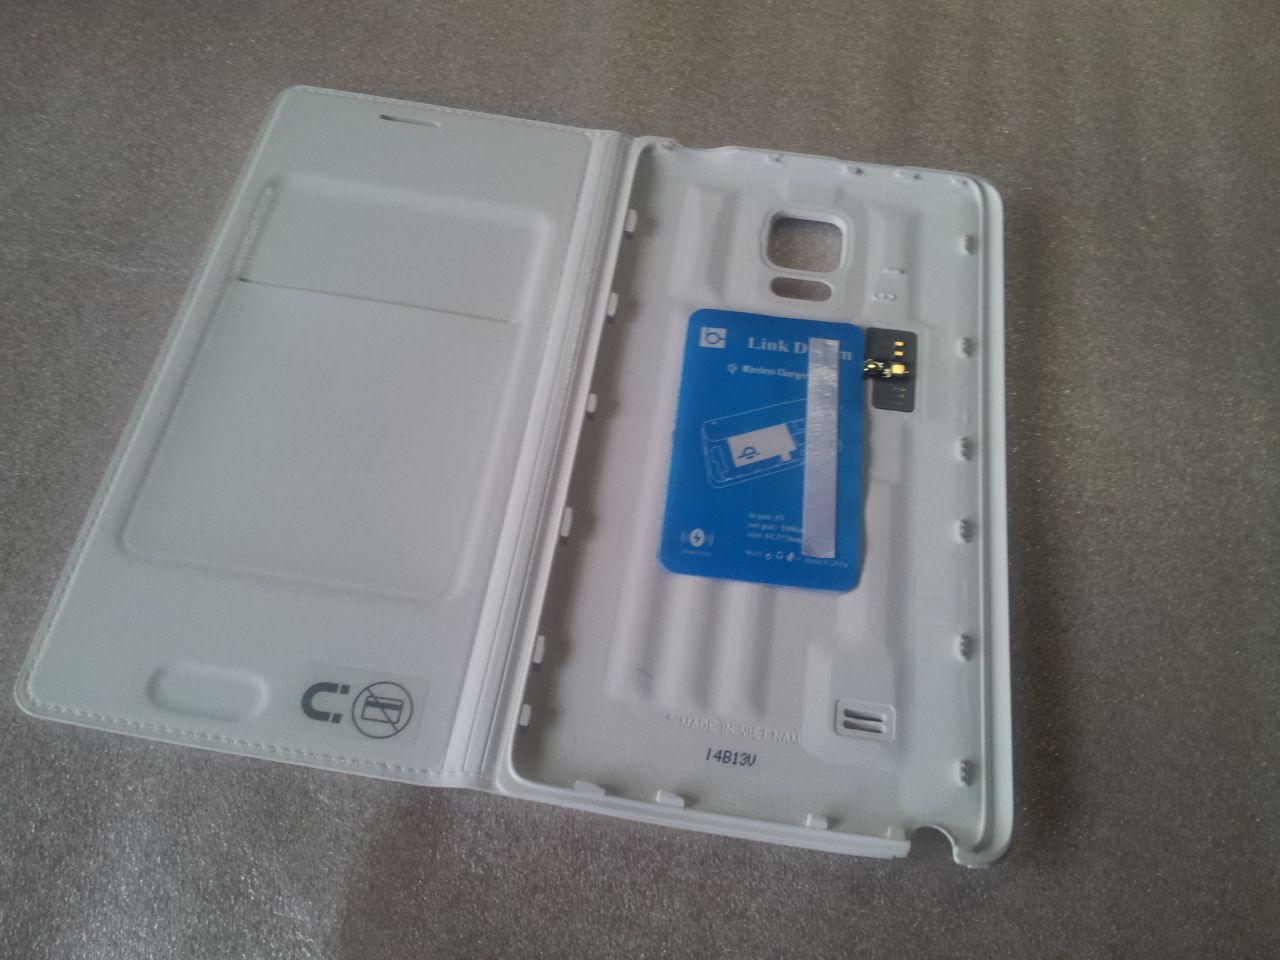
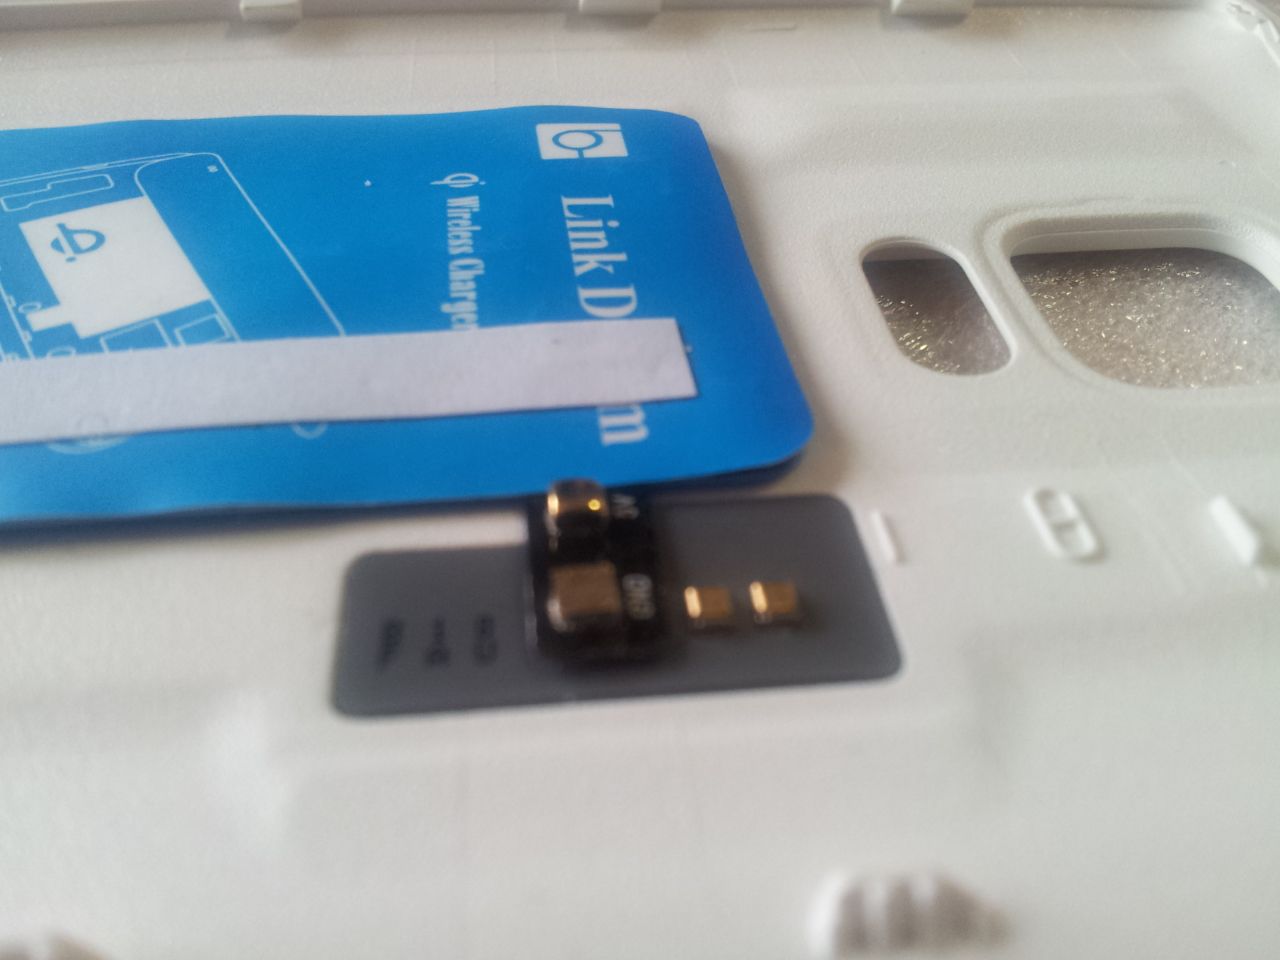
I numbered the contacts on the Galaxy Note Edge and the pins on the Flip Wallet and the coin as follow:
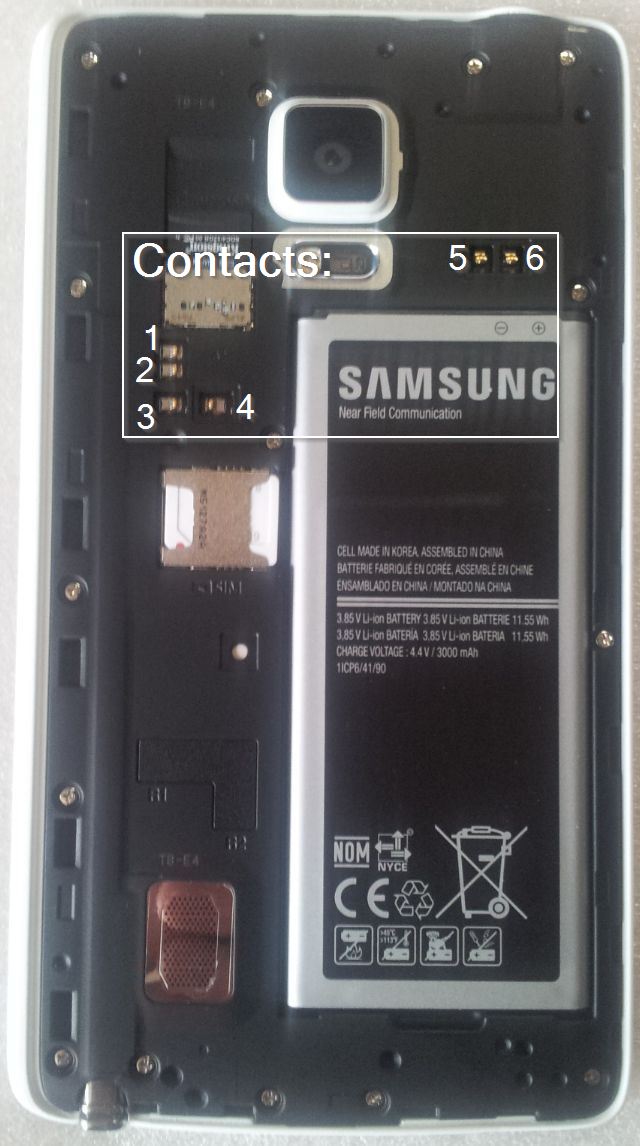
The Problem is that the Flip Wallet and the inductor need both contact 3, so only the inductive charging is working. But you can make the Flip Wallet working again.
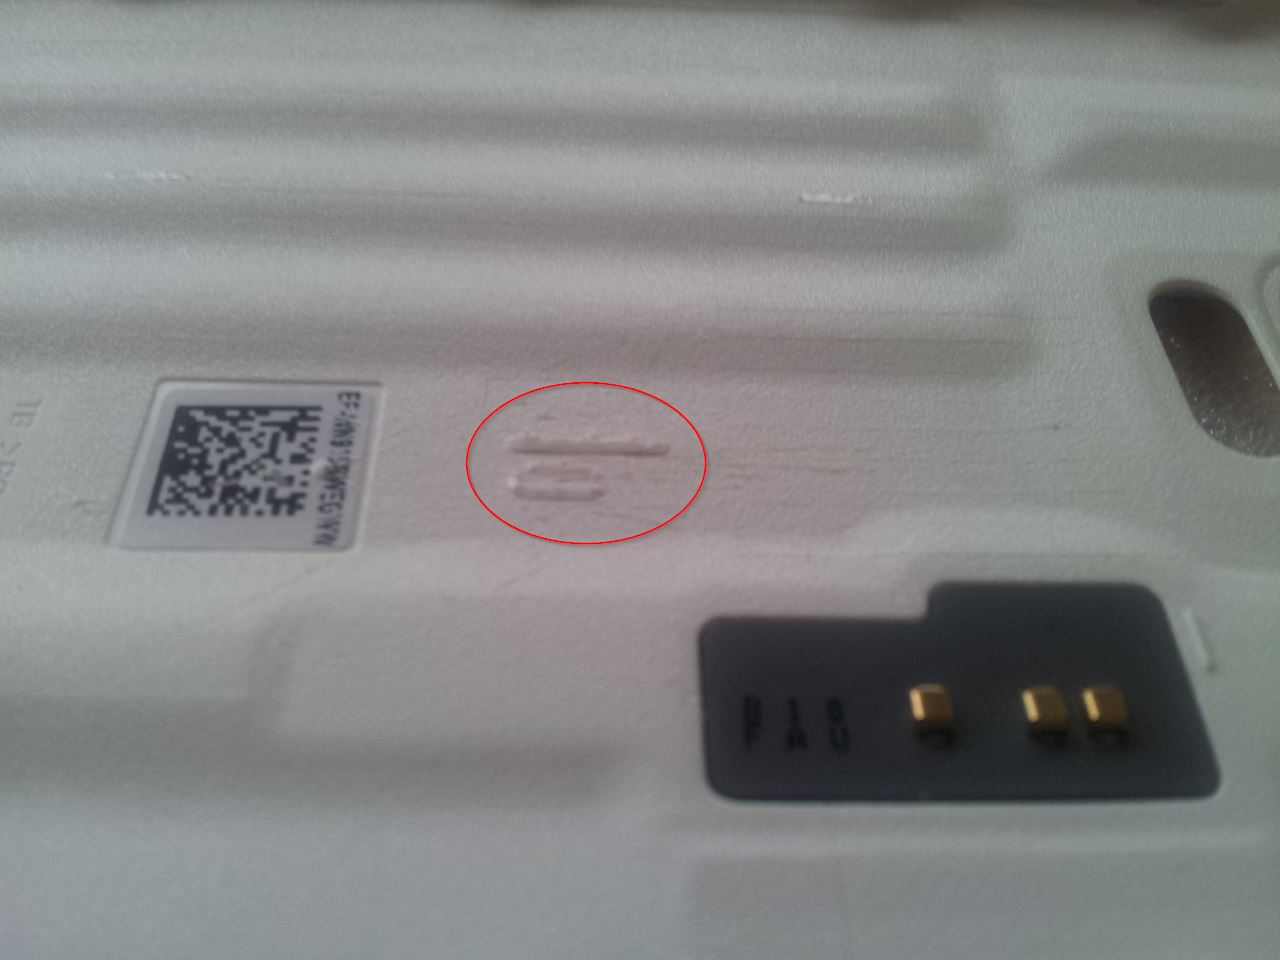
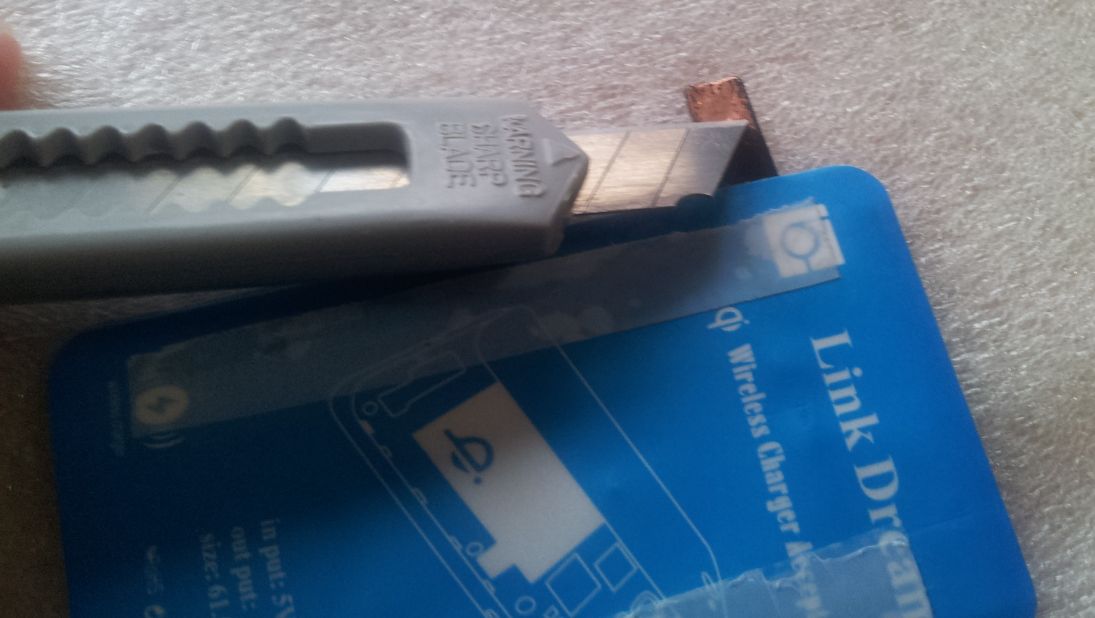
Step 1: Remove the ridge
There is a ride where we want to place the inductor. It is not required to remove it but it makes an ugly bulge in the Flip Wallet cover. It also prick into the inductor and could theoretically damage it. So I recommend to use the knife to cut it off. There pictures shows the cover after the ridge was removed:

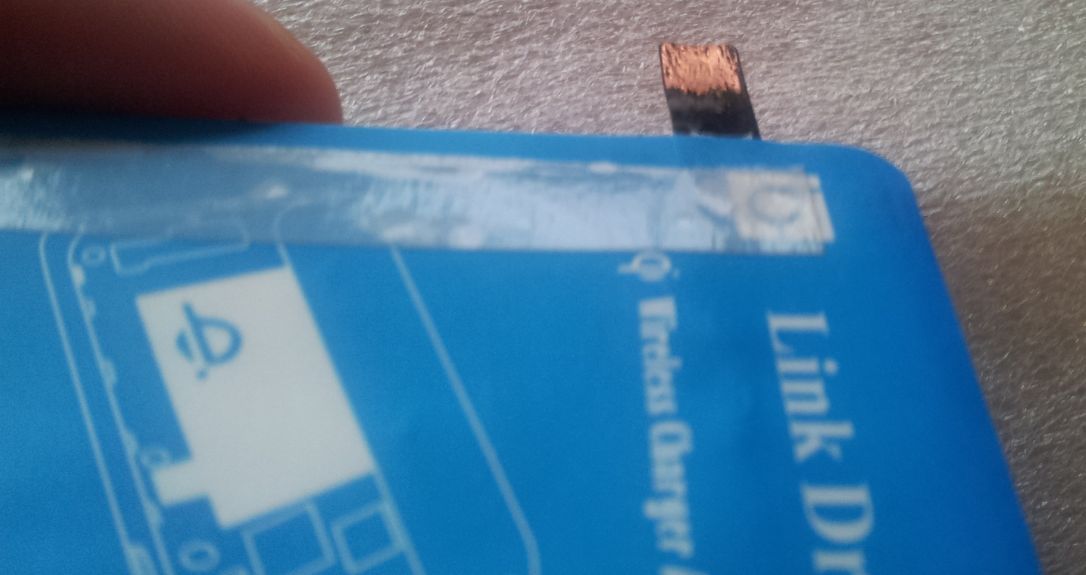
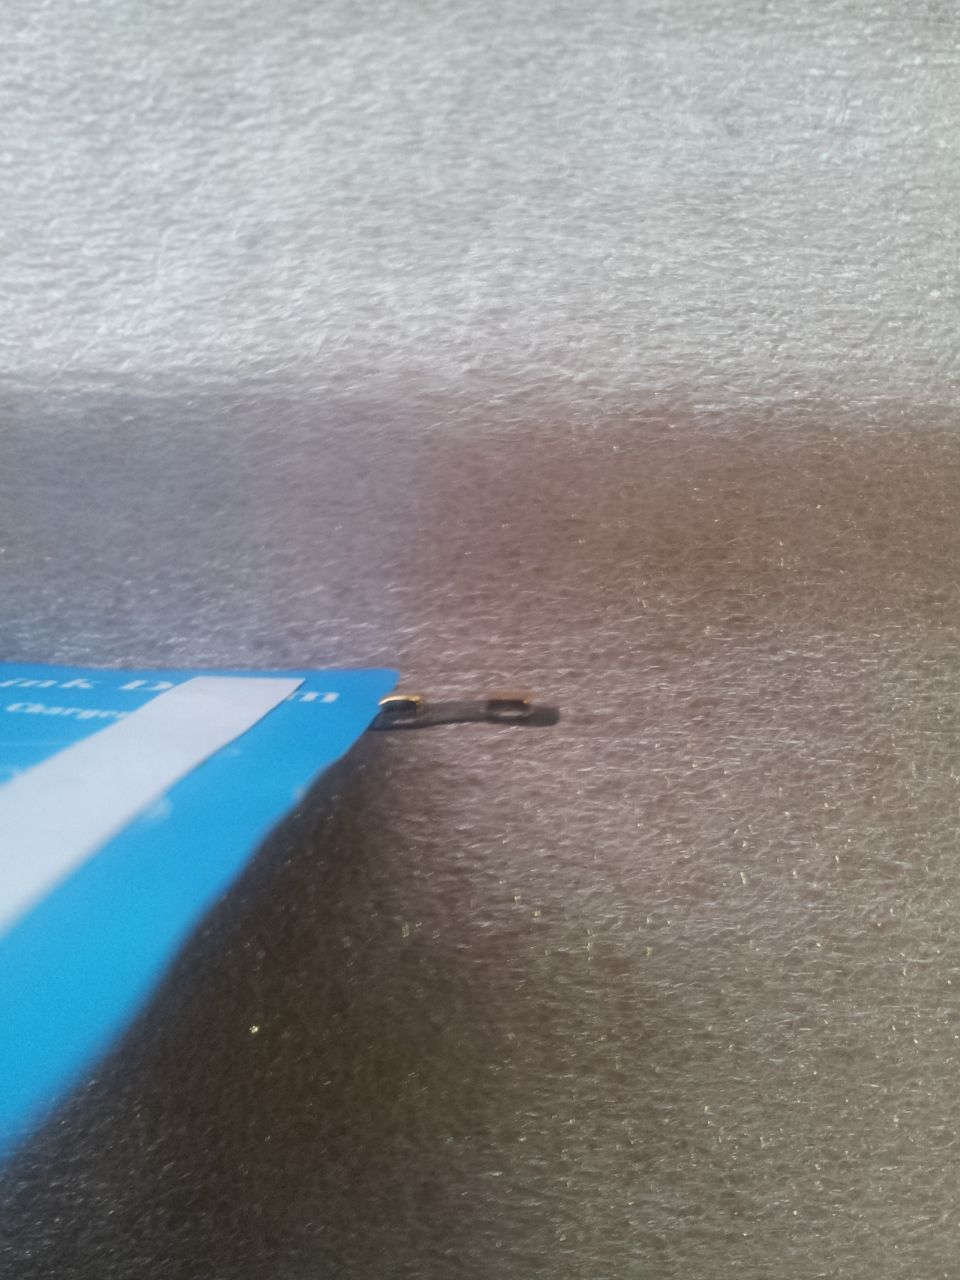
Step 2: Remove the protective foil for GROUND connection
Pin 1, 4 and 5 are fine, they directly connect with their corresponding contact, but Pin 2 and 3 want to use both the contact 3. Luckily contact 3 is GROUND and can therefore be shared between multiple signals. The simplest way to connect Pin 2, Pin 3 and contact 3 is to remove the protective foil from the back of the Pin 2, so that Pin 3 can press on the back of Pin 2.
Use a sharp knife to scrape the protective foil from the back of Pin 2 and to uncover the copper (the protective foil glues really good on the copper). It's OK if you accidentally scrape a bit copper, but you should primary only remove the protective foil. After that it should look like this:
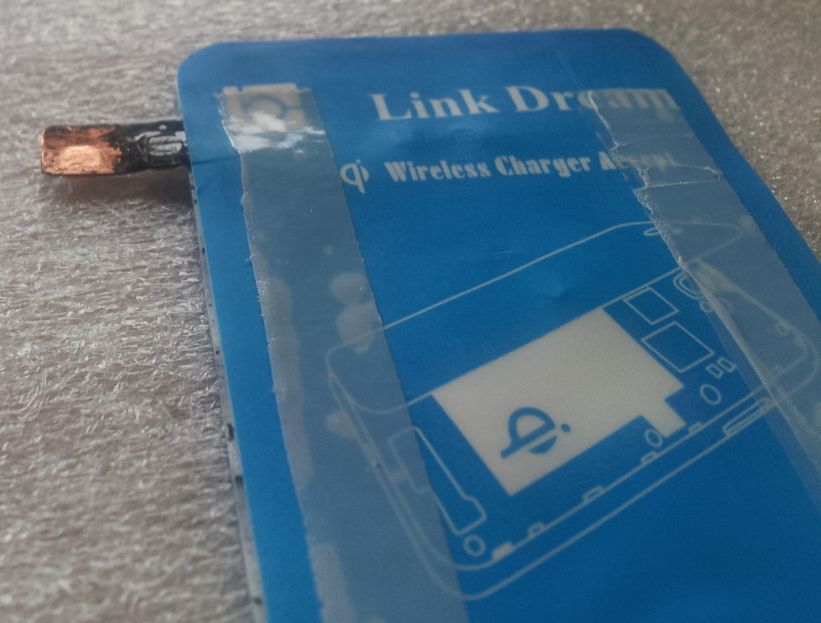
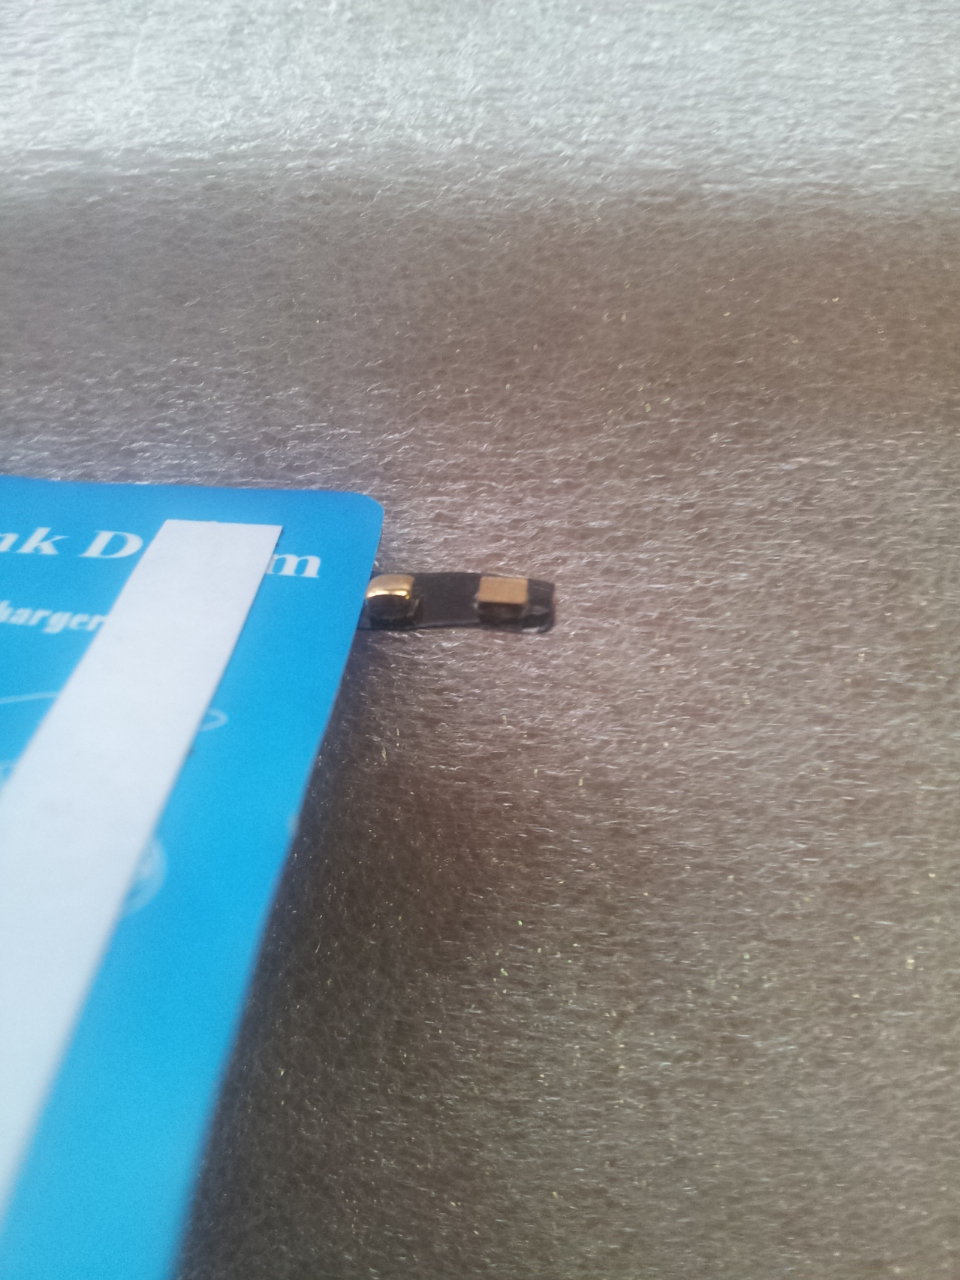
Step 3: Make Pin 2 smaller
If you use the inductor and the Flip Wallet Pin 2 and Pin 3 both press into contact 3. That's a higher pressure then at the other contacts. This should not damage anything but you can still relax the whole thing. Use a metal file to make Pin 2 a bit smaller than Pin 1. After that it should looks like that:
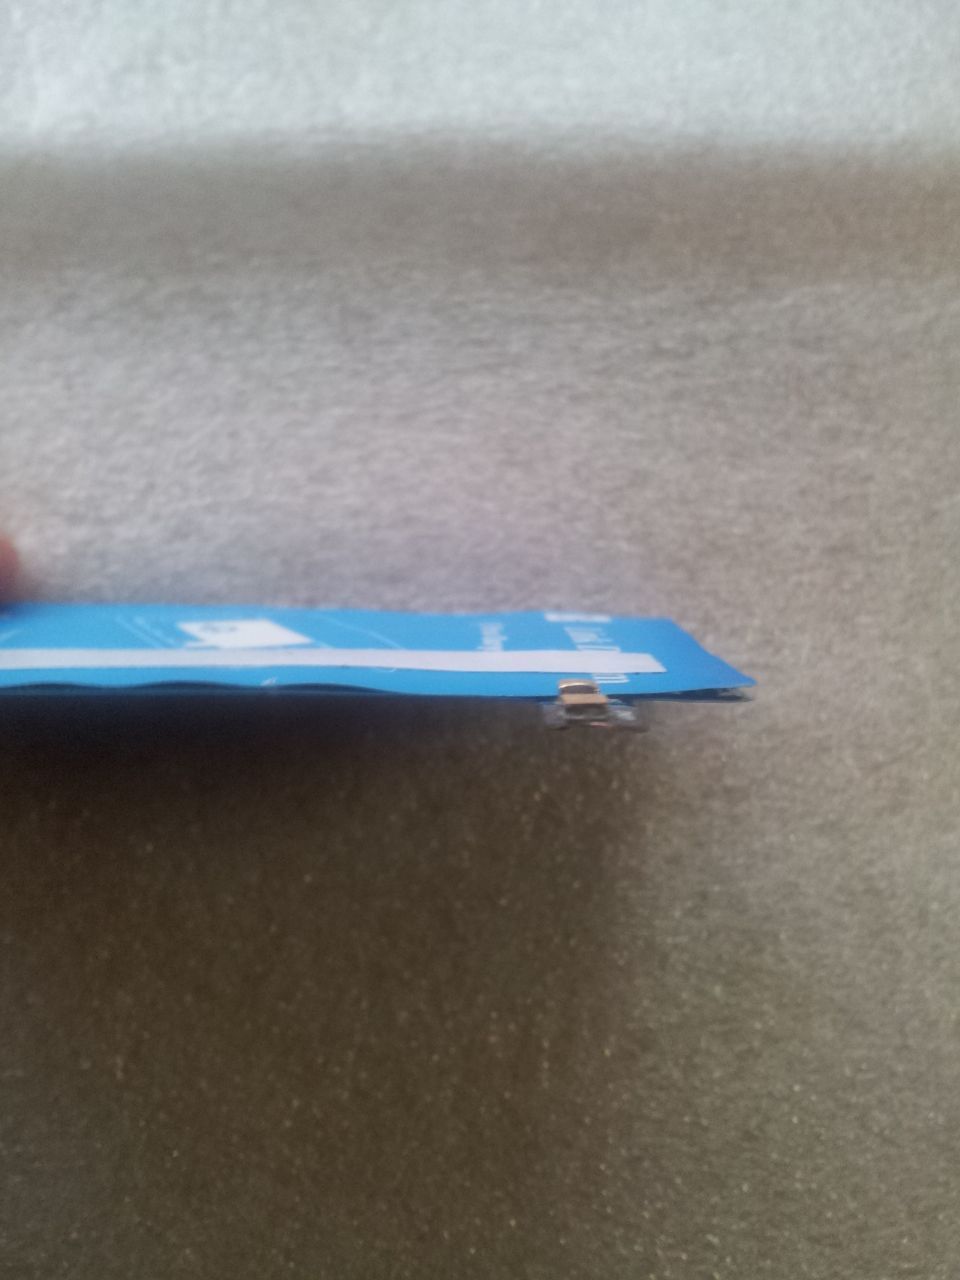
Step 4: Bend out Contact 1 and 2
If you place the inductor between the galaxy note and the Flip Wallet, the Flip Wallet curves a bit. As consequence Pin 4 and 5 does not reach contact 2 and 1. Luckily contact 1 and 2 are teeterboard which you can bend out a bit. Use pliers to do that carefully until the Flip Wallet works.
Step 5: Glue the inductor on the Flip Wallet
The last step is to glue the inductor on the Flip Wallet. You can also glue it directly on the Galaxy Note with the adhesive tape, which is already on the inductor by factory. But then you could not reach the battery and the SIM card slot anymore. So its more convenient to glue it on the Flip Wallet. So if you want to change the battery the inductor get automatically removed if you remove the Flip Wallet cover. Since Pin 2 must be above of Pin 3 it's quite easy to correctly place it on the Flip Wallet. Just use a two-sided adhesive tape to fix it like the following pictures show:
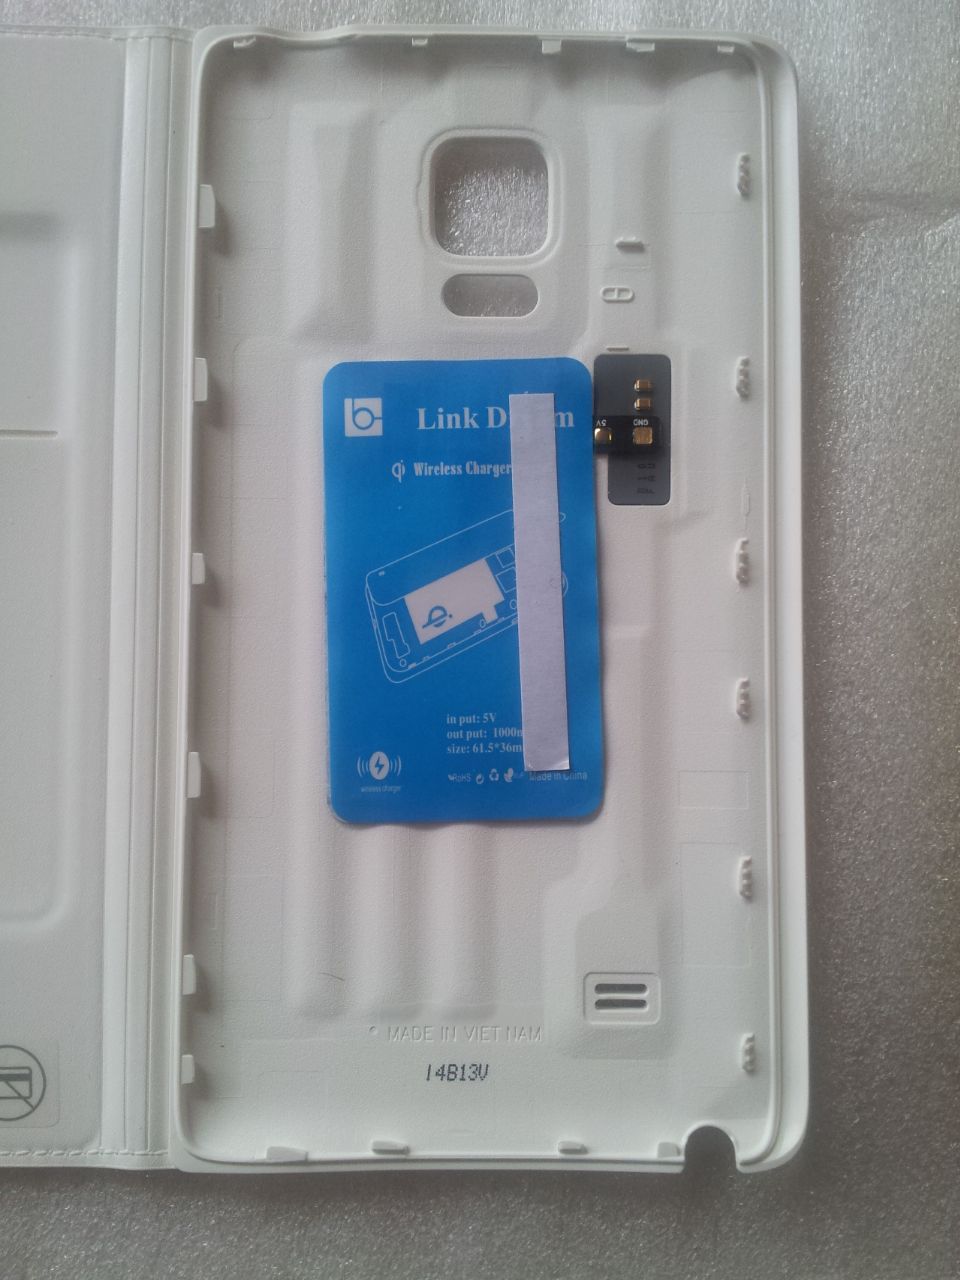
After that inductive charging and the Flip Wallet functionality should both works.
Remarks
This two pin inductor has a disadvantage. If the battery reaches 100%, the Galaxy Note Edge completely disconnects the inductor. If the battery reaches 99%, the inductor will be connected again. Well this is not really good for battery health. In the time between the status is also "not charging". That means that you hear the sound for connecting and disconnecting the power source regularly which could be annoying. Furthermore if you use tools like Tasker or Locale and the condition "is charging" then your profiles will we activated and deactivated every few minutes. The original Samsung wireless charging battery Cover does not have those problems. It has two additional pins, which supply the Galaxy Note Edge without discharging the battery. There are also instructions (in German) how to make an inductive Flip Wallet with the original inductor from Samsung.