

Table of Contents
- 1.Requirements
- 2.Step 1: Sperate the coil from the cover
- 3.Step 2: Remove the small 3 pin circuit board
- 4.Step 3: put the coil on the flip wallet cover
- 5.Step 4: Prepare the wires
- 6.Step 5: Remove Pins 1-3
- 7.Step 6: Interrupt pin 4
- 8.Step 7: Remove the protection layer
- 9.Step 8: Connect the two circuits
- 10.Step 9: Fix the small circuit
- 11.Remarks
The Samsung Galaxy Note Edge can be extended by an inductive cover to load the battery. Samsung also sell a Flip Wallet cover for the Note Edge. The Flip Wallet cover have the ability to detect if it is closed or not to automatically switch the screen on for example. However there is no product which combine both features. In this blog entry I already described how to do it with a third party coil. Well in this blog entry I describe how make an inductive Flip Wallet Cover with the original Samsung wireless cover yourself. Before Android 5.1.1 it was sufficient to simply put the coil on the flip wallet cover to activate the flip wallet on/off function, but since the update this does not work anymore. Now you have to combine the three pin chip from the flip wallet cover to still use the on/off function. I describe how to do this further on.
Requirements
- flat-blade screwdriver
- two-sided adhesive tape
- knife
- tape or film
- pliers
- pincers
- soldering zinc
- soldering iron
- isolated wire
- original Samsung S Charger Cover
- original Samsung Flip Wallet Cover
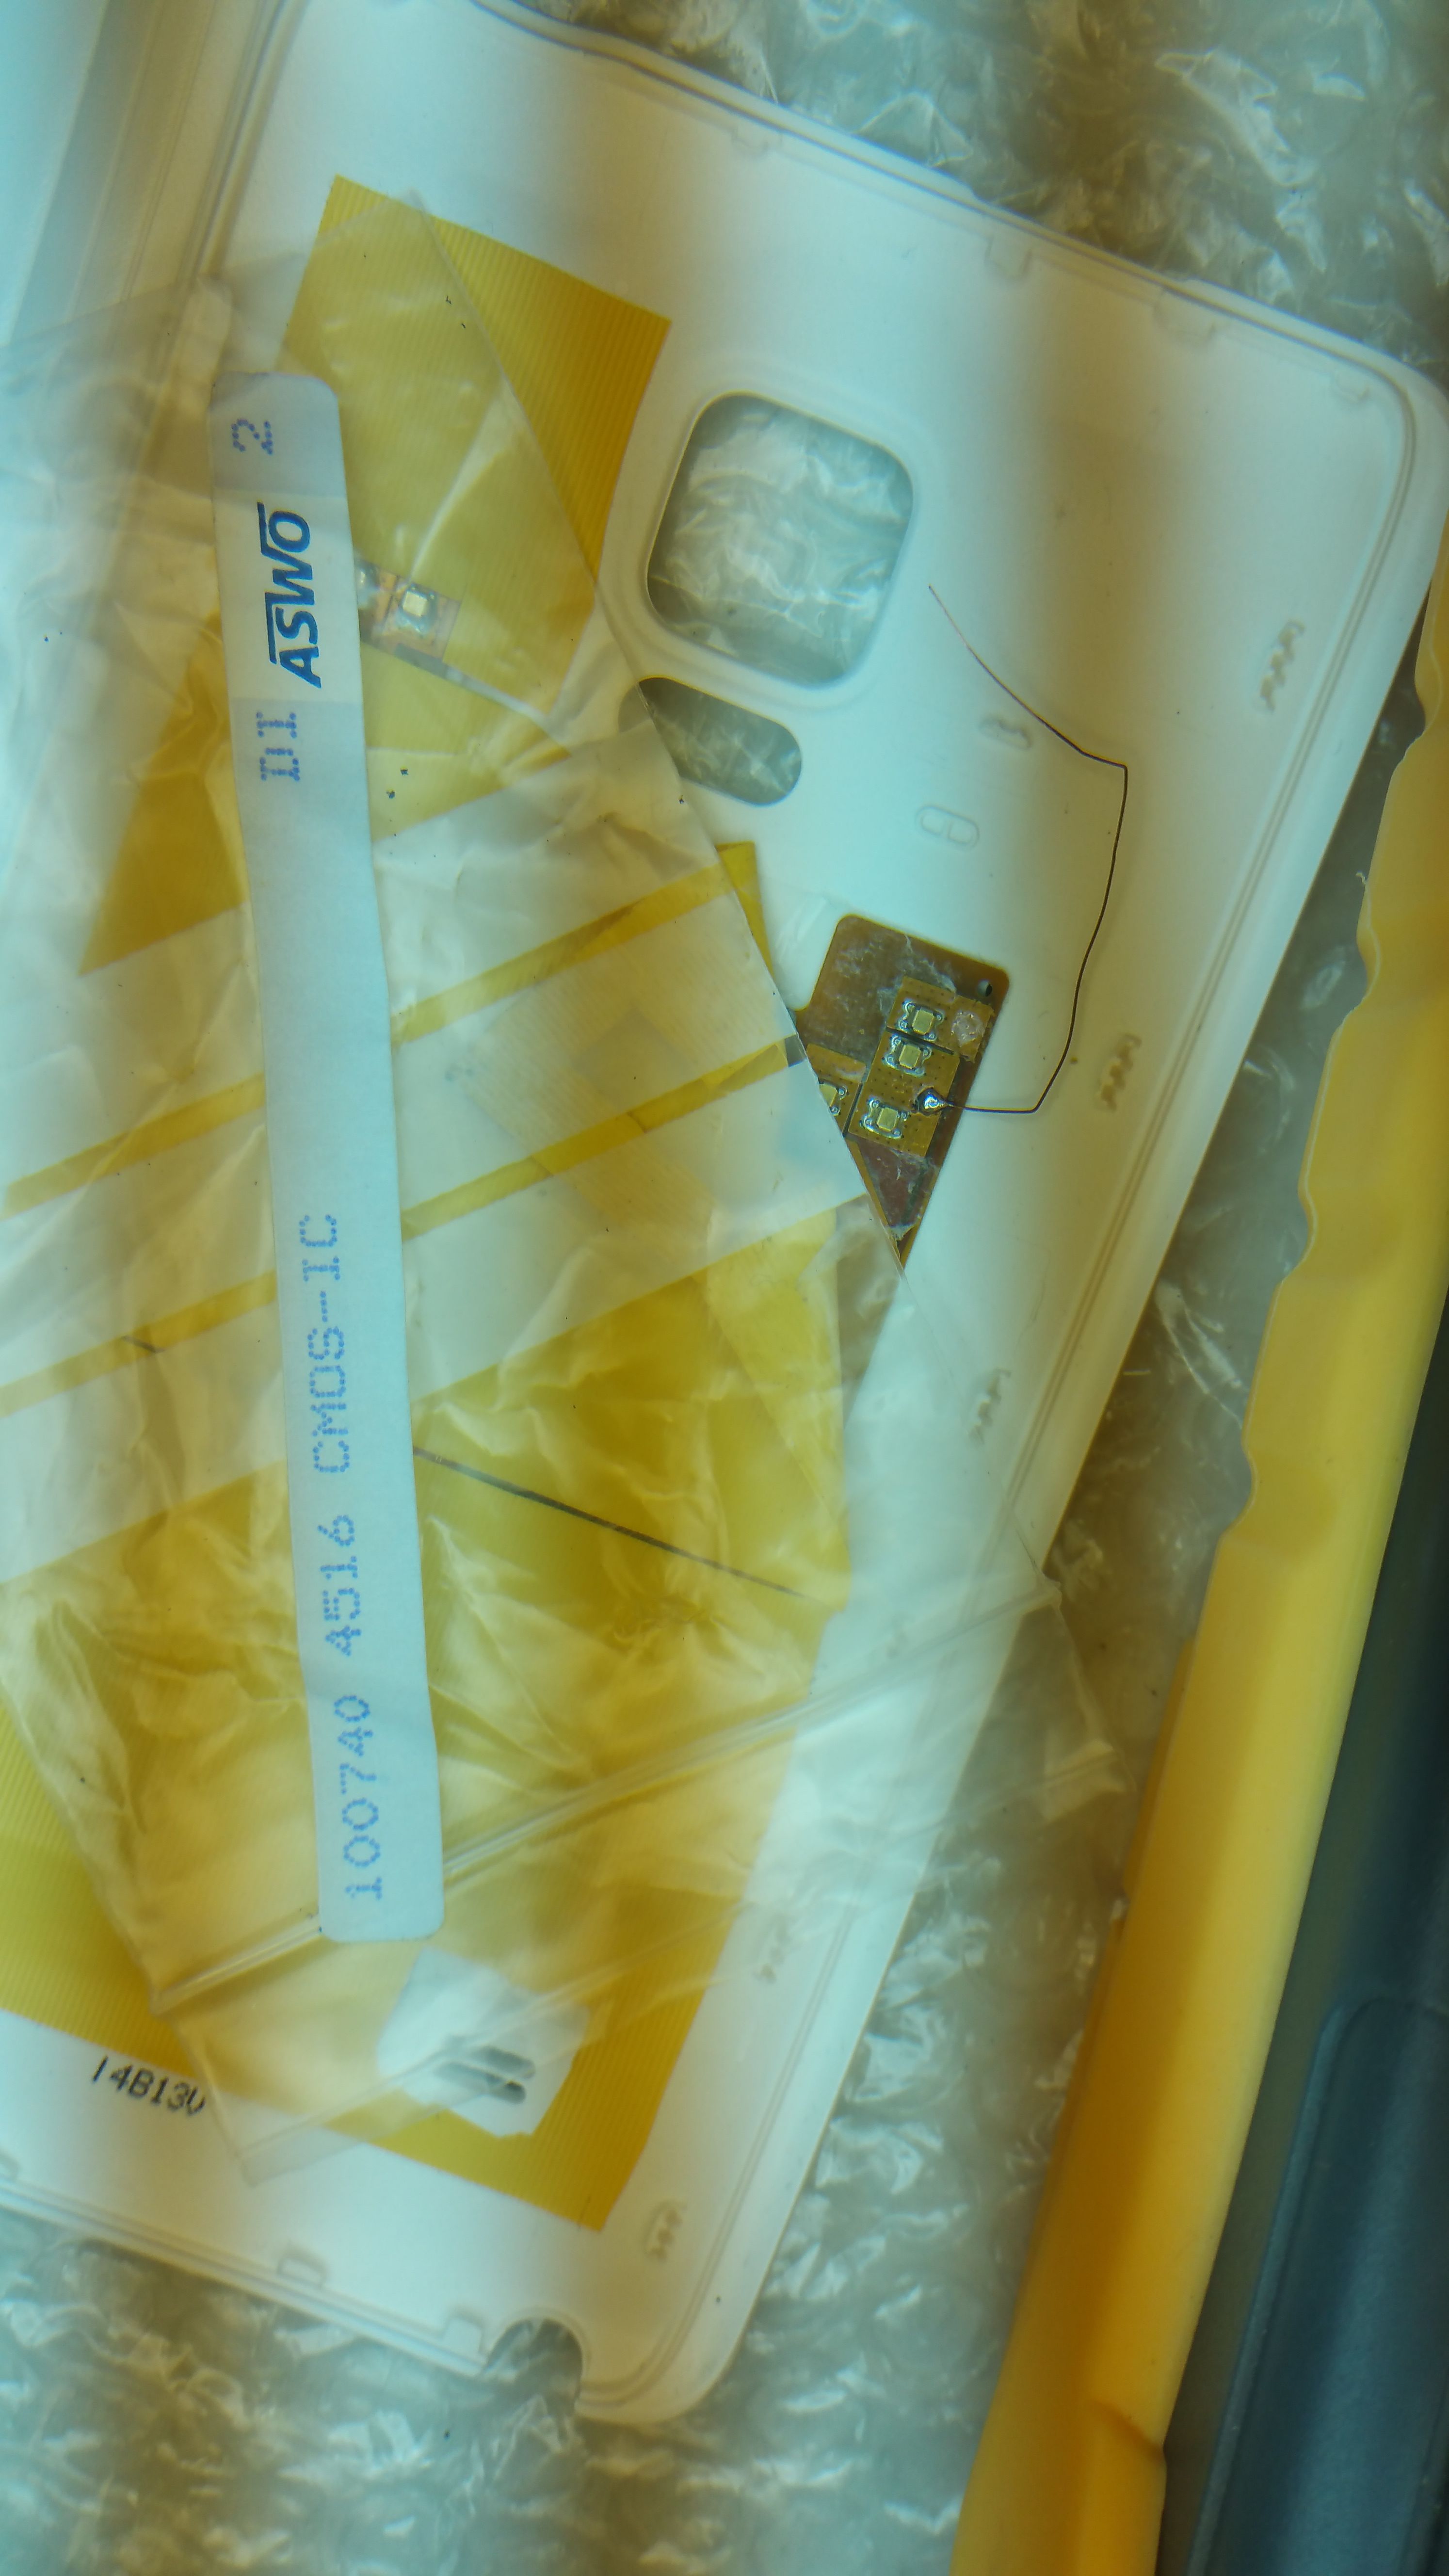
Step 1: Sperate the coil from the cover
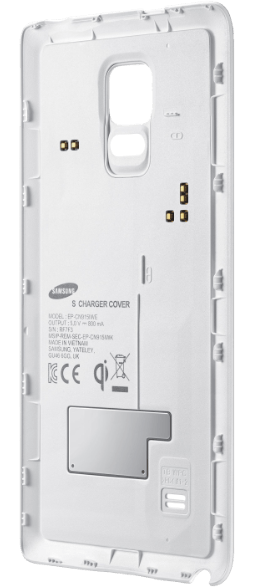
You start with a S Charger Cover
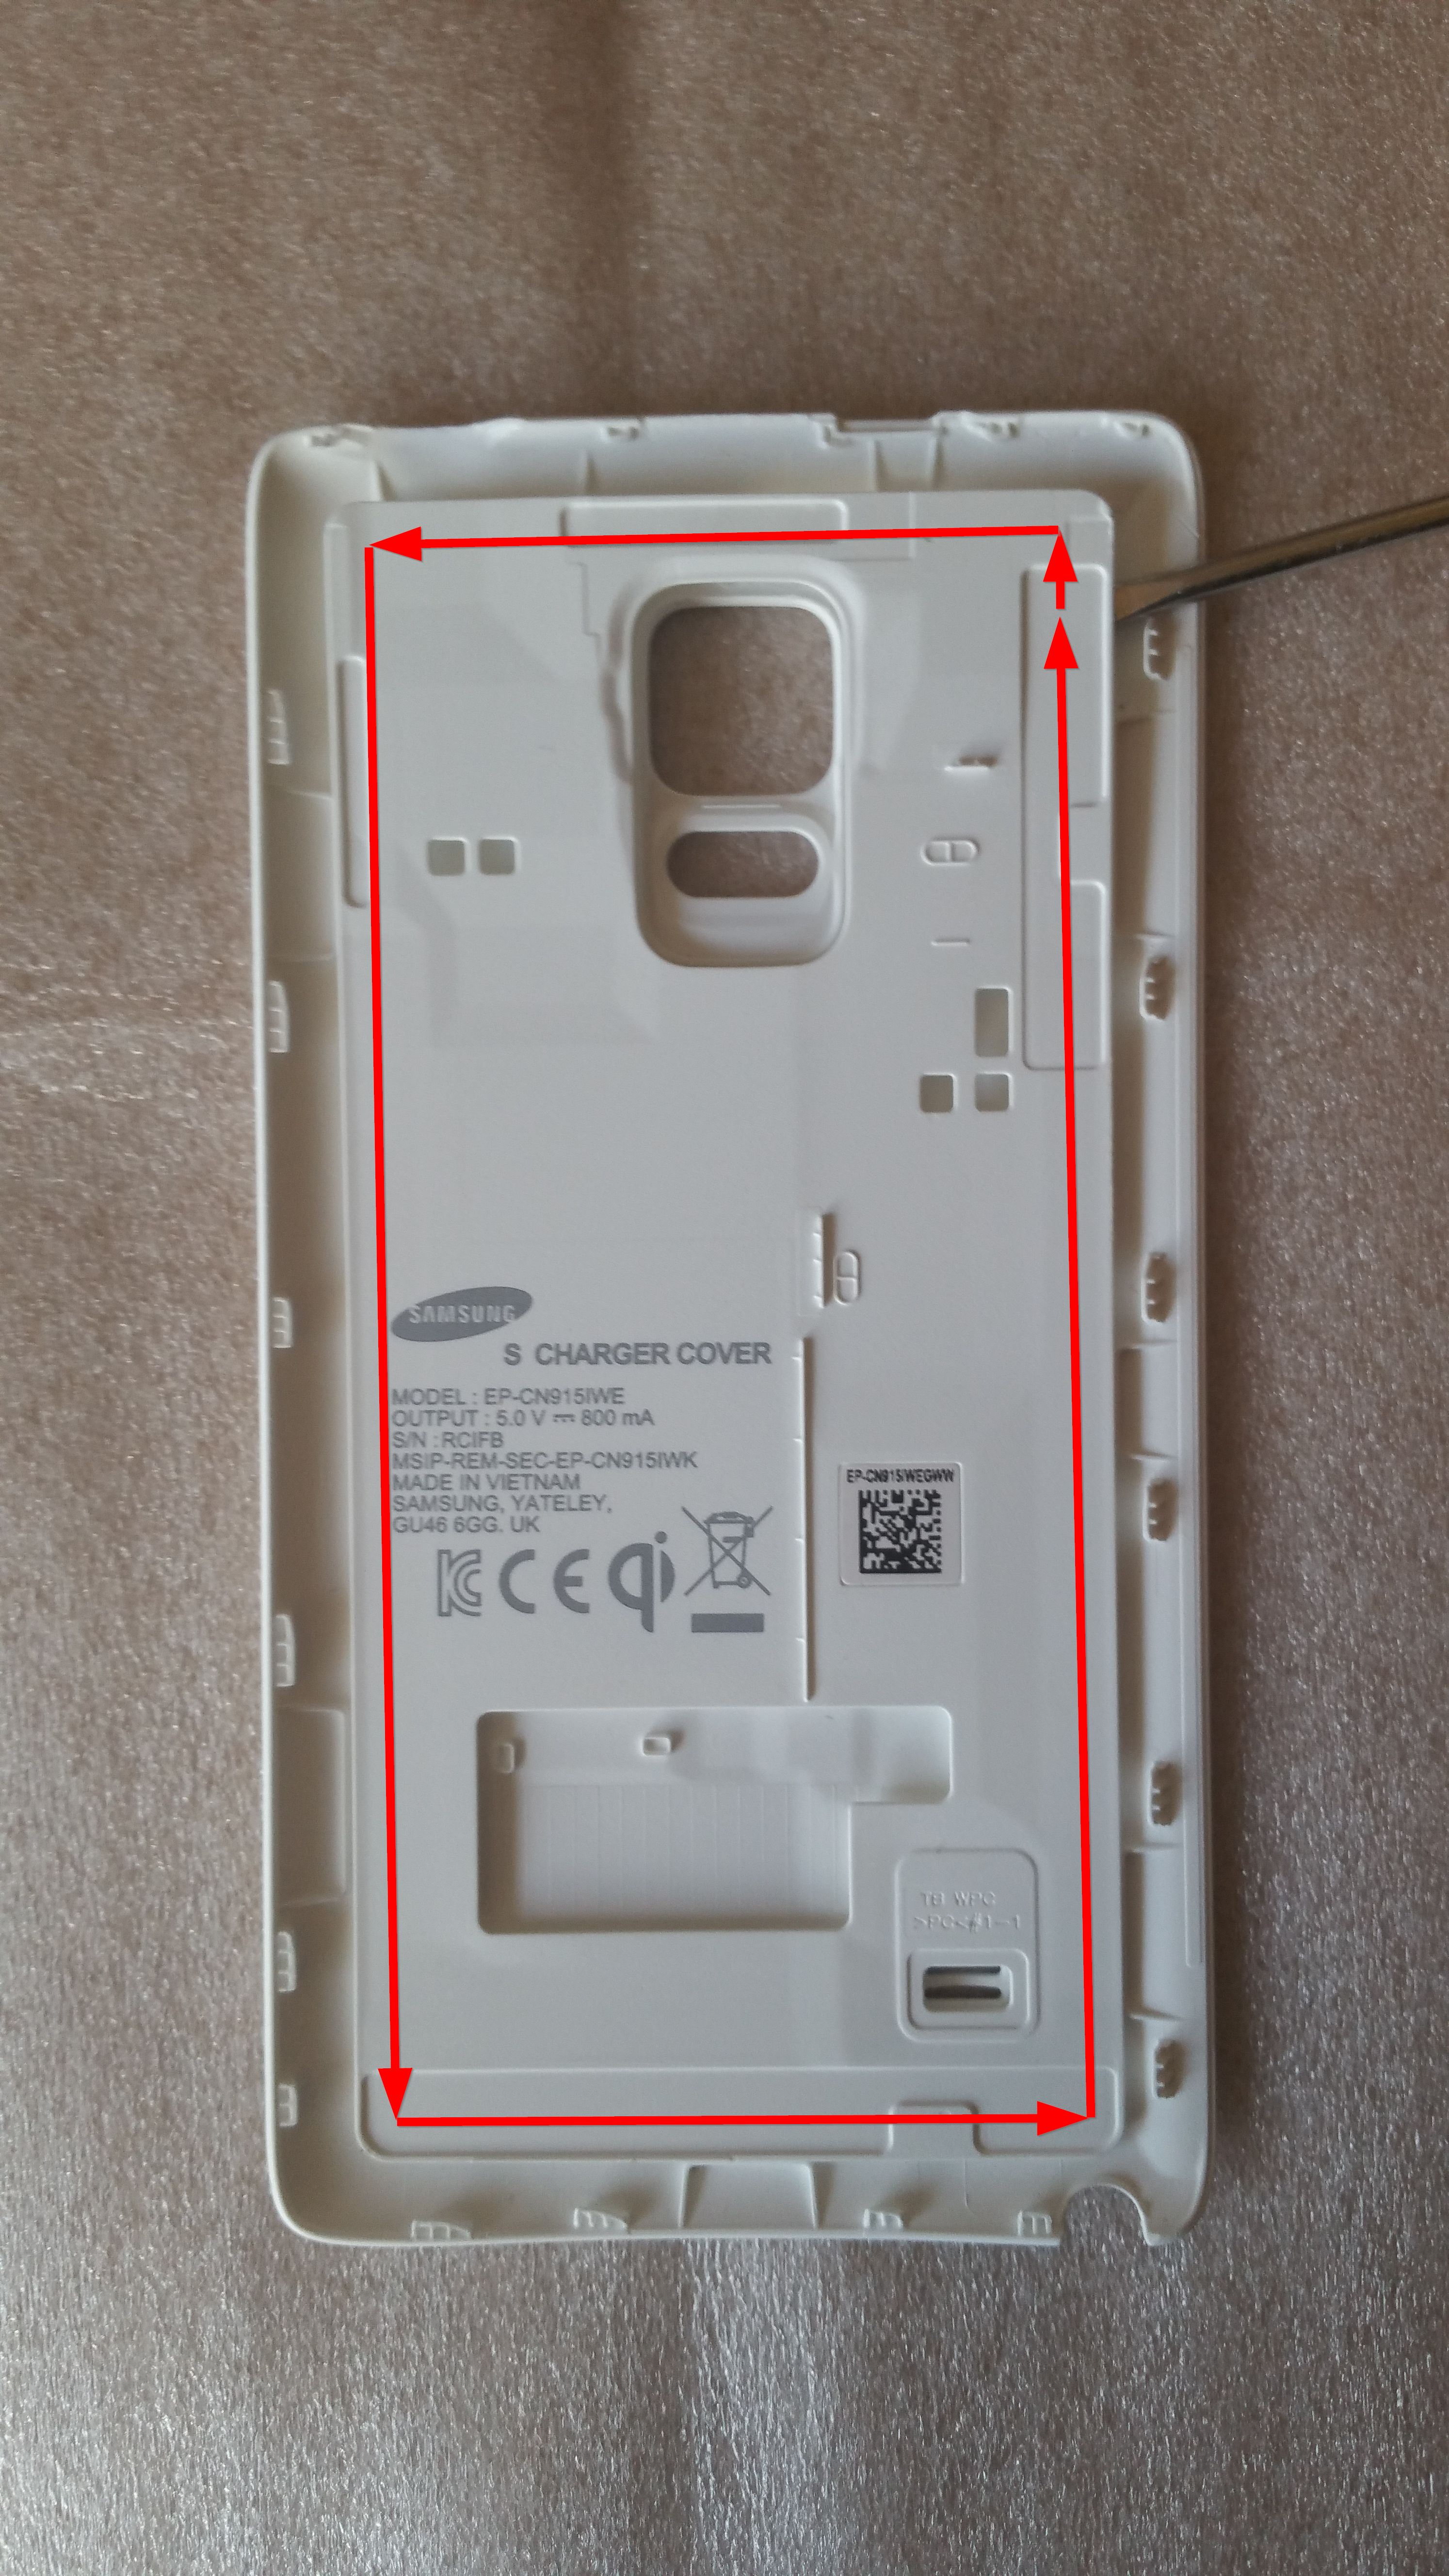
First remove the small tile from the big tile. Use a flat-blade screwdriver and free the glue around the border of the tile. Make sure not to damage the coil. (In the picture the coil is already removed):
The coil should clue on the small tile. First remove the circuit board from the small tile. Use a knife and cut off the plastic pins. (In the picture the coil is already removed):
Now remove the coil completely from the tile. The glue is quite strong, but it is possible to remove it without damaging it.
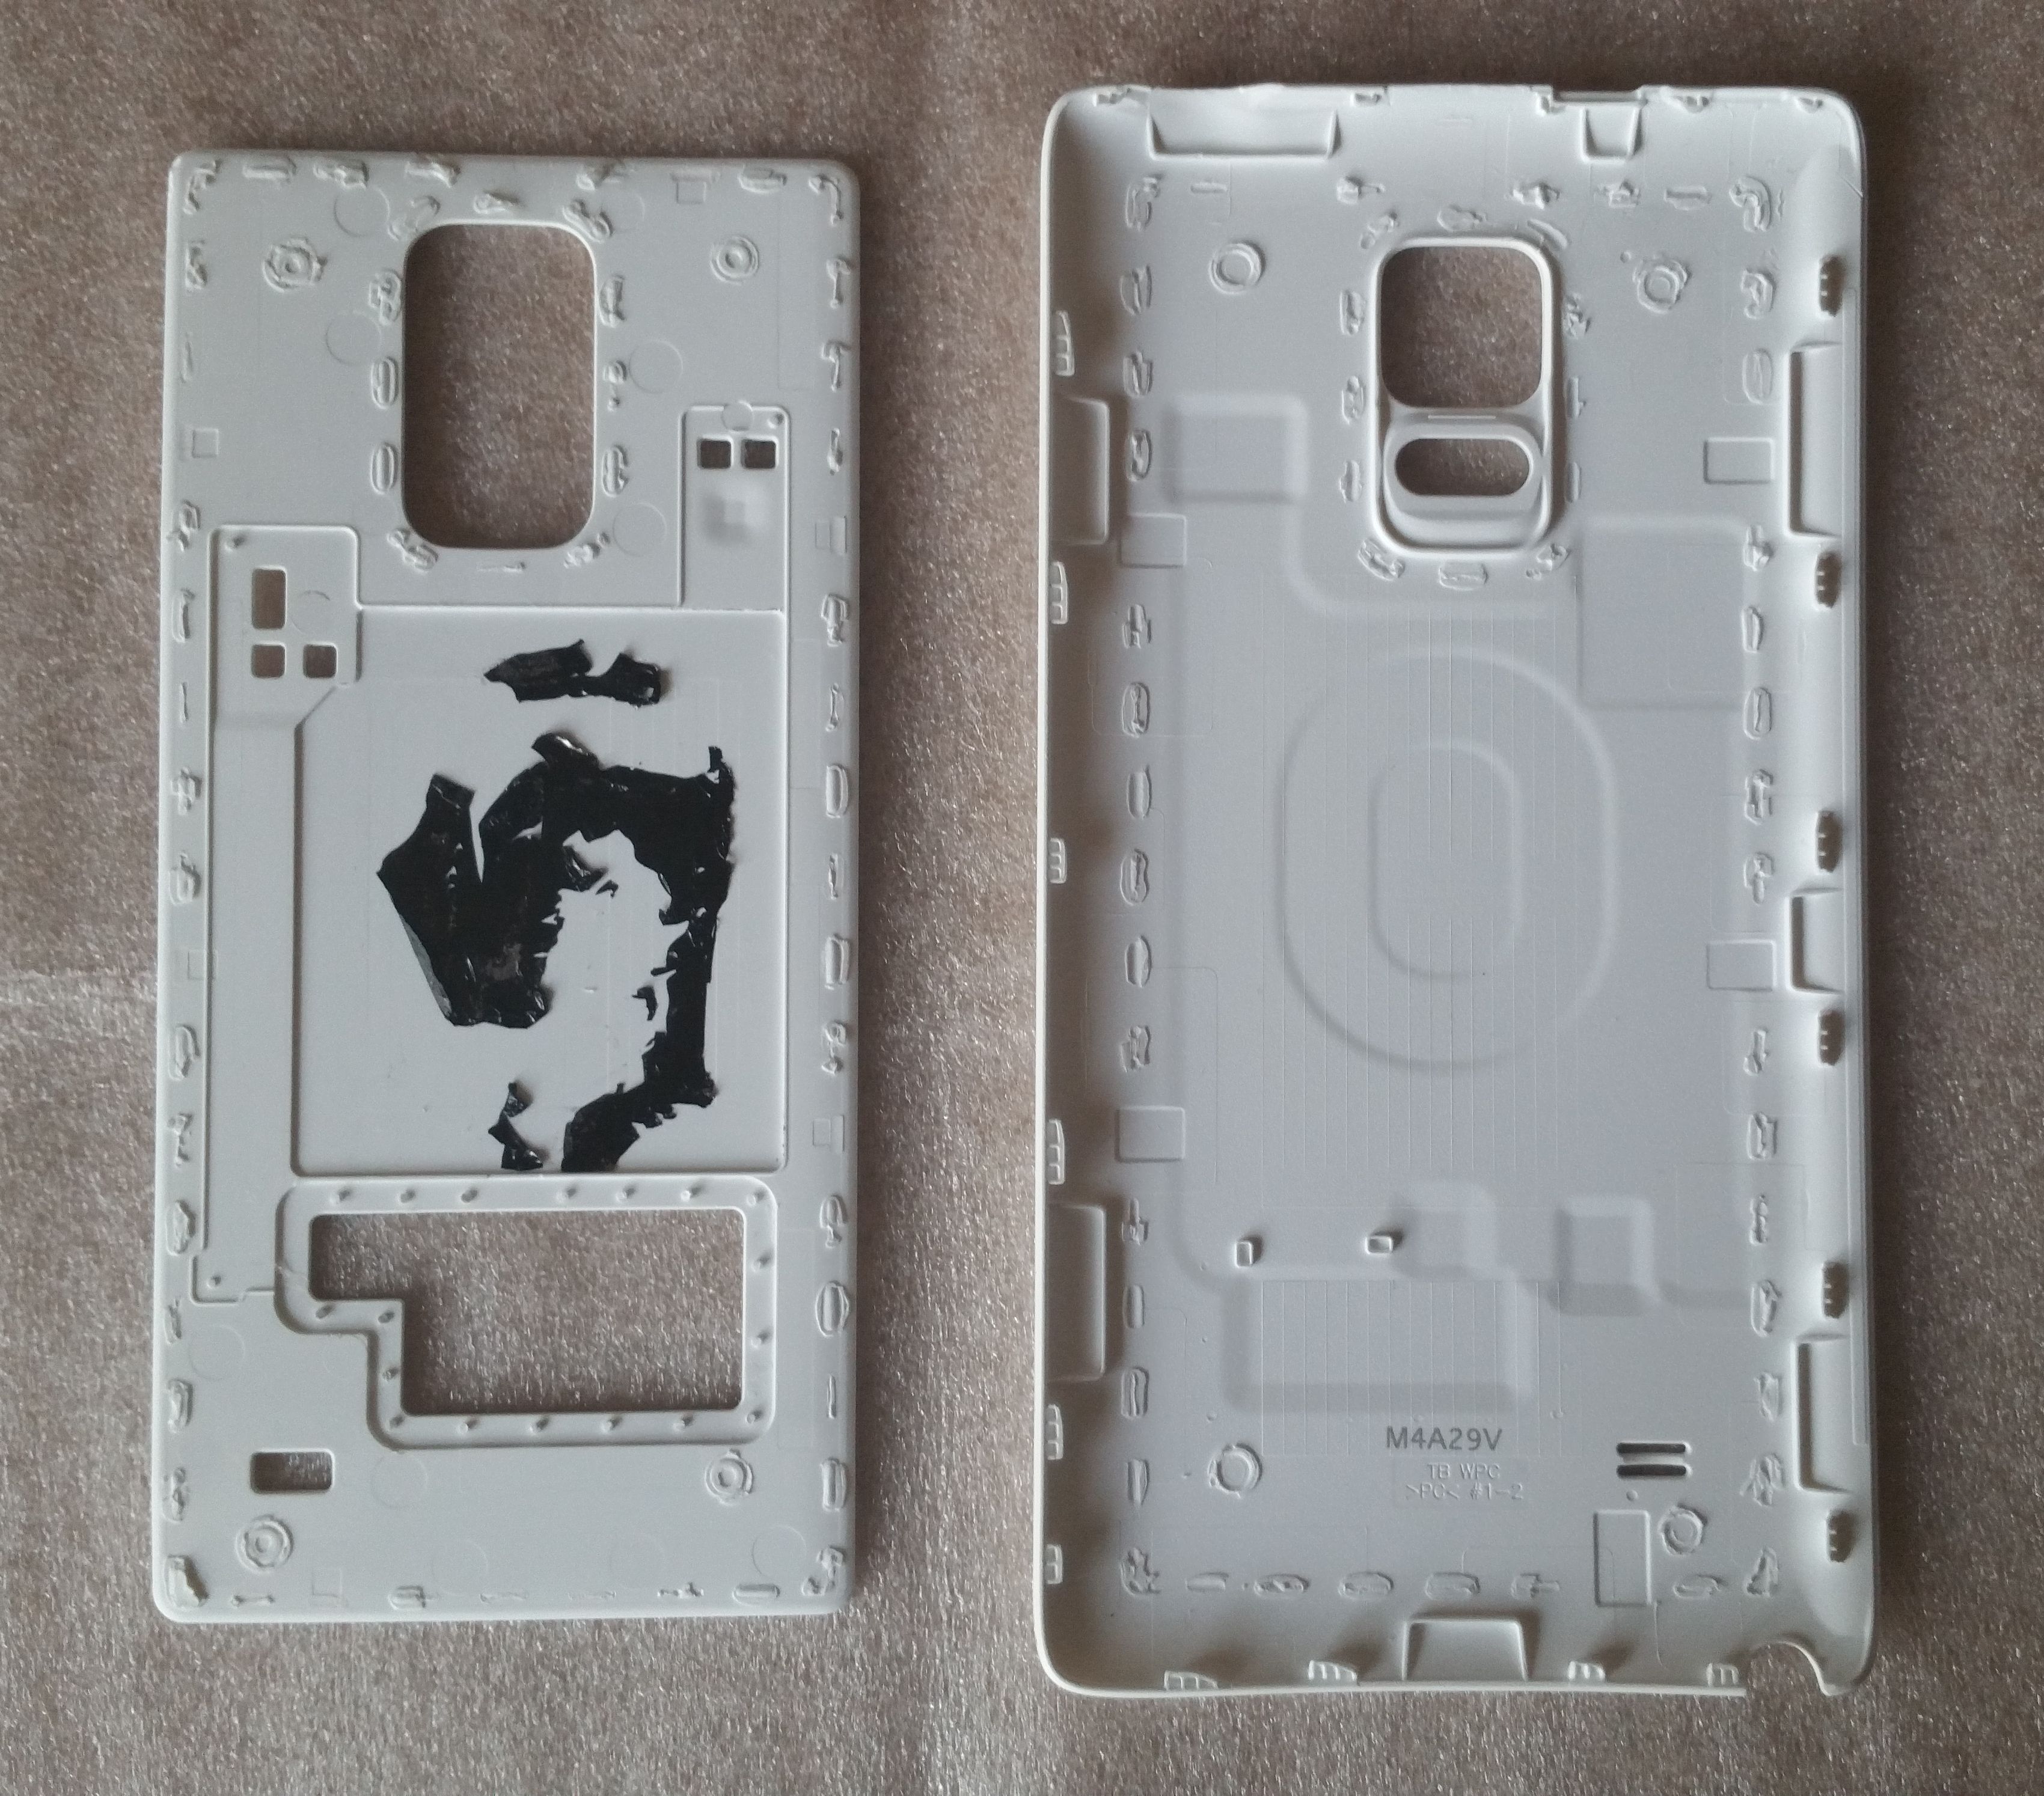
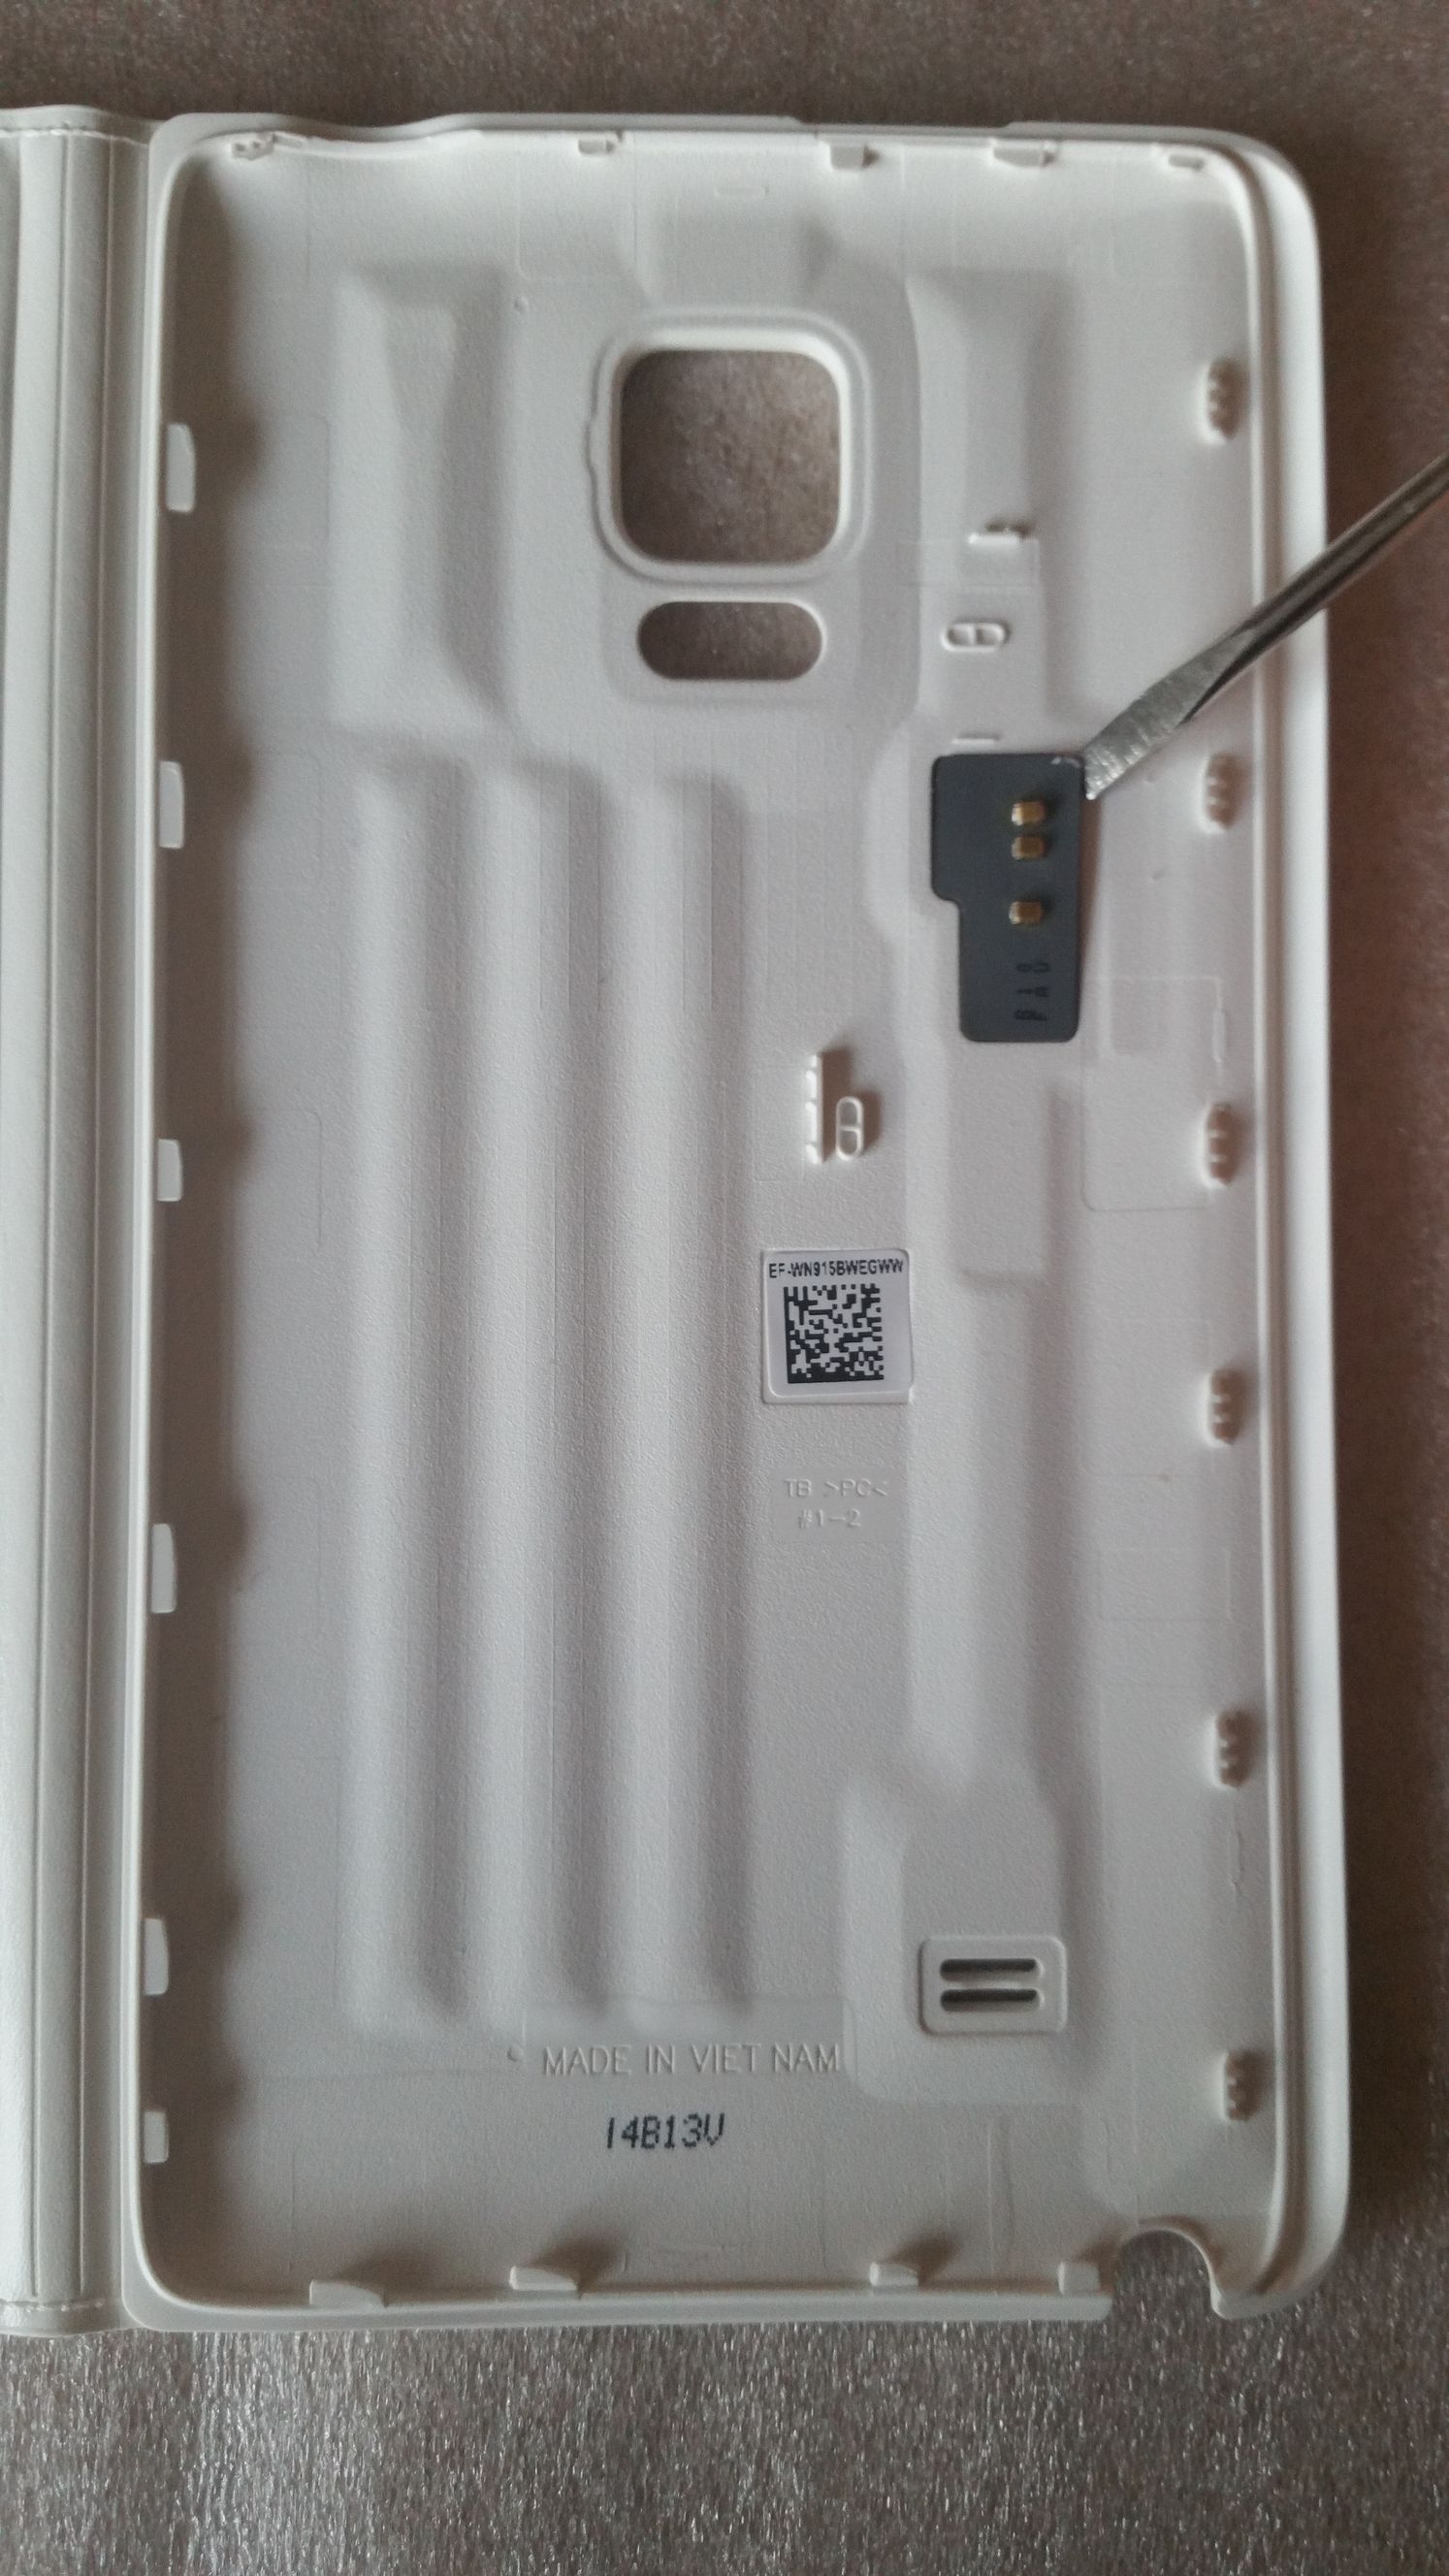
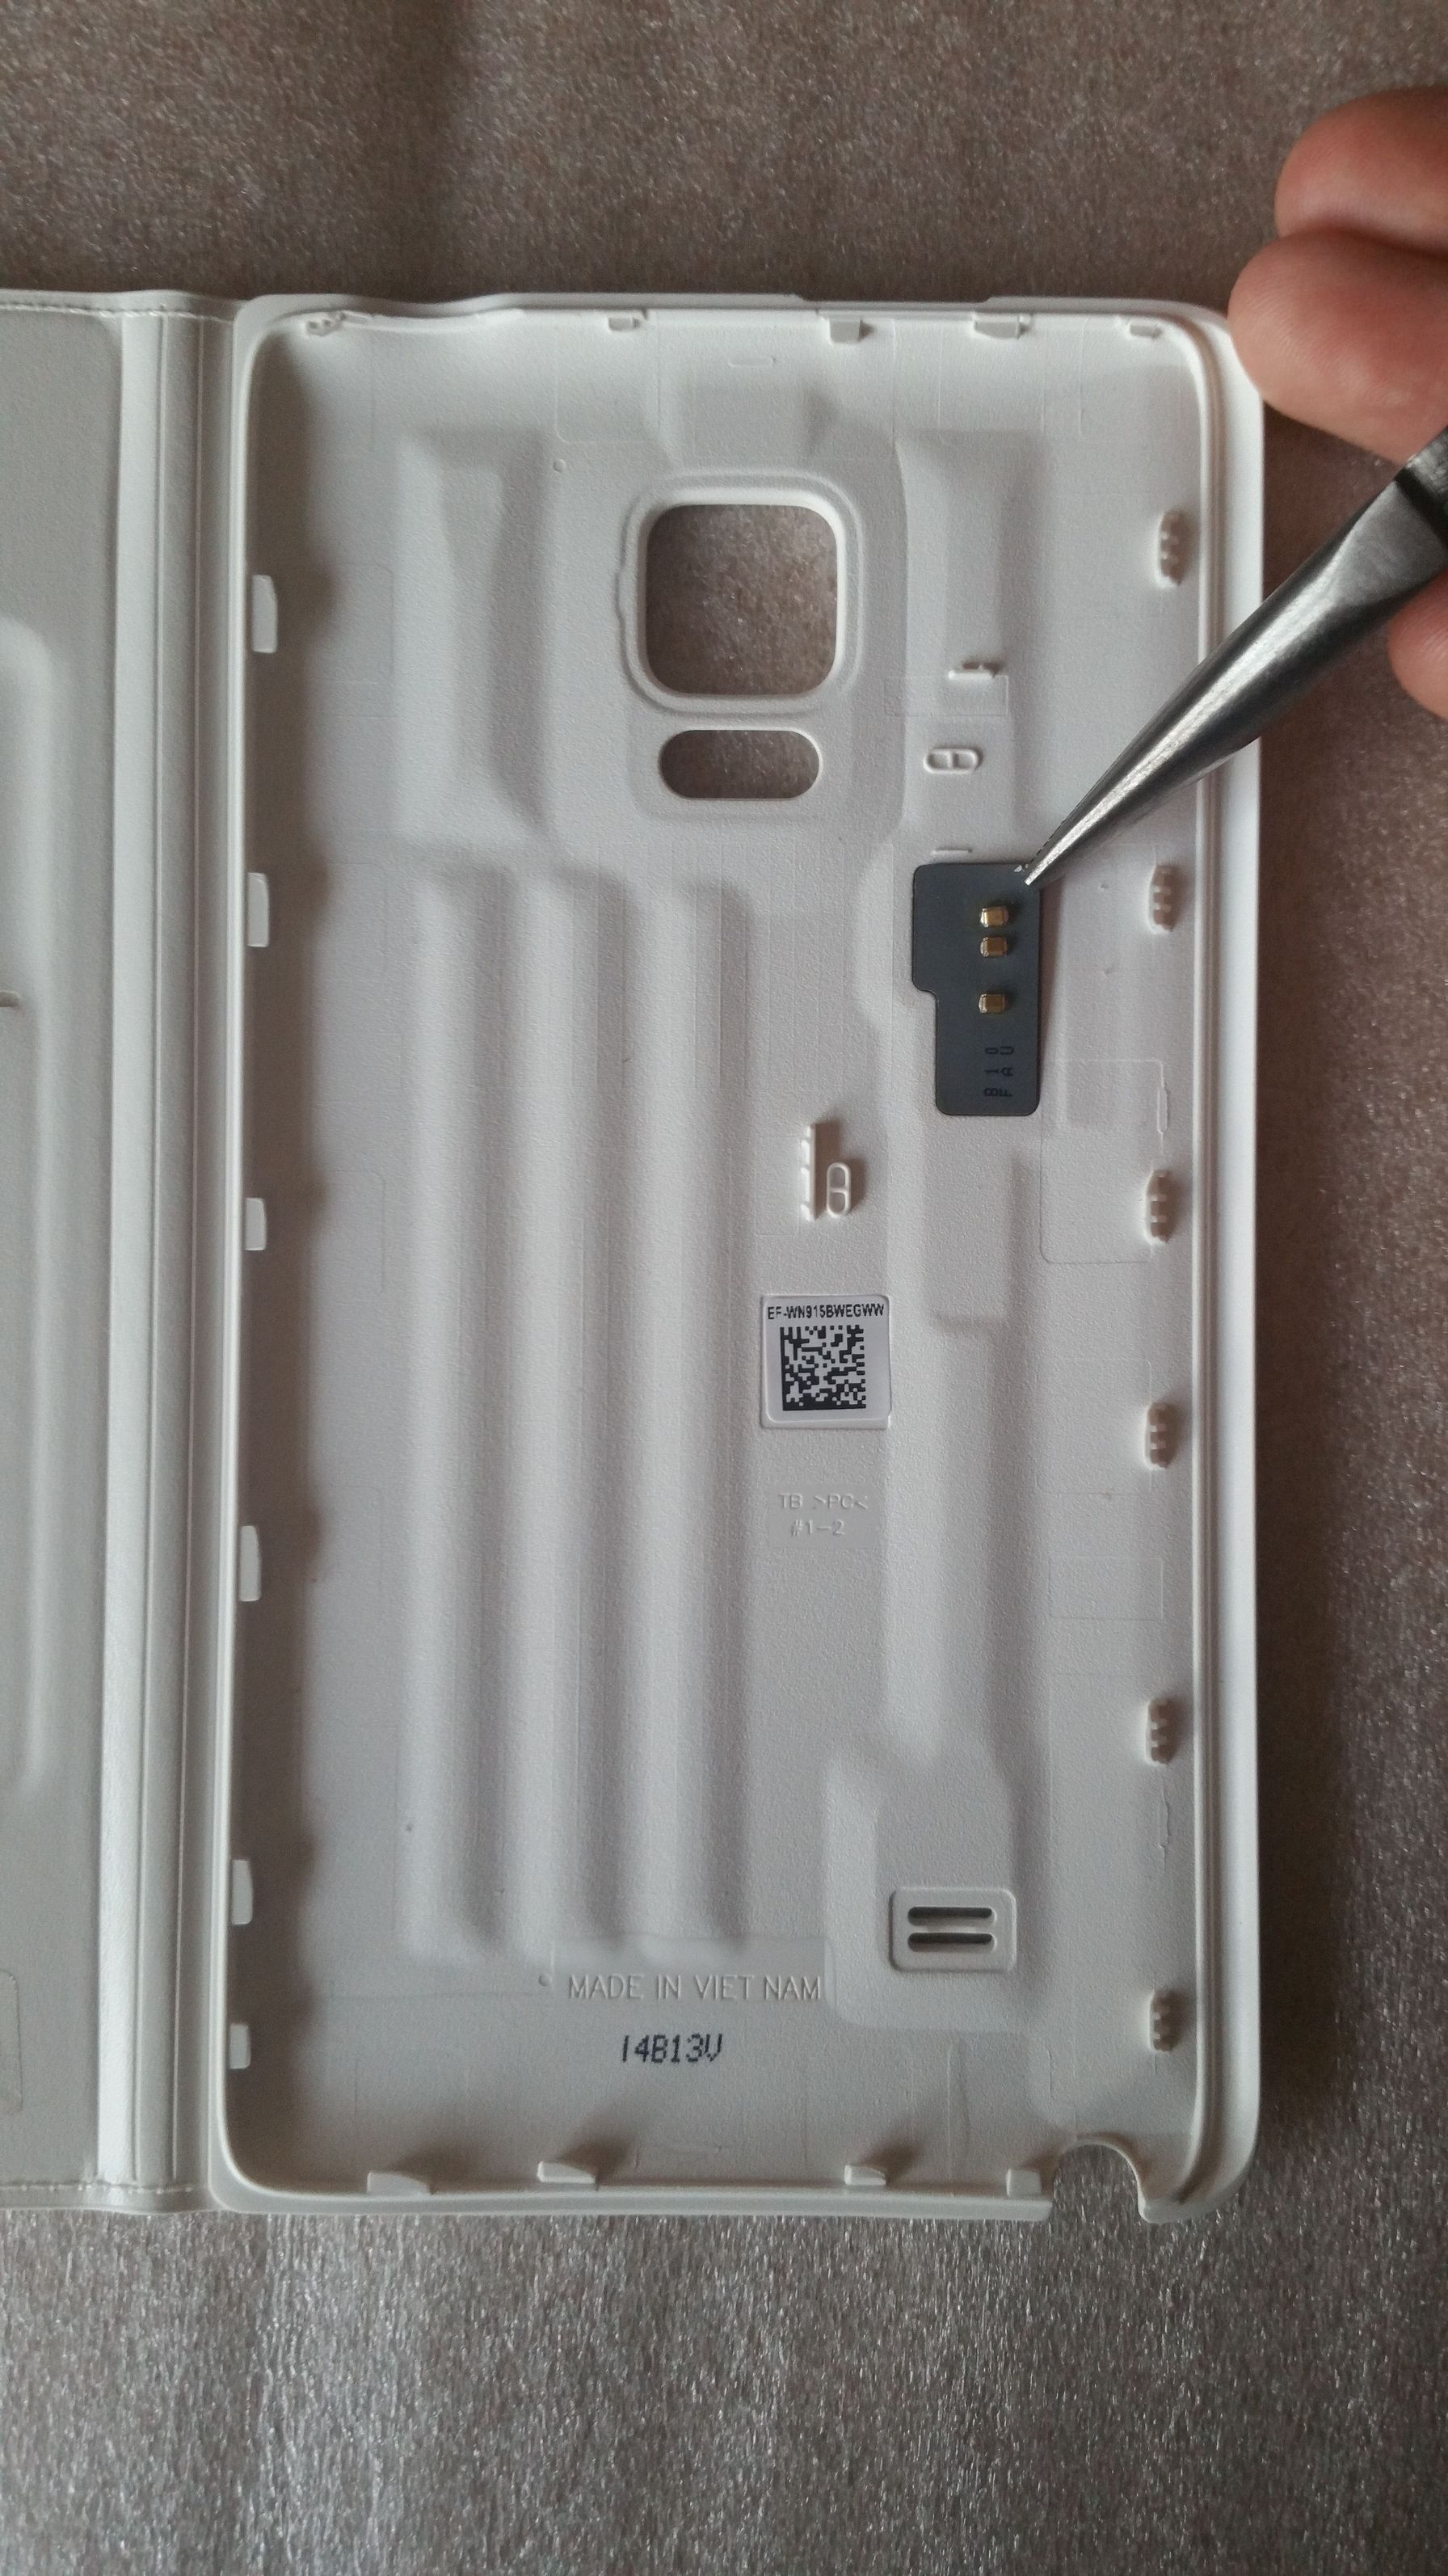
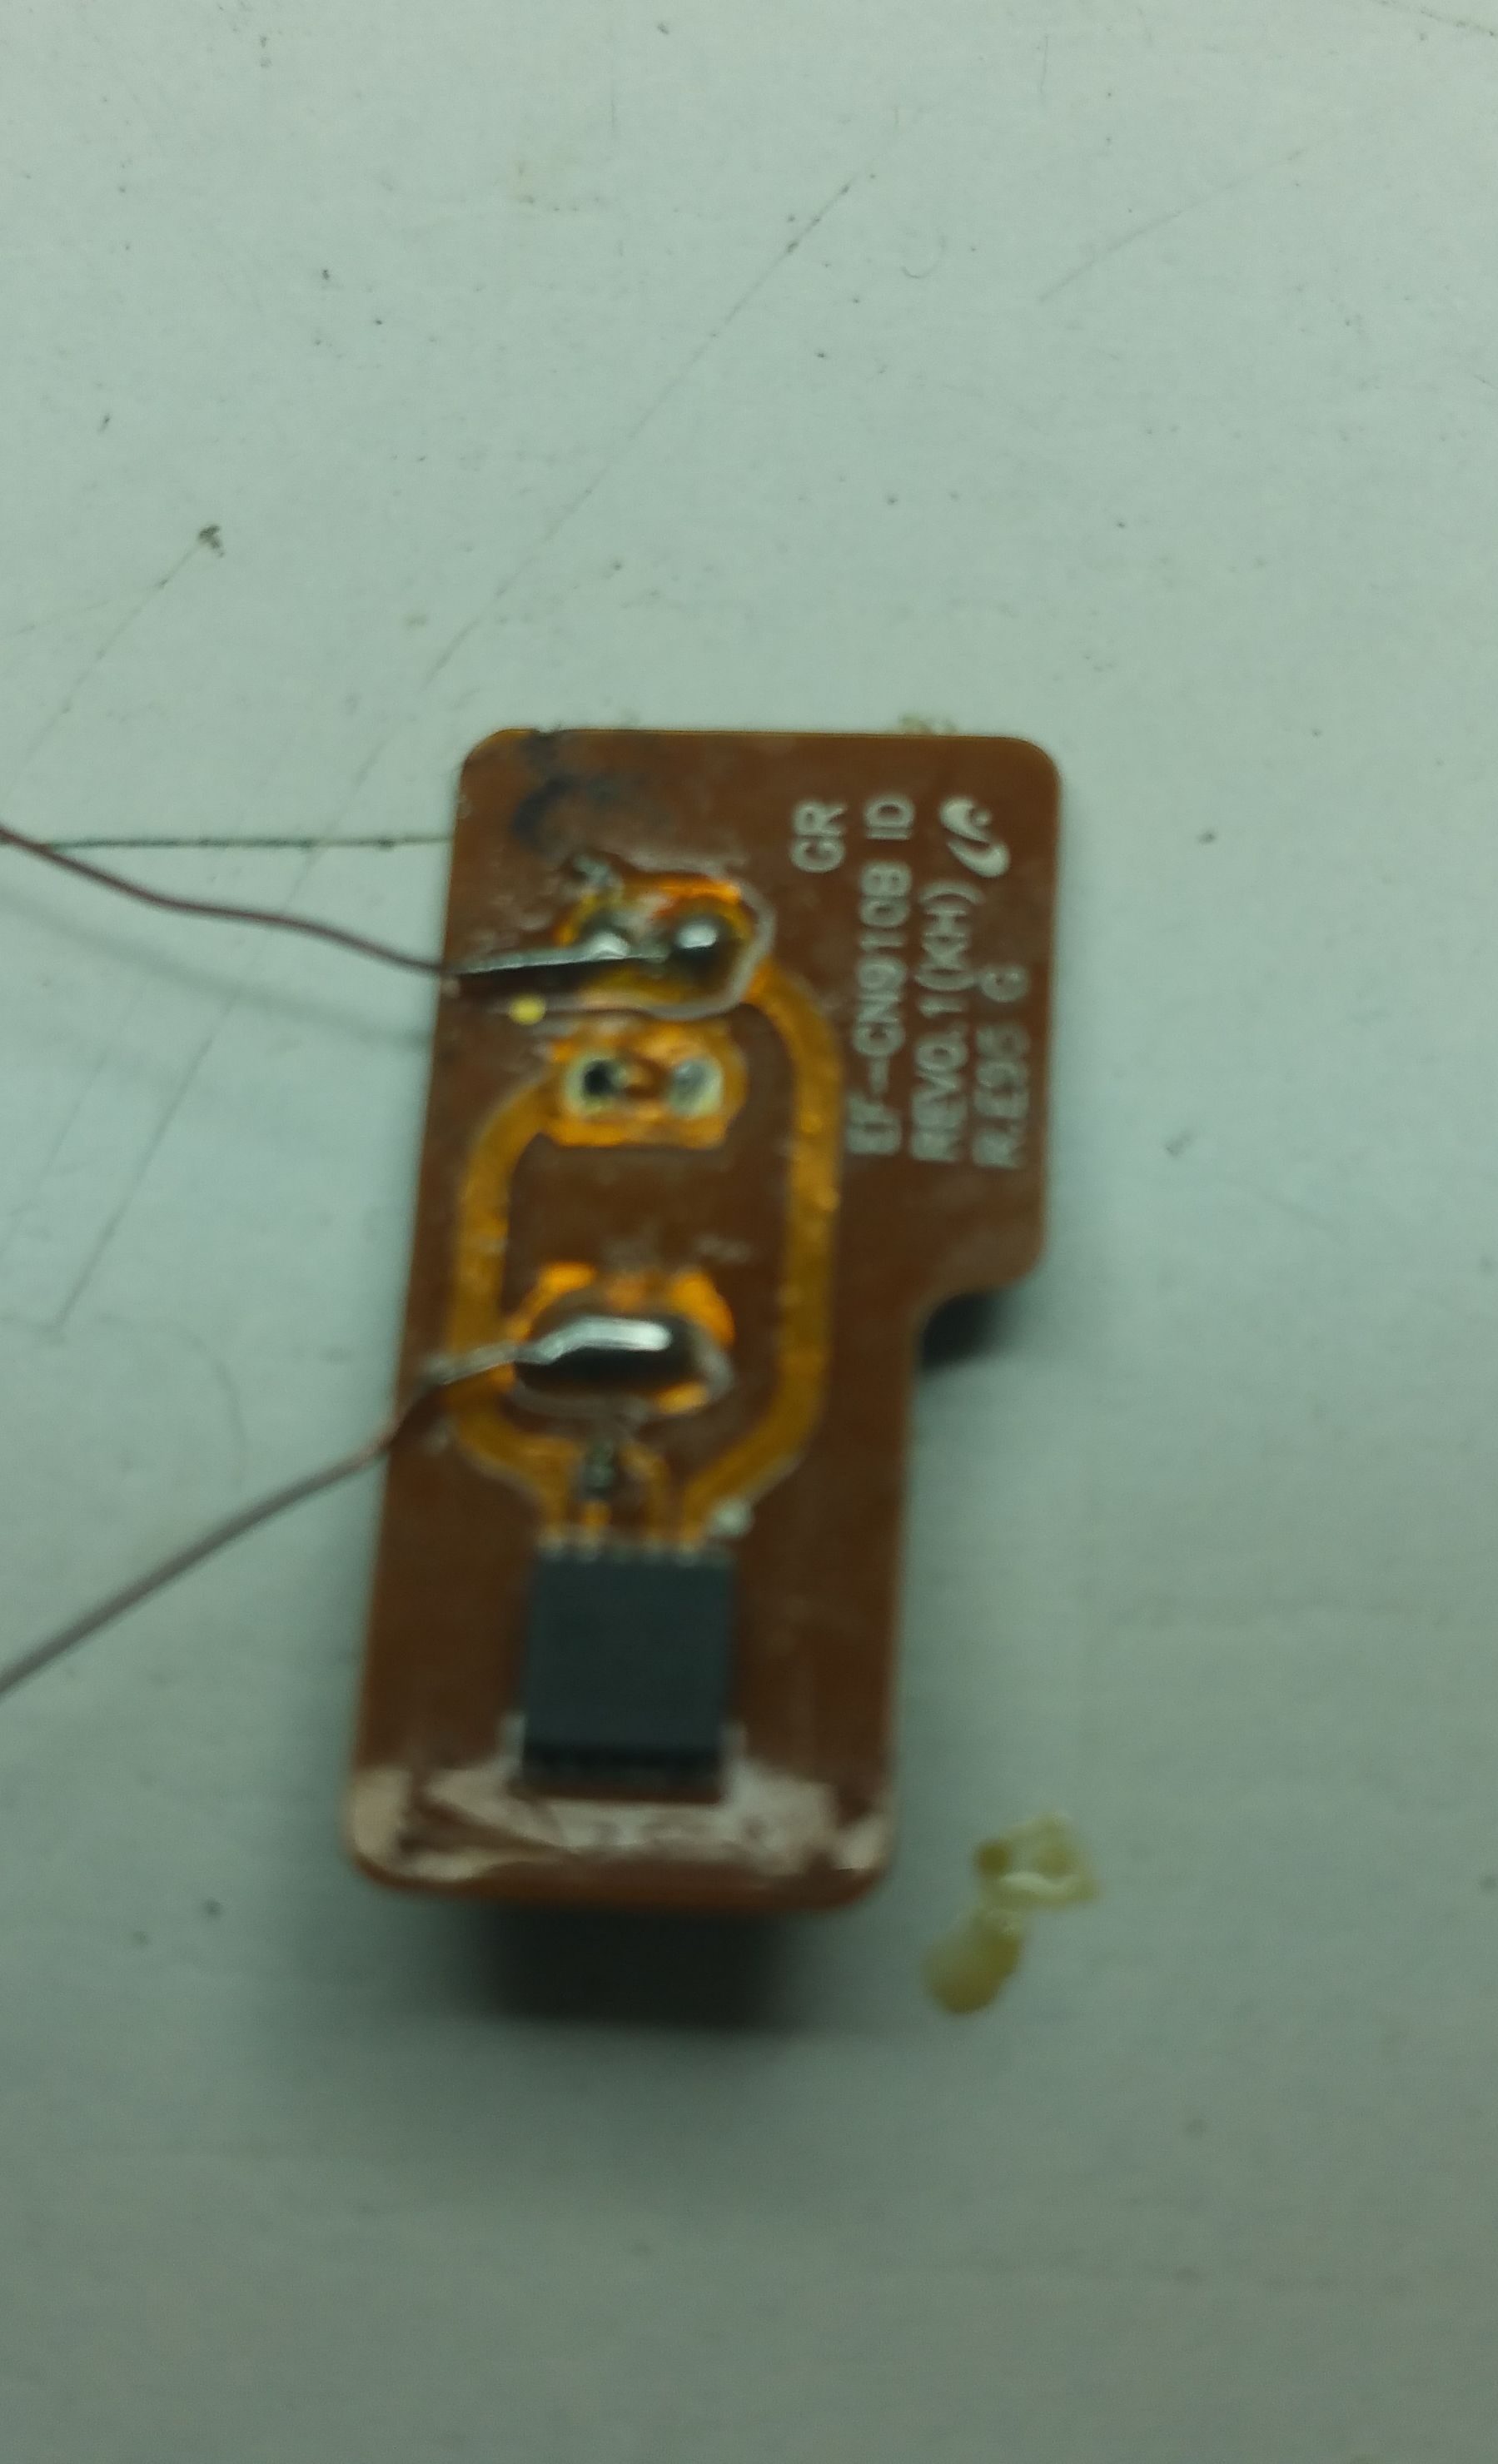
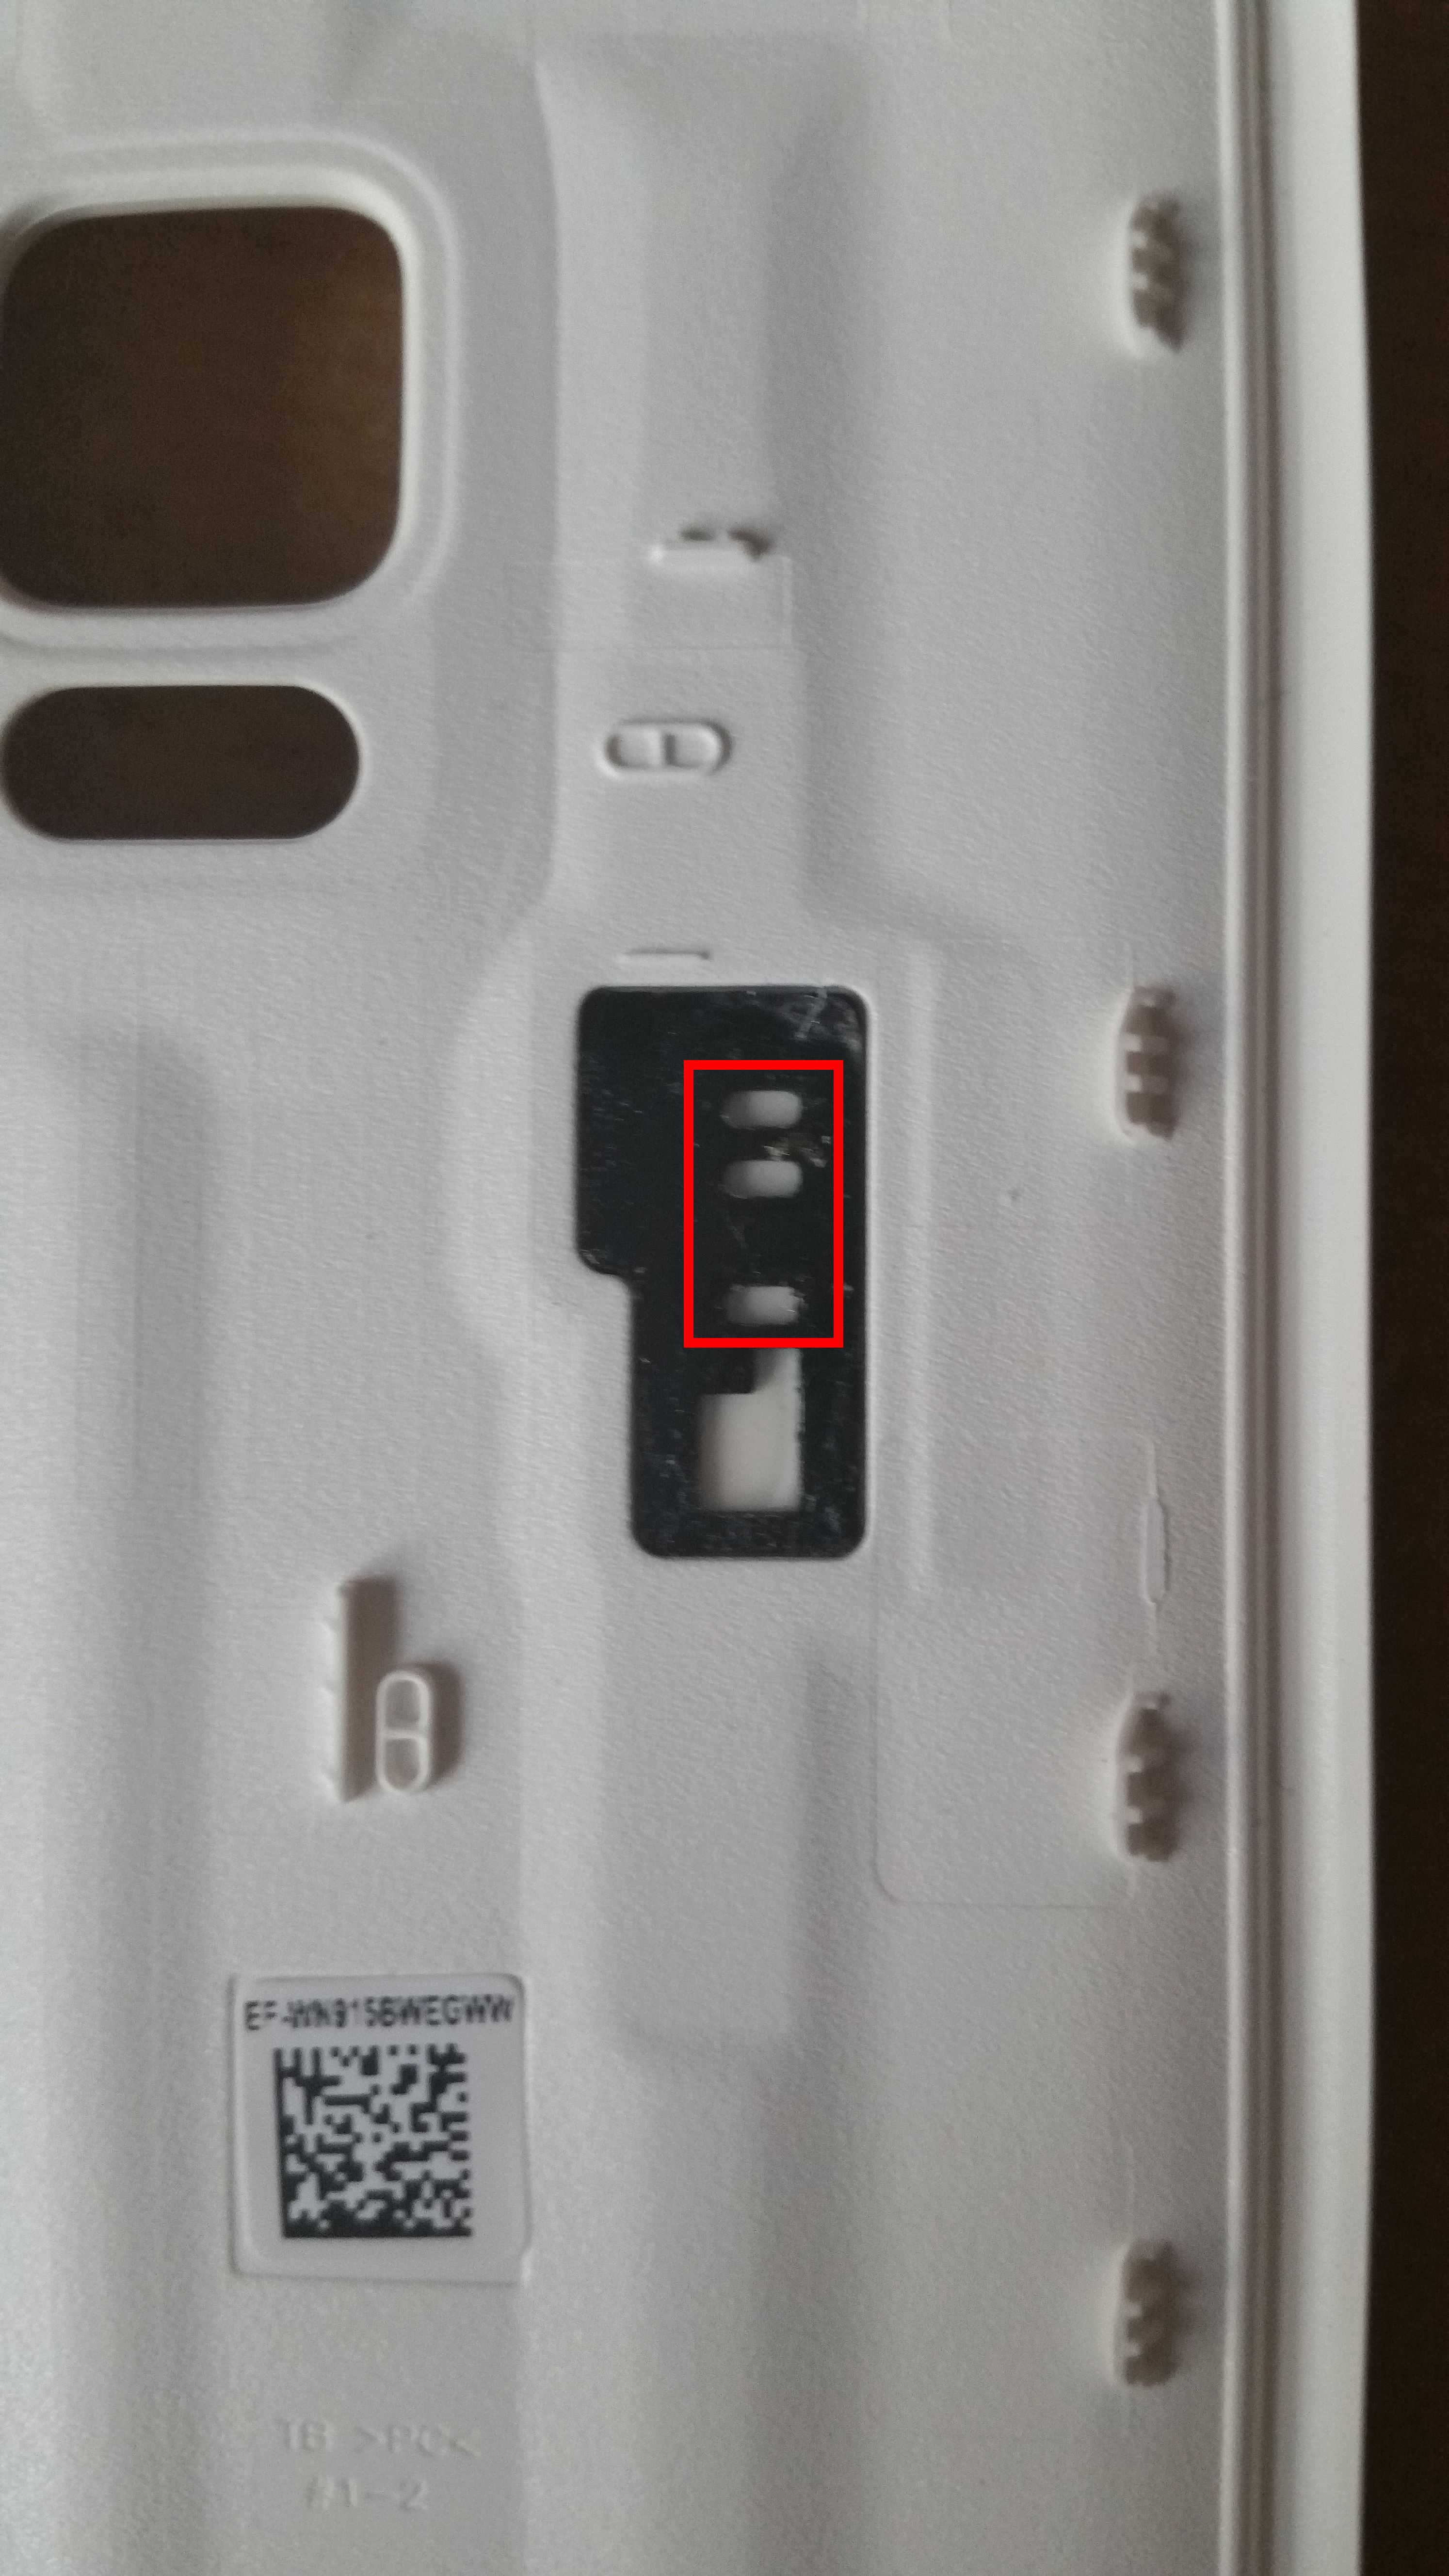
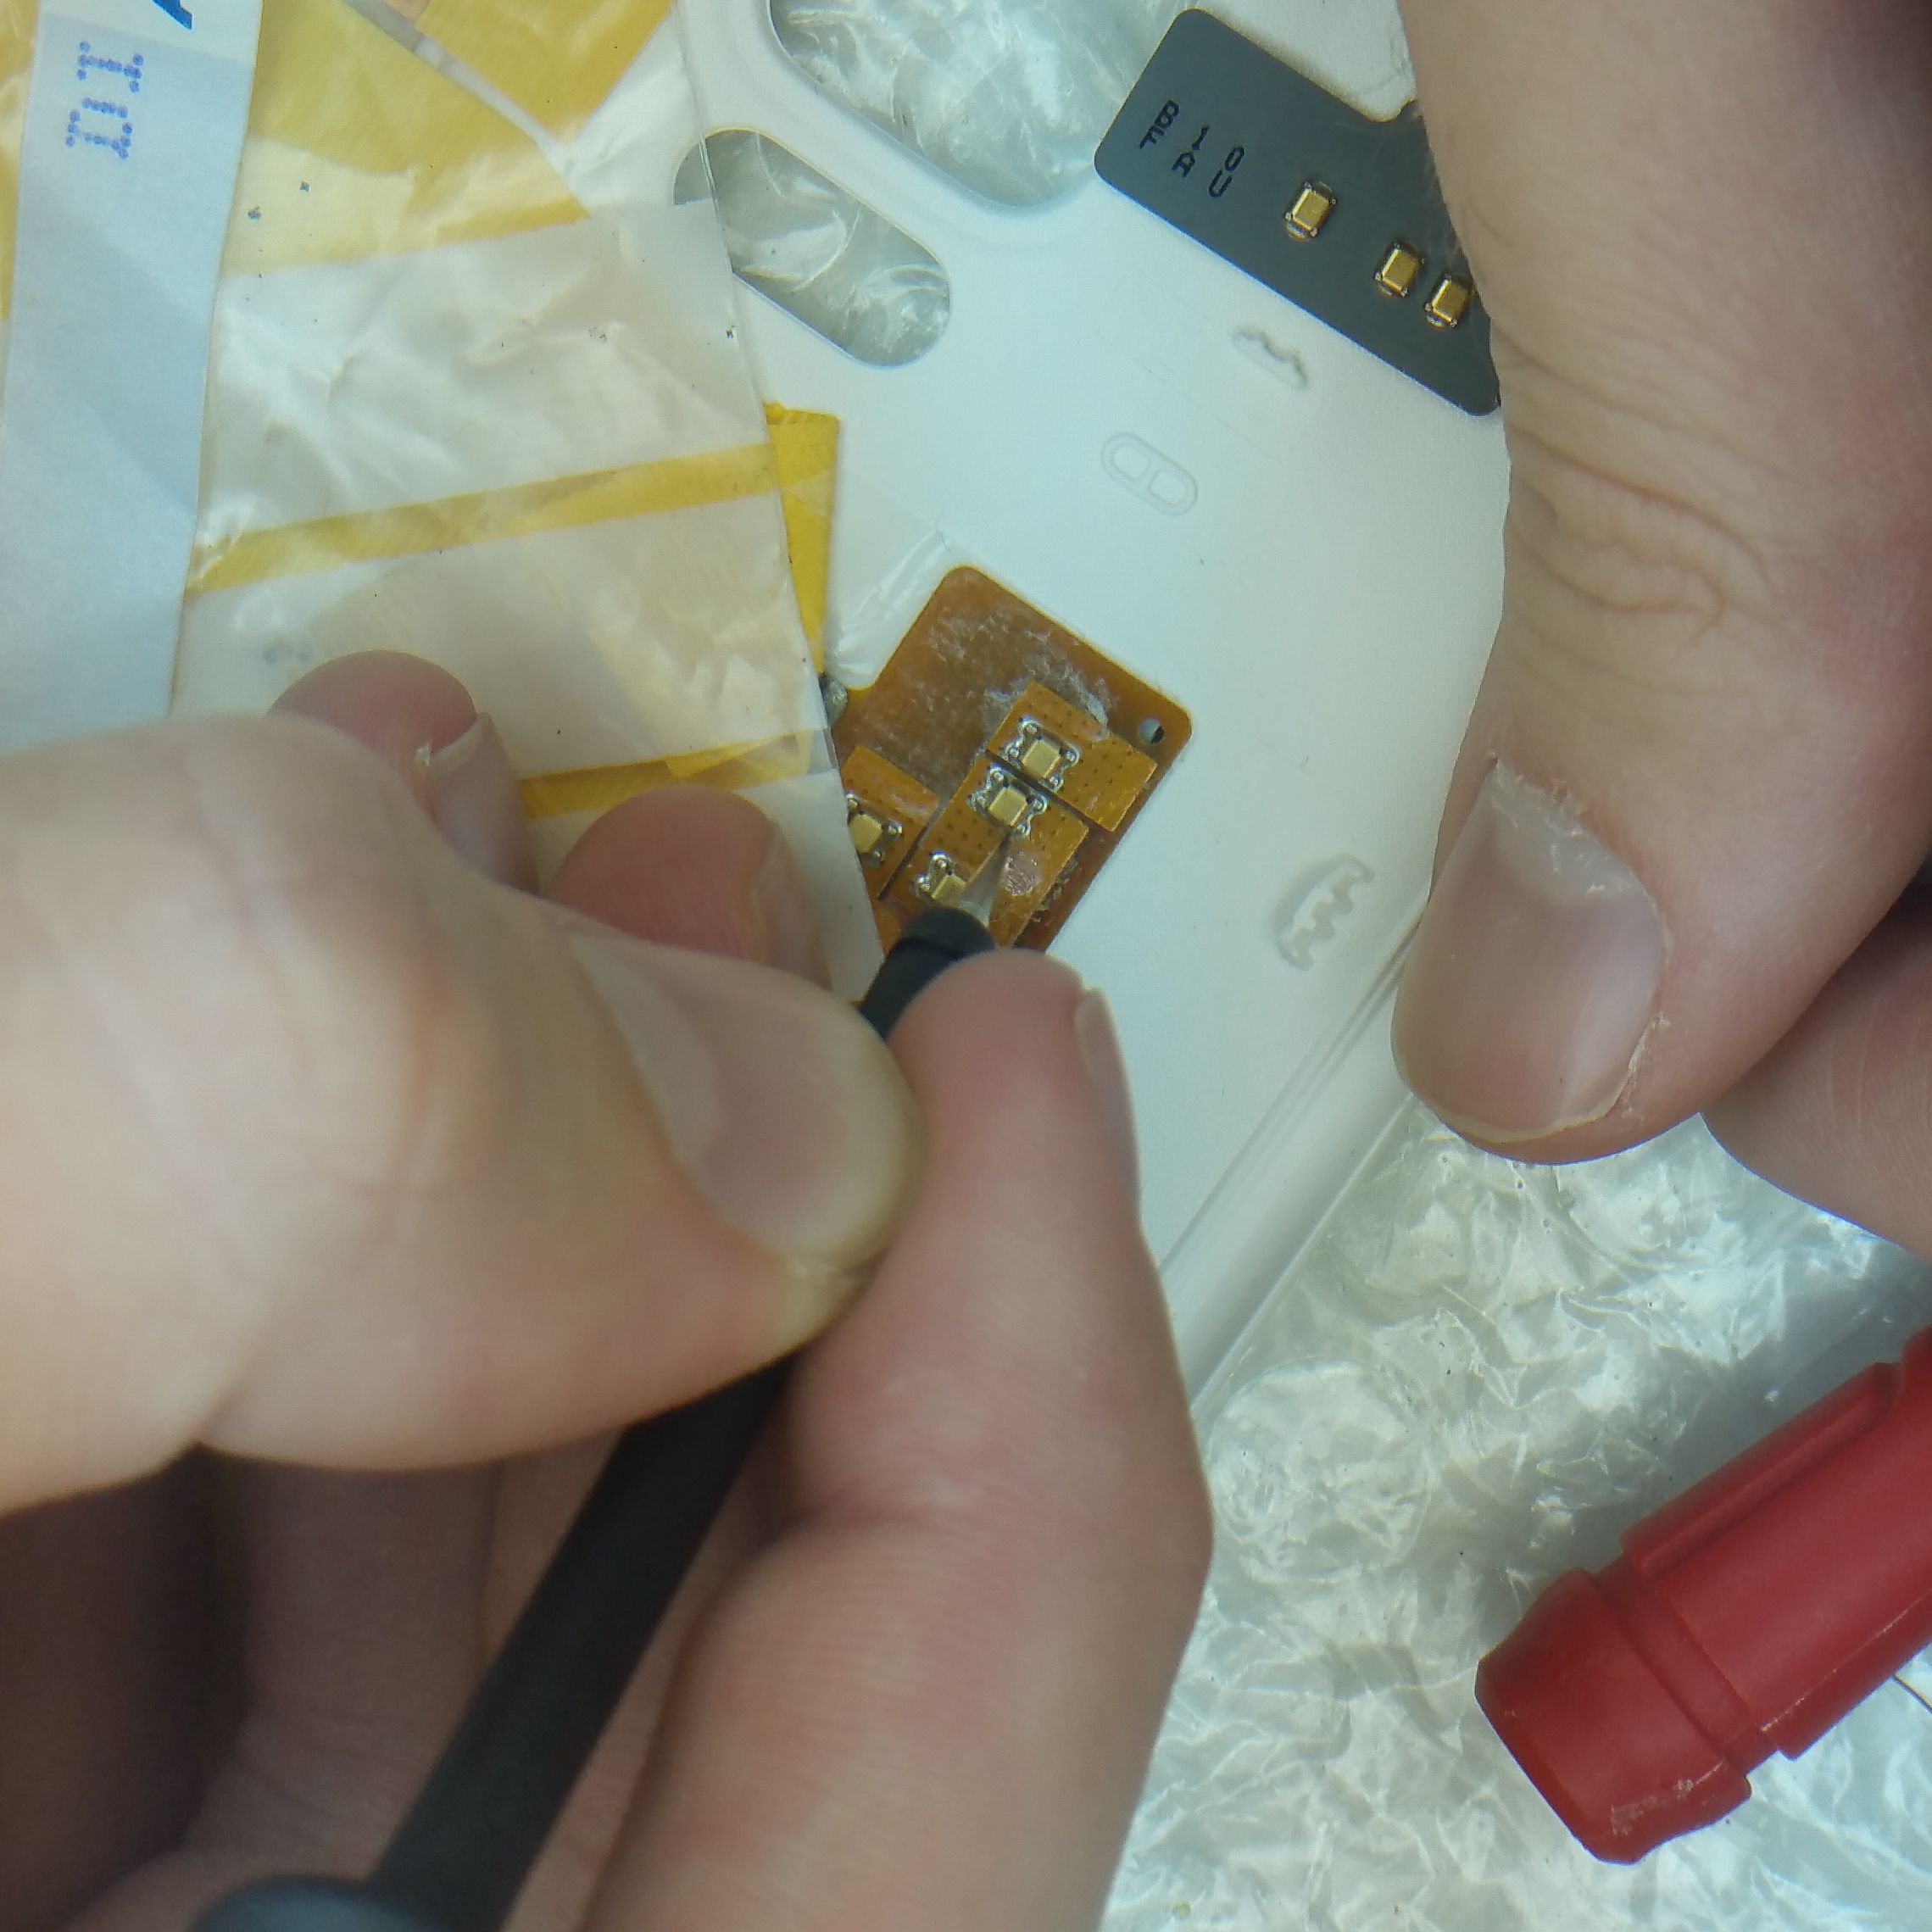
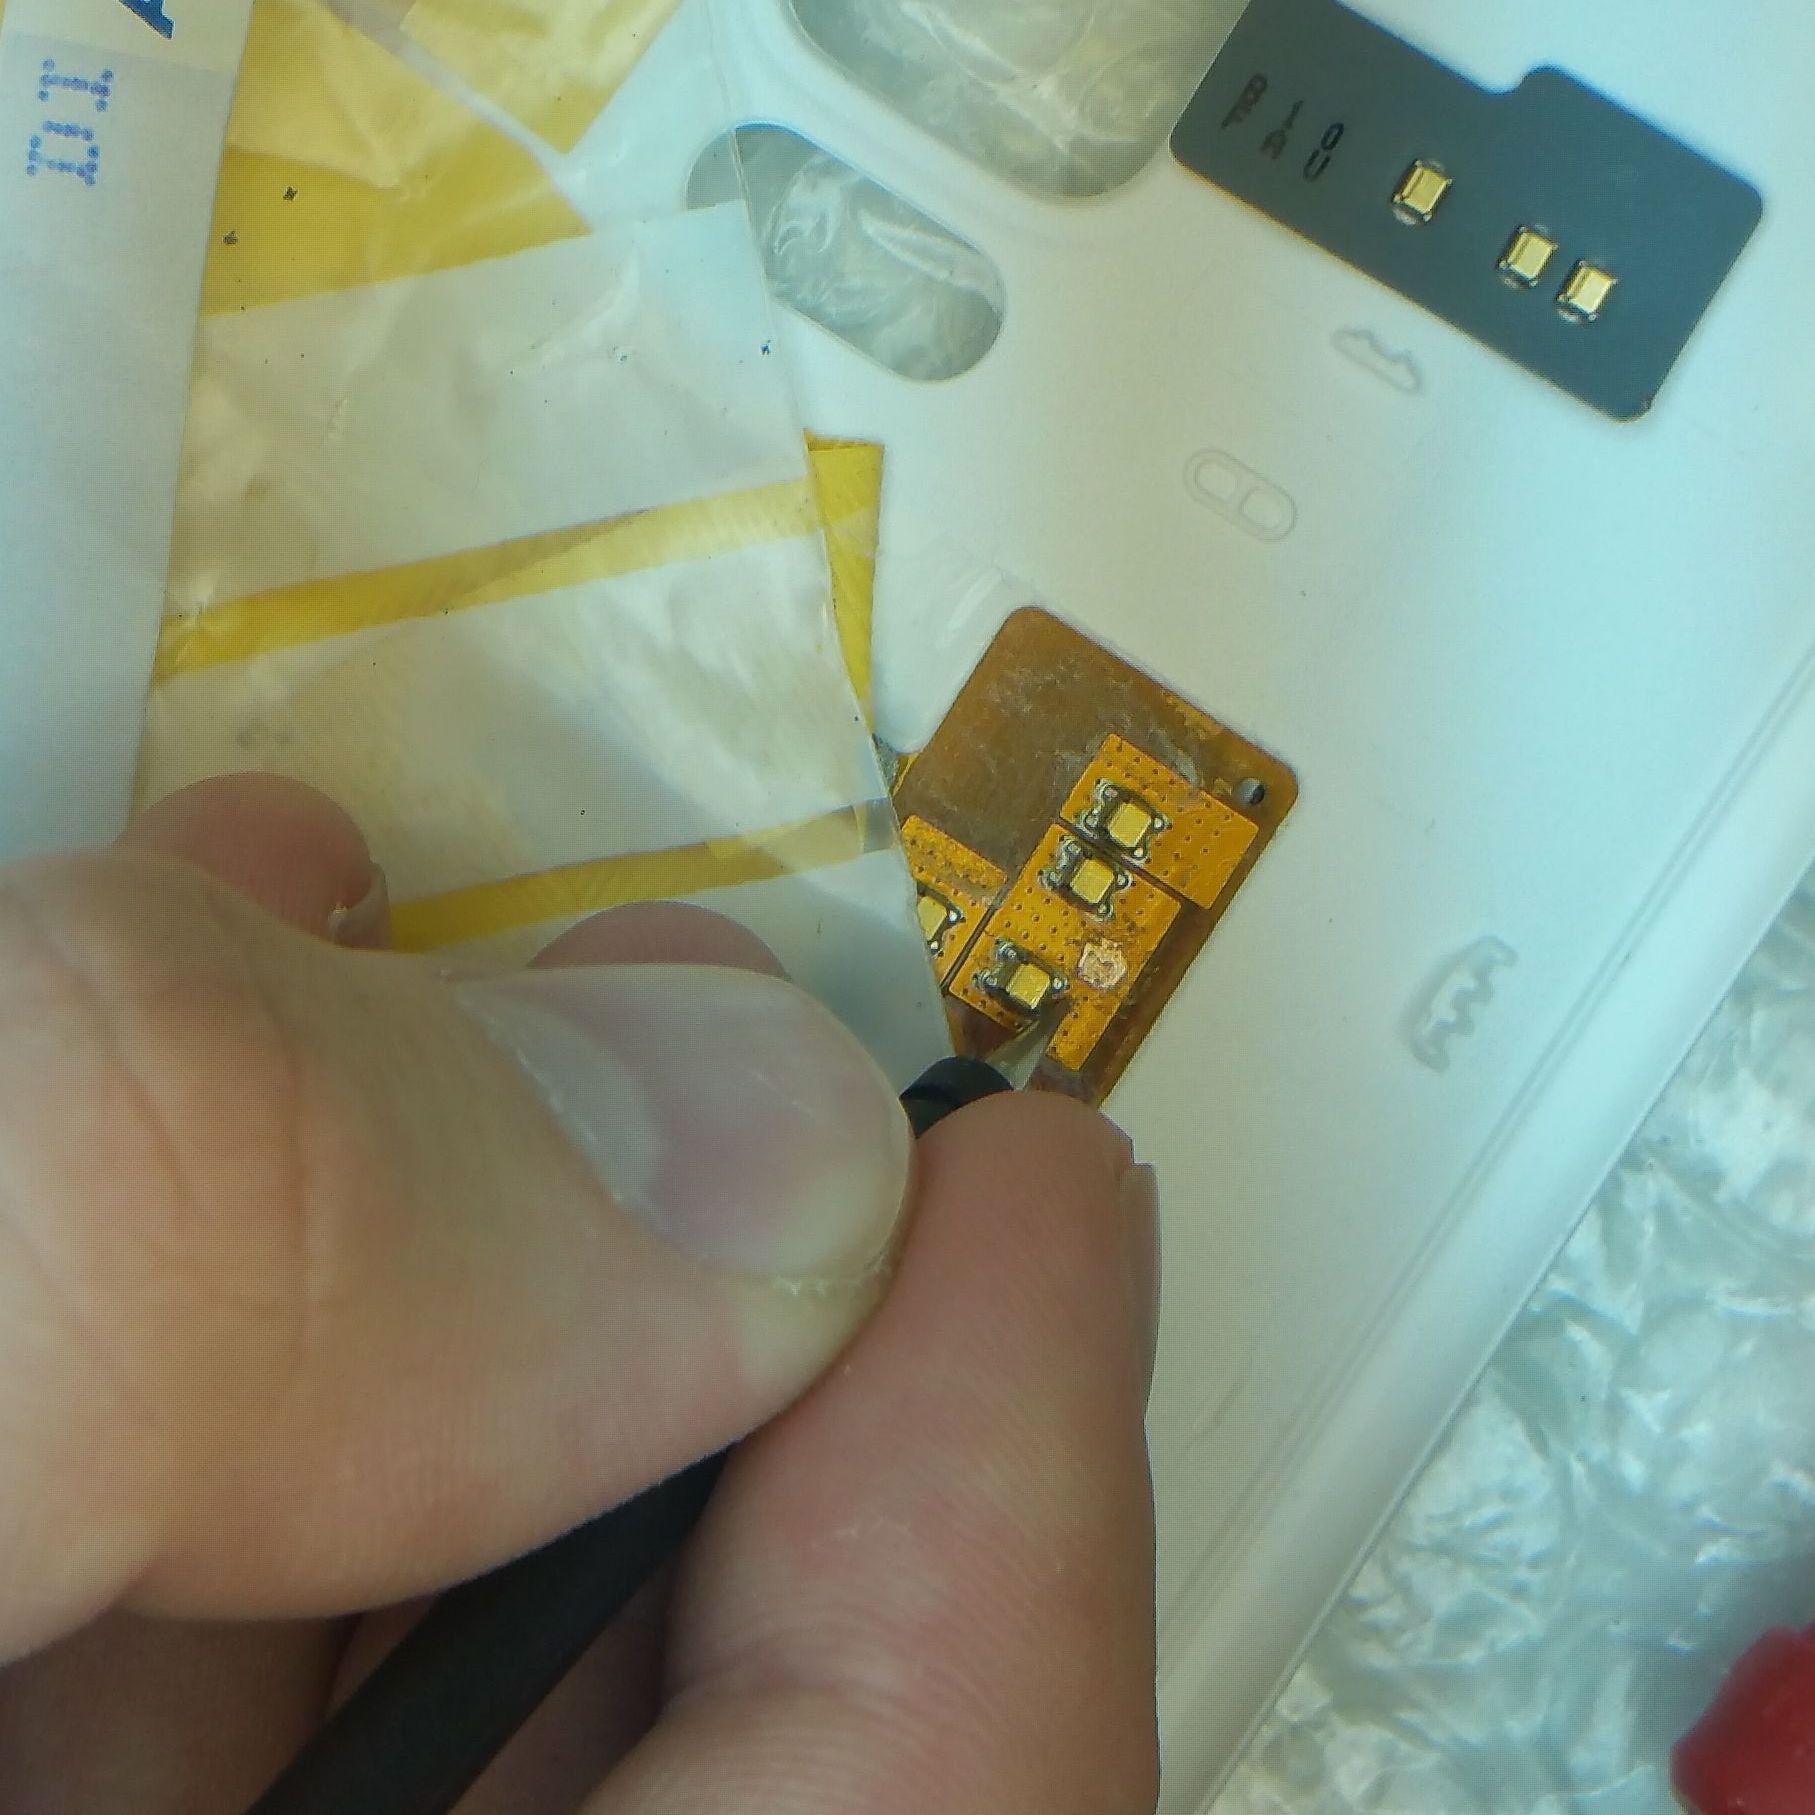
Step 2: Remove the small 3 pin circuit board
Now remove the small 3 pin board from the flip wallet cover. Make sure you do not damage the chip of the board. Make sure that you are grounded when you touching the circuit. I have damaged the chip and I had to buy a new flip wallet cover. (on the last picture I have already solder wire on the circuit)
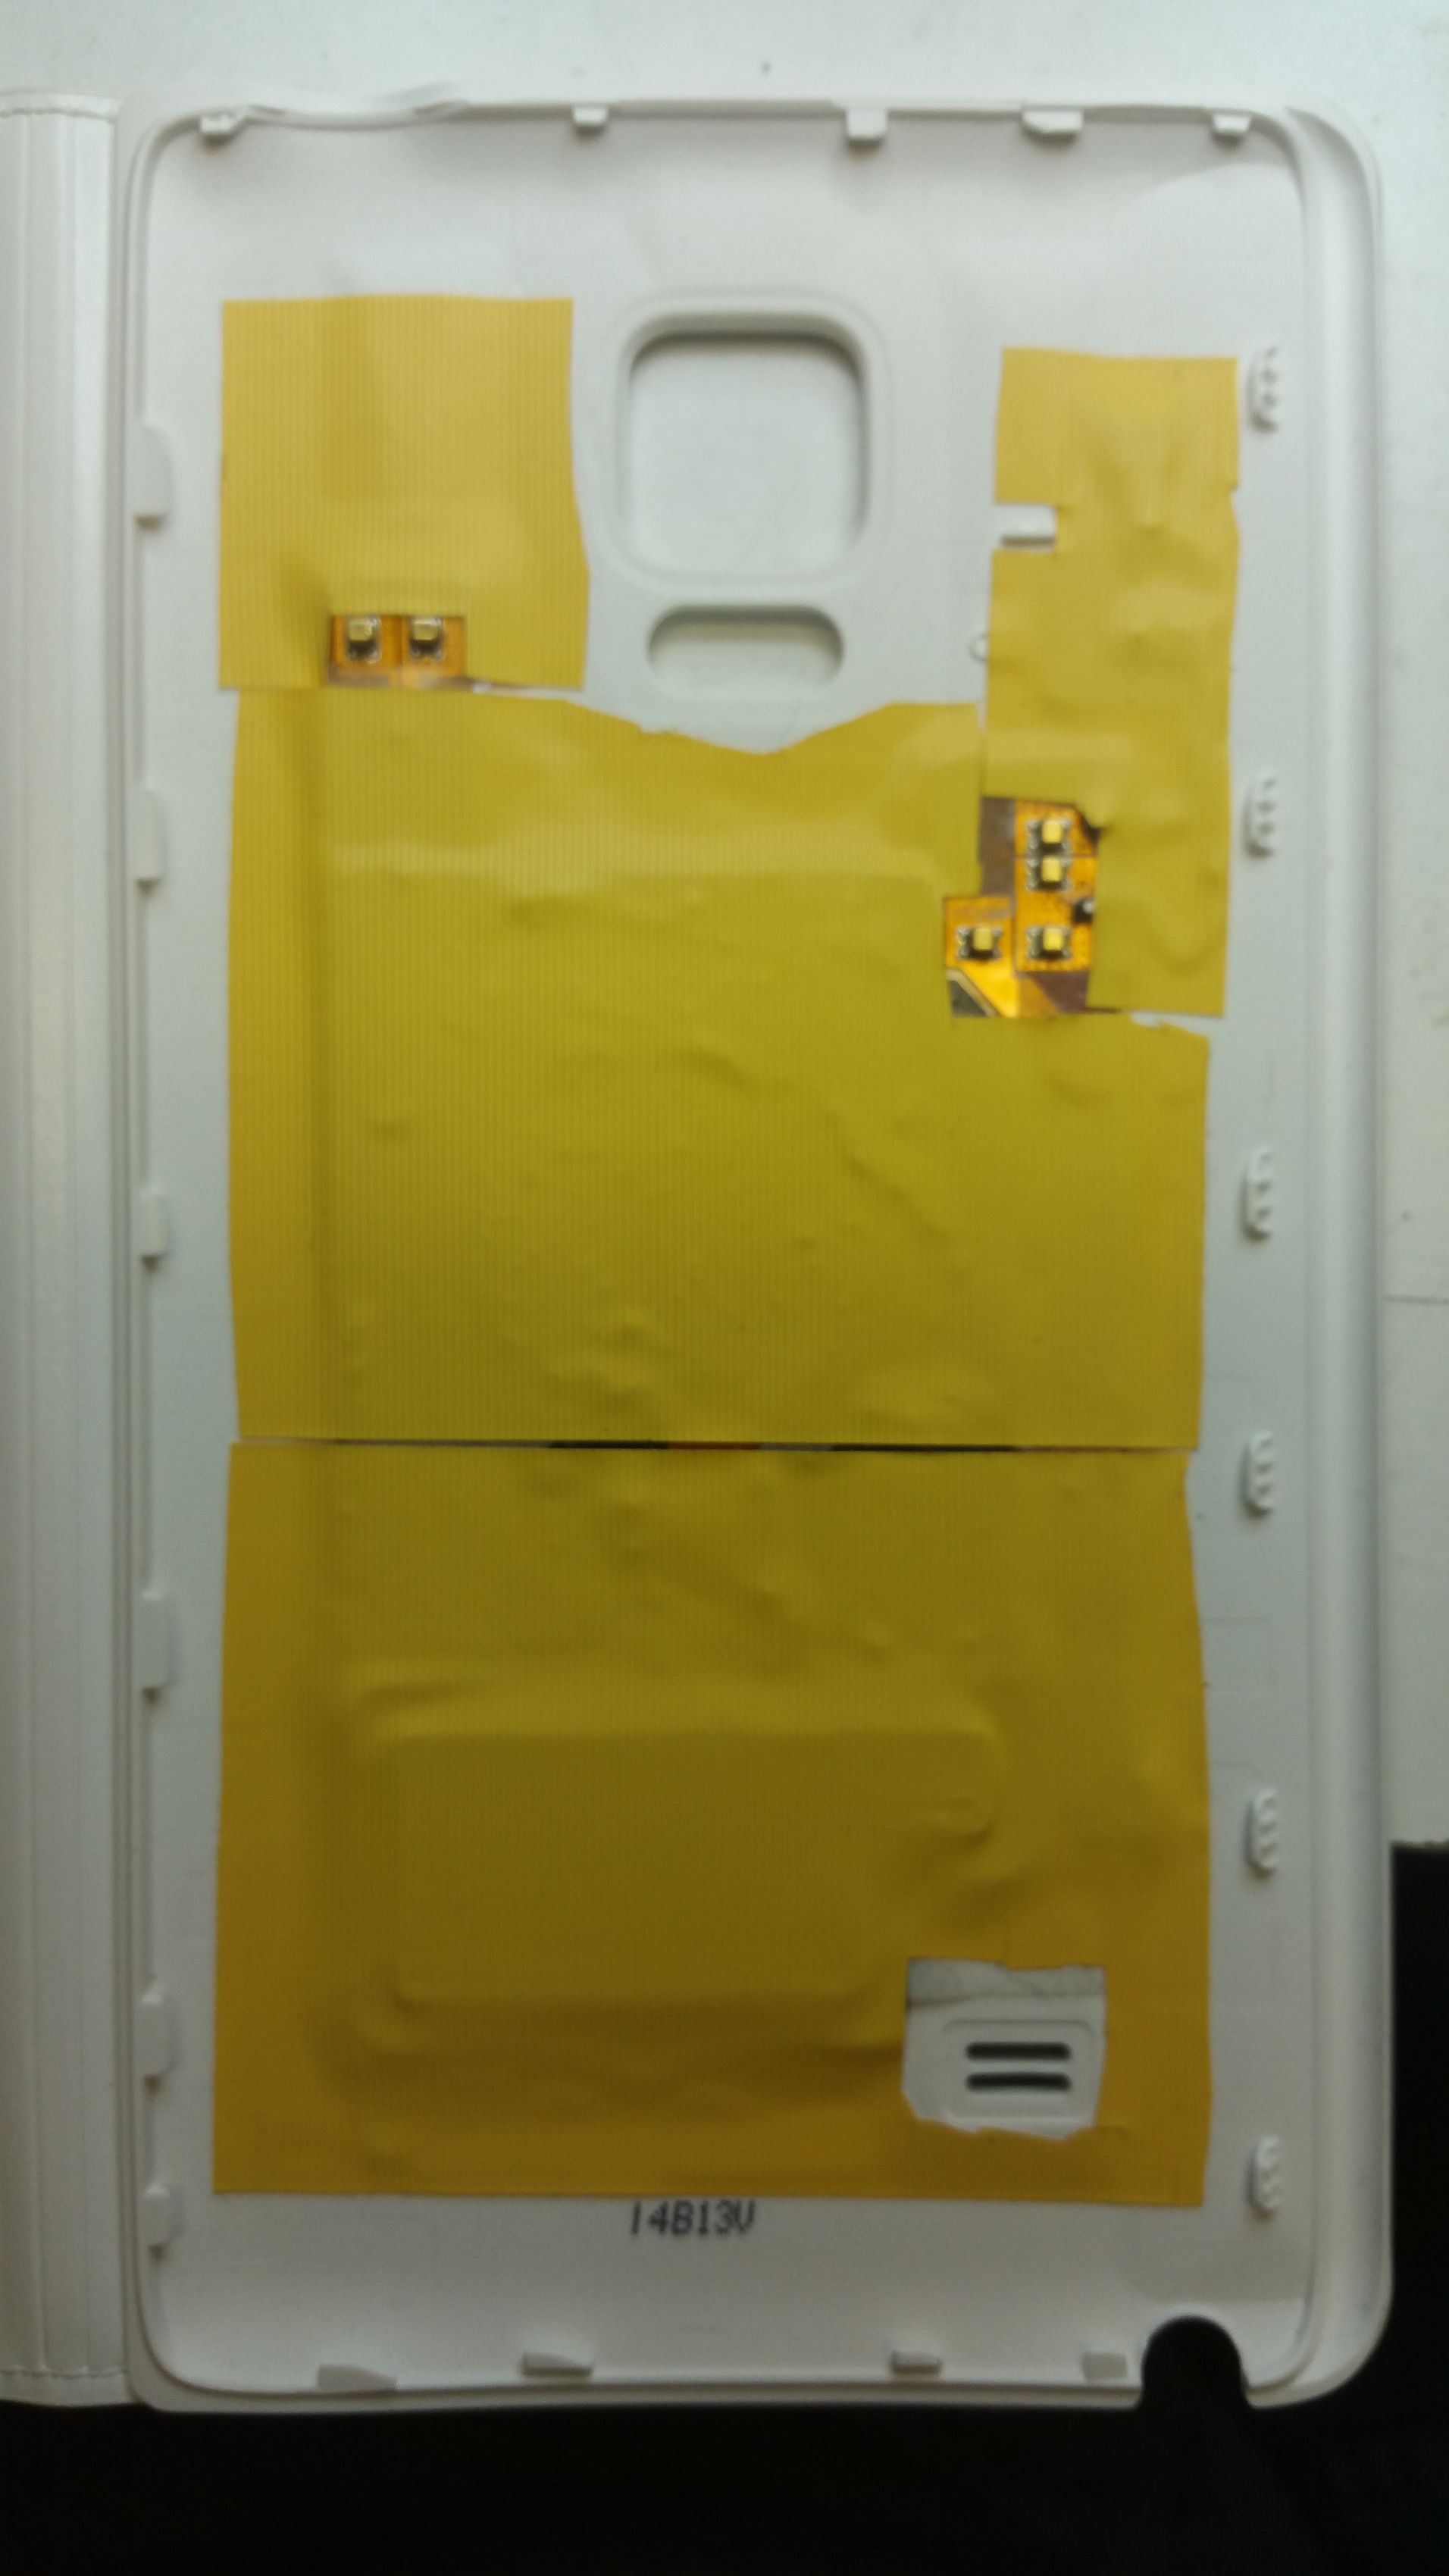
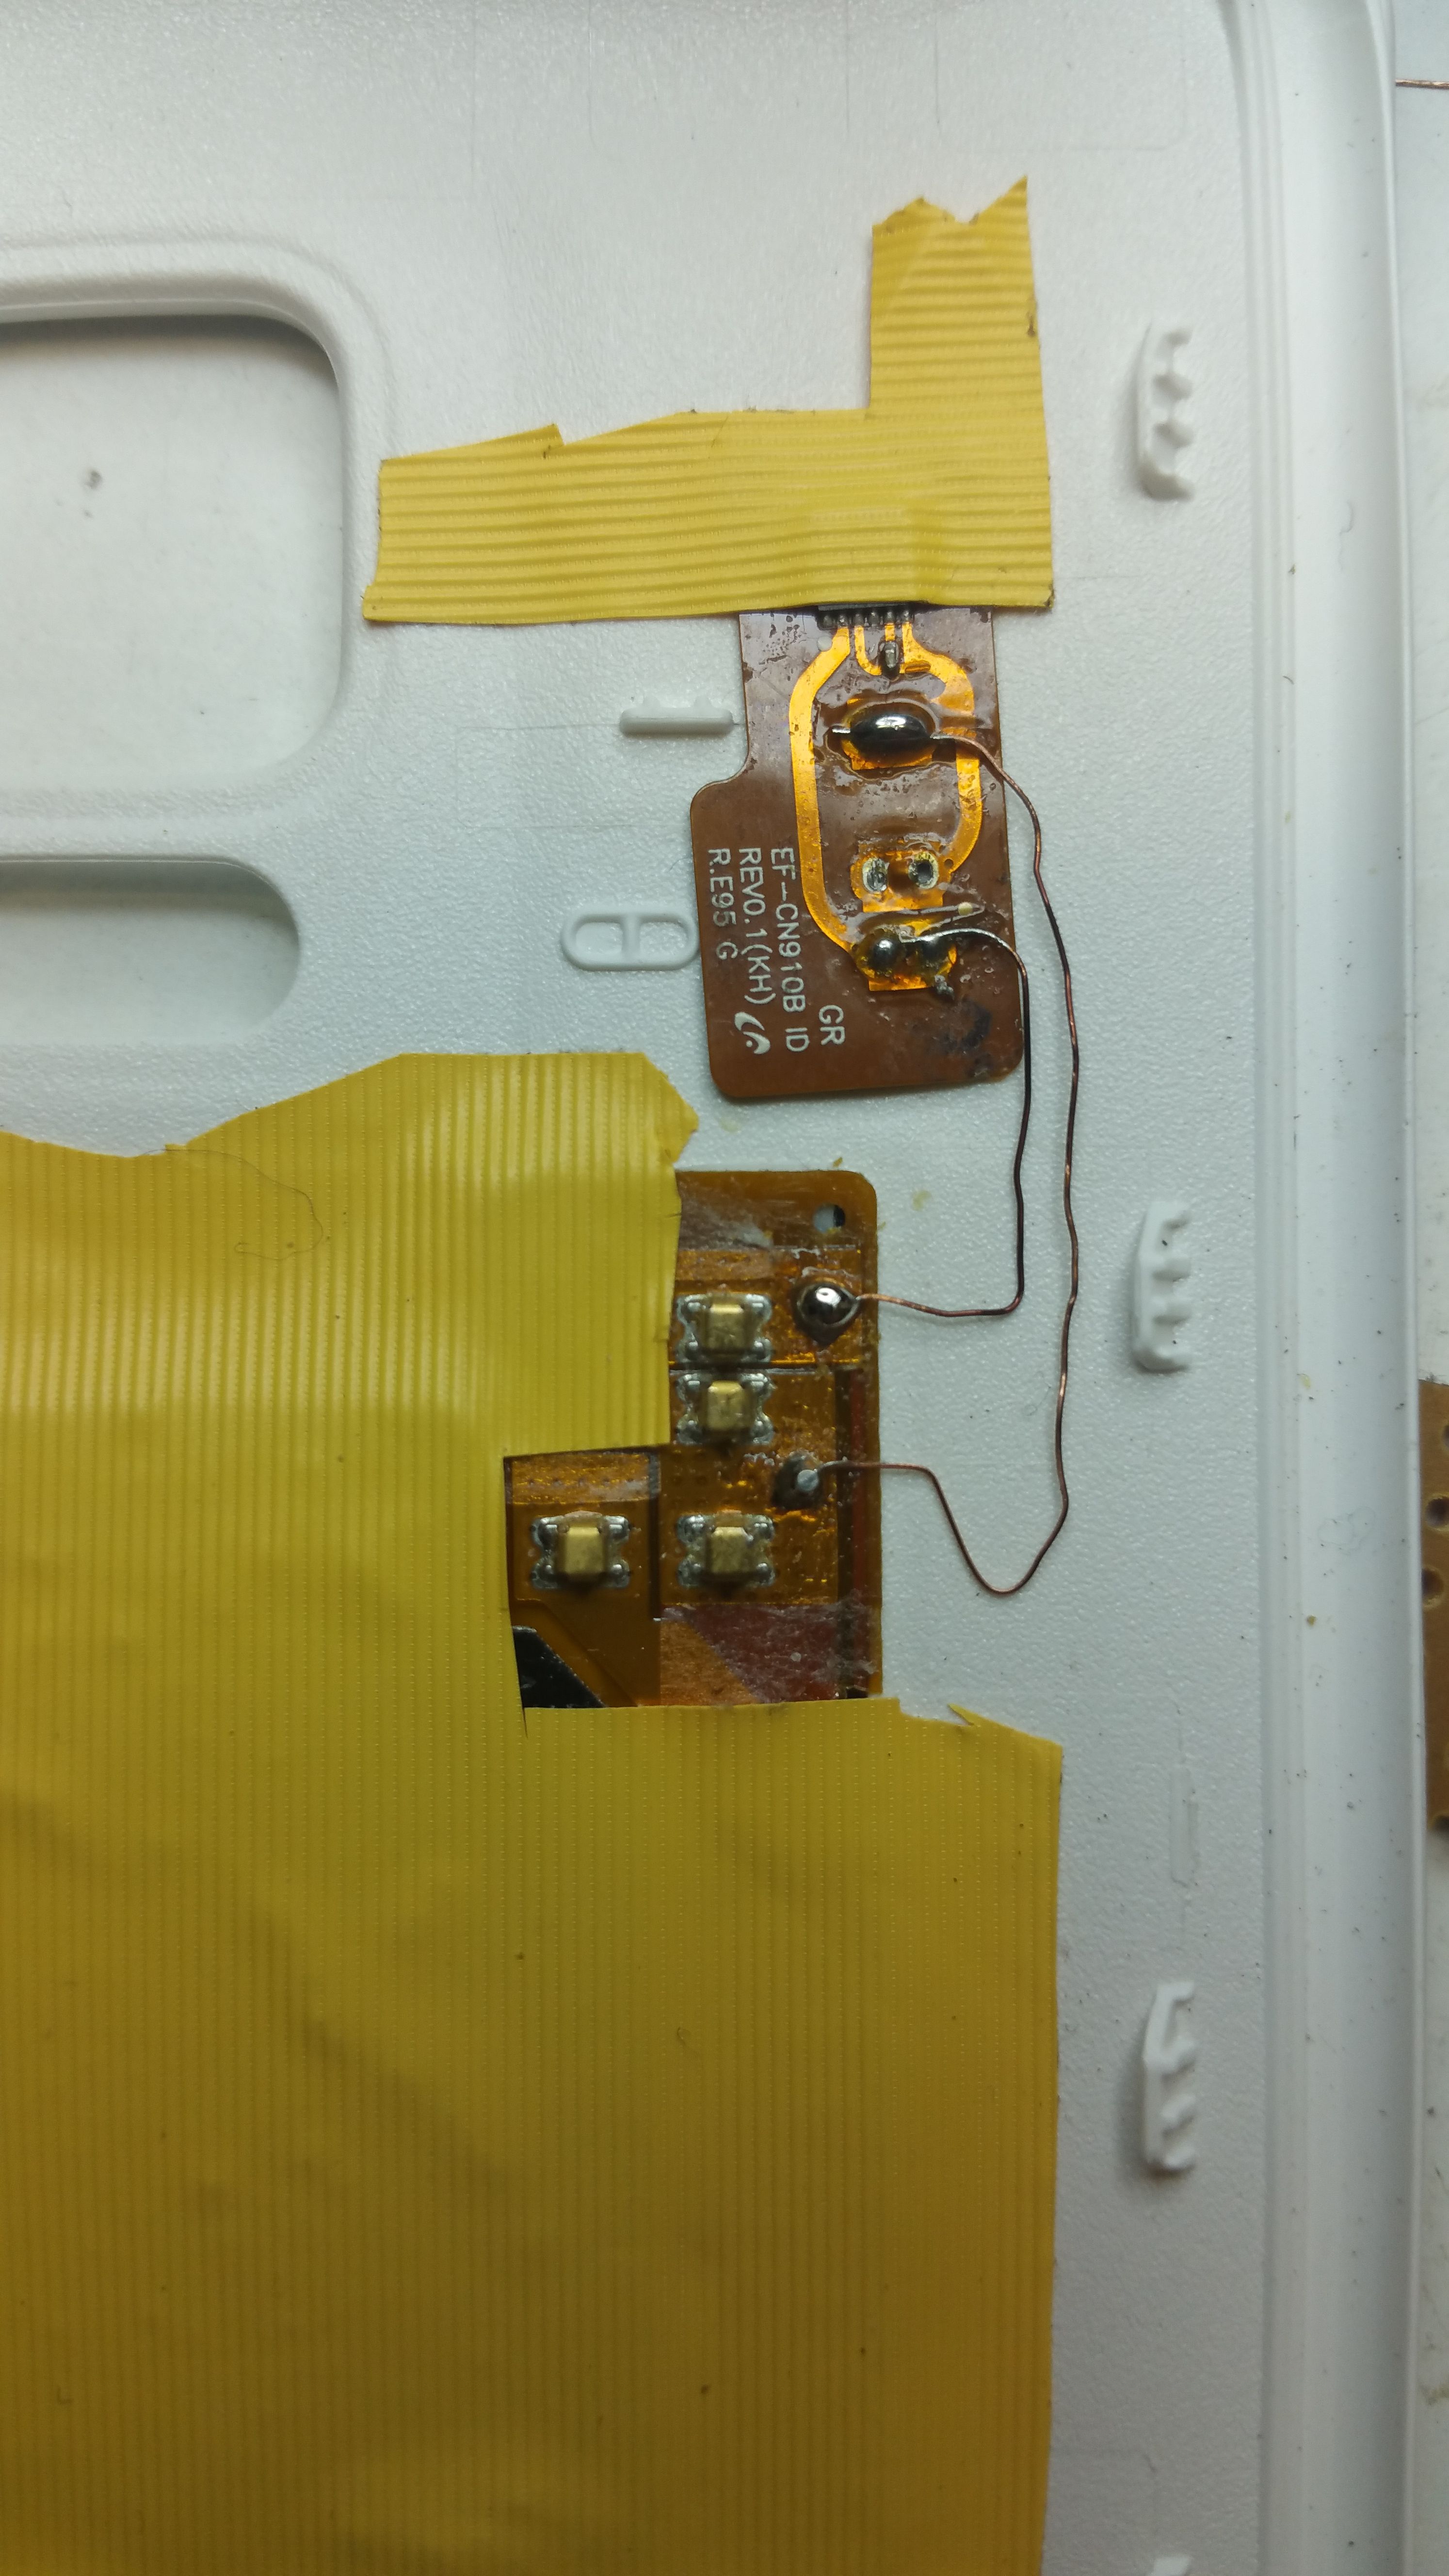
Step 3: put the coil on the flip wallet cover
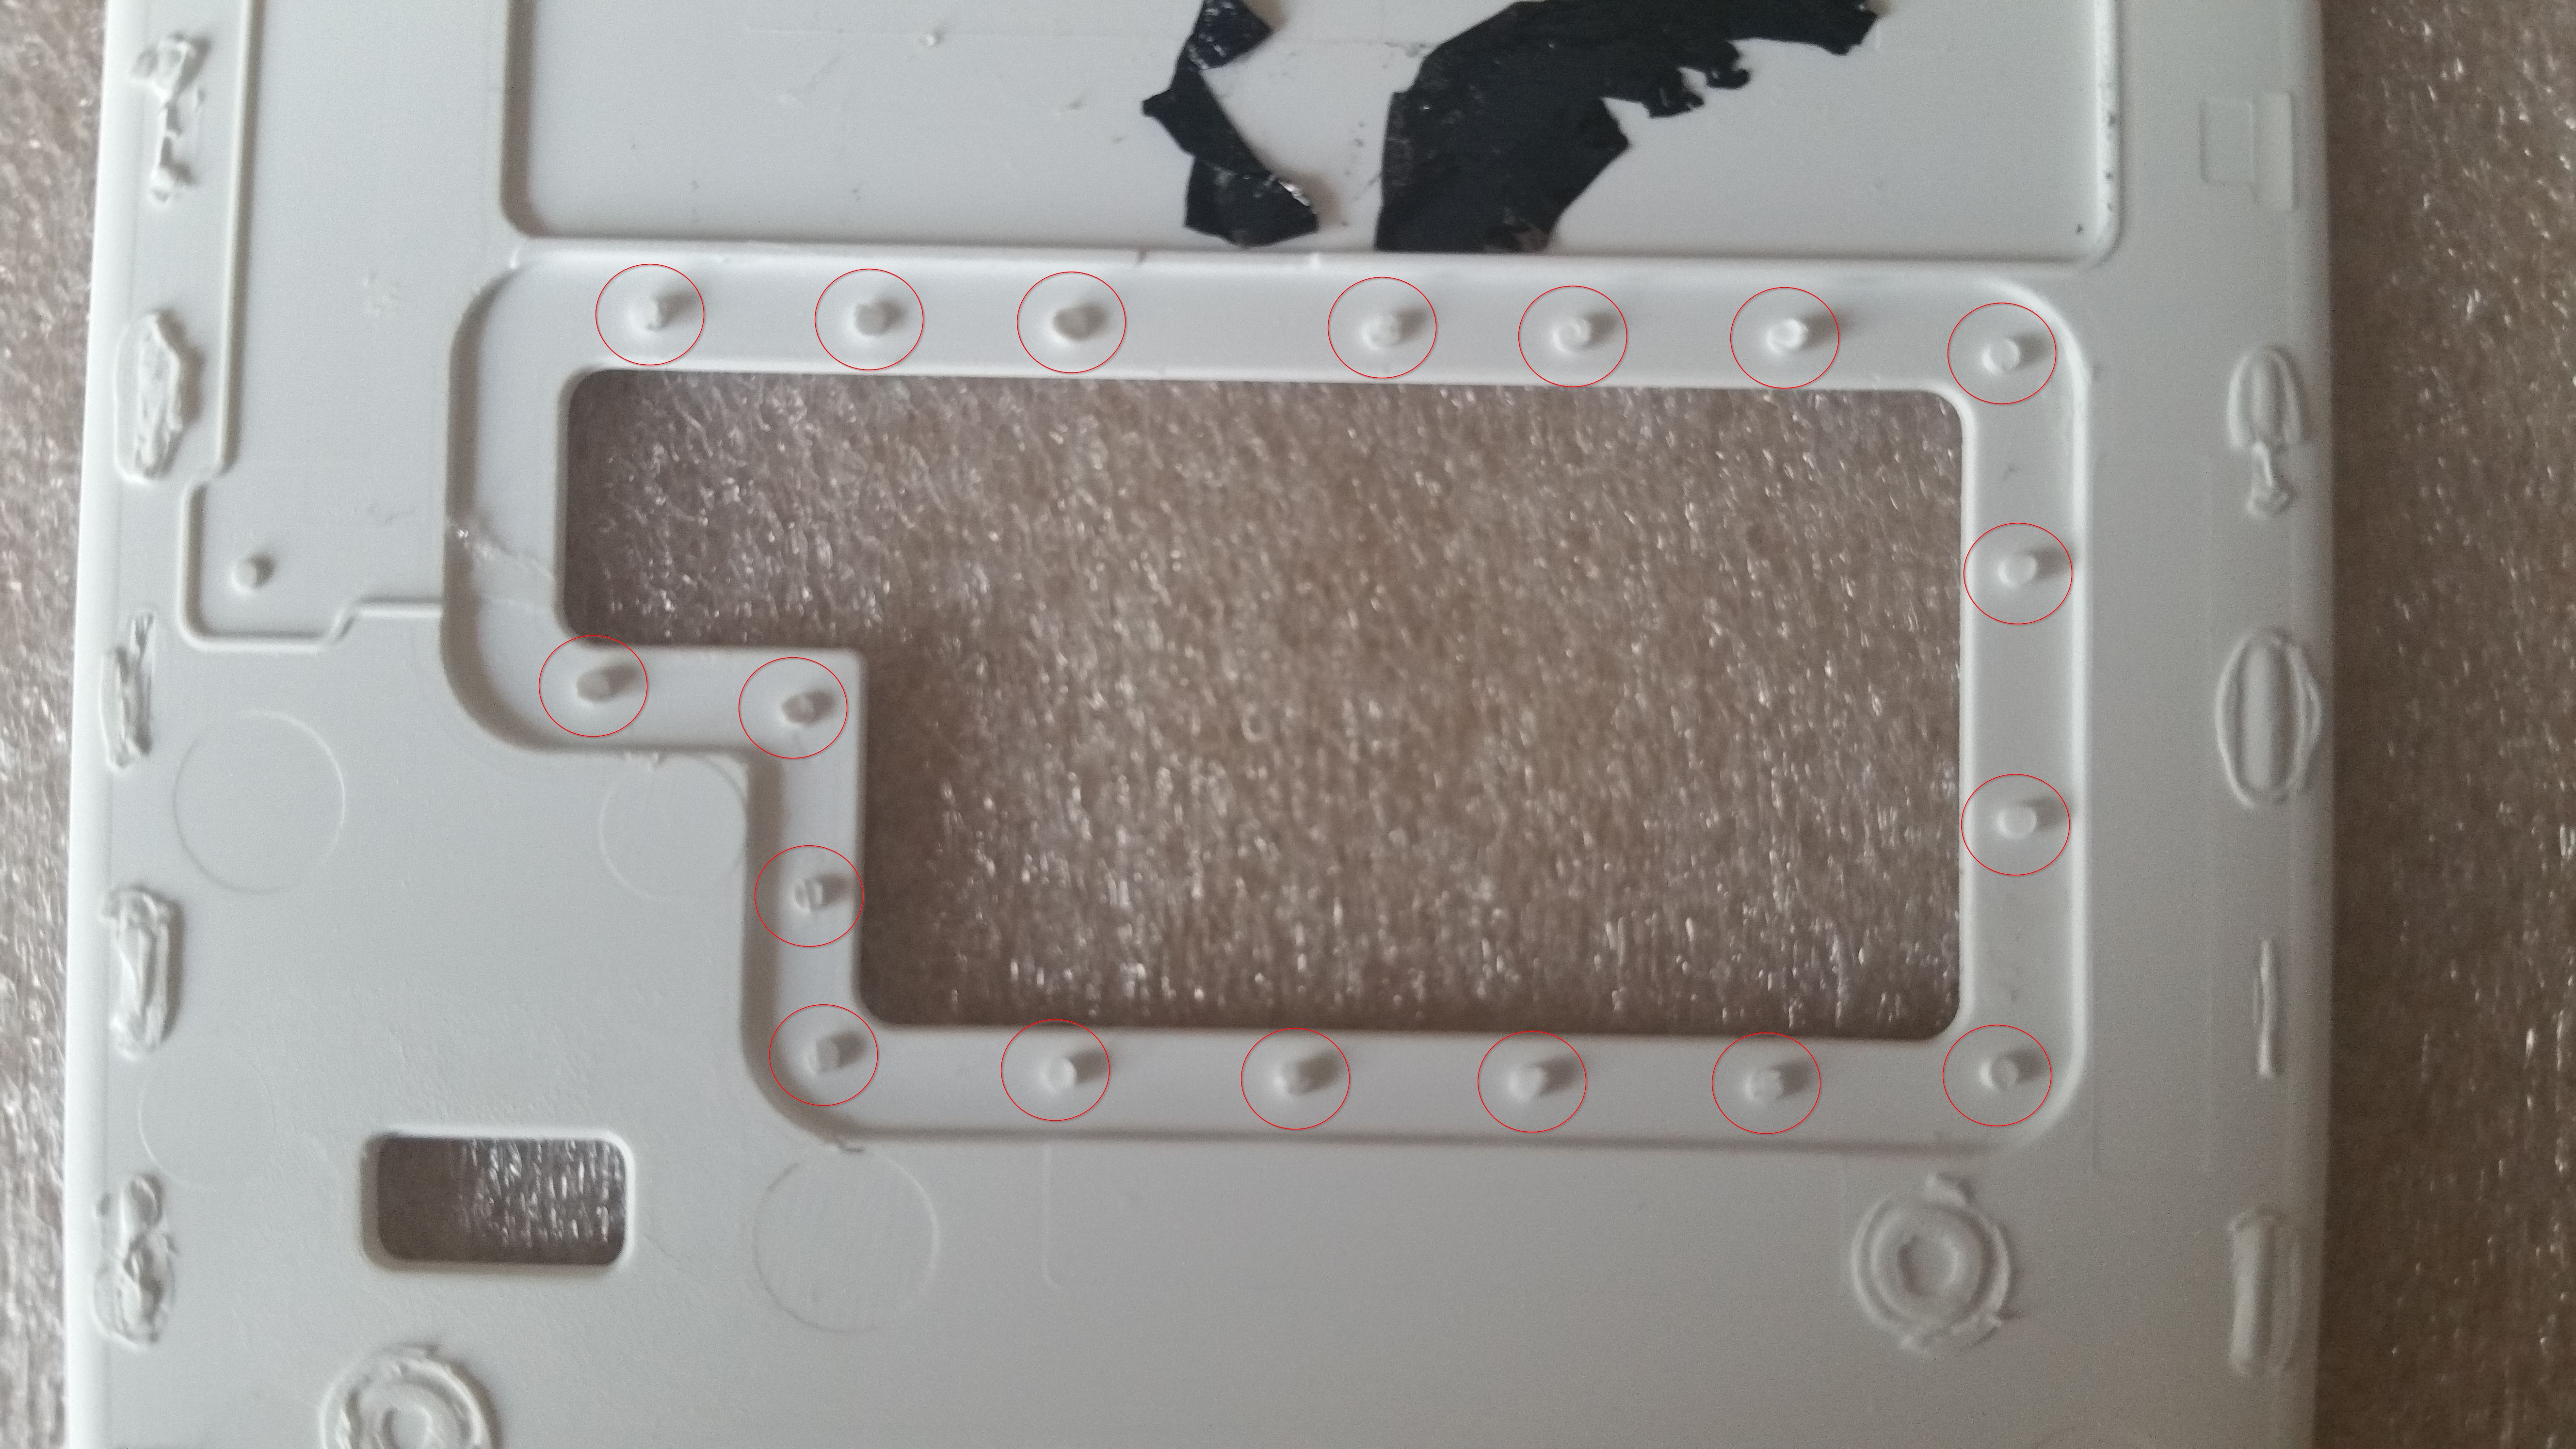
Use two-sided adhesive tape to glue the from step 1 removed coil on the inside of the flip wallet cover. Use the three holes in the flip wallet cover (where the circuit was before step 2) to correctly place pins 4-6. Use a film or tape to cover the electric components.
Now the wireless charging should already work. For steps 1-3 there is a better instruction here(source). It is in German, but the photos are anyway helpful.
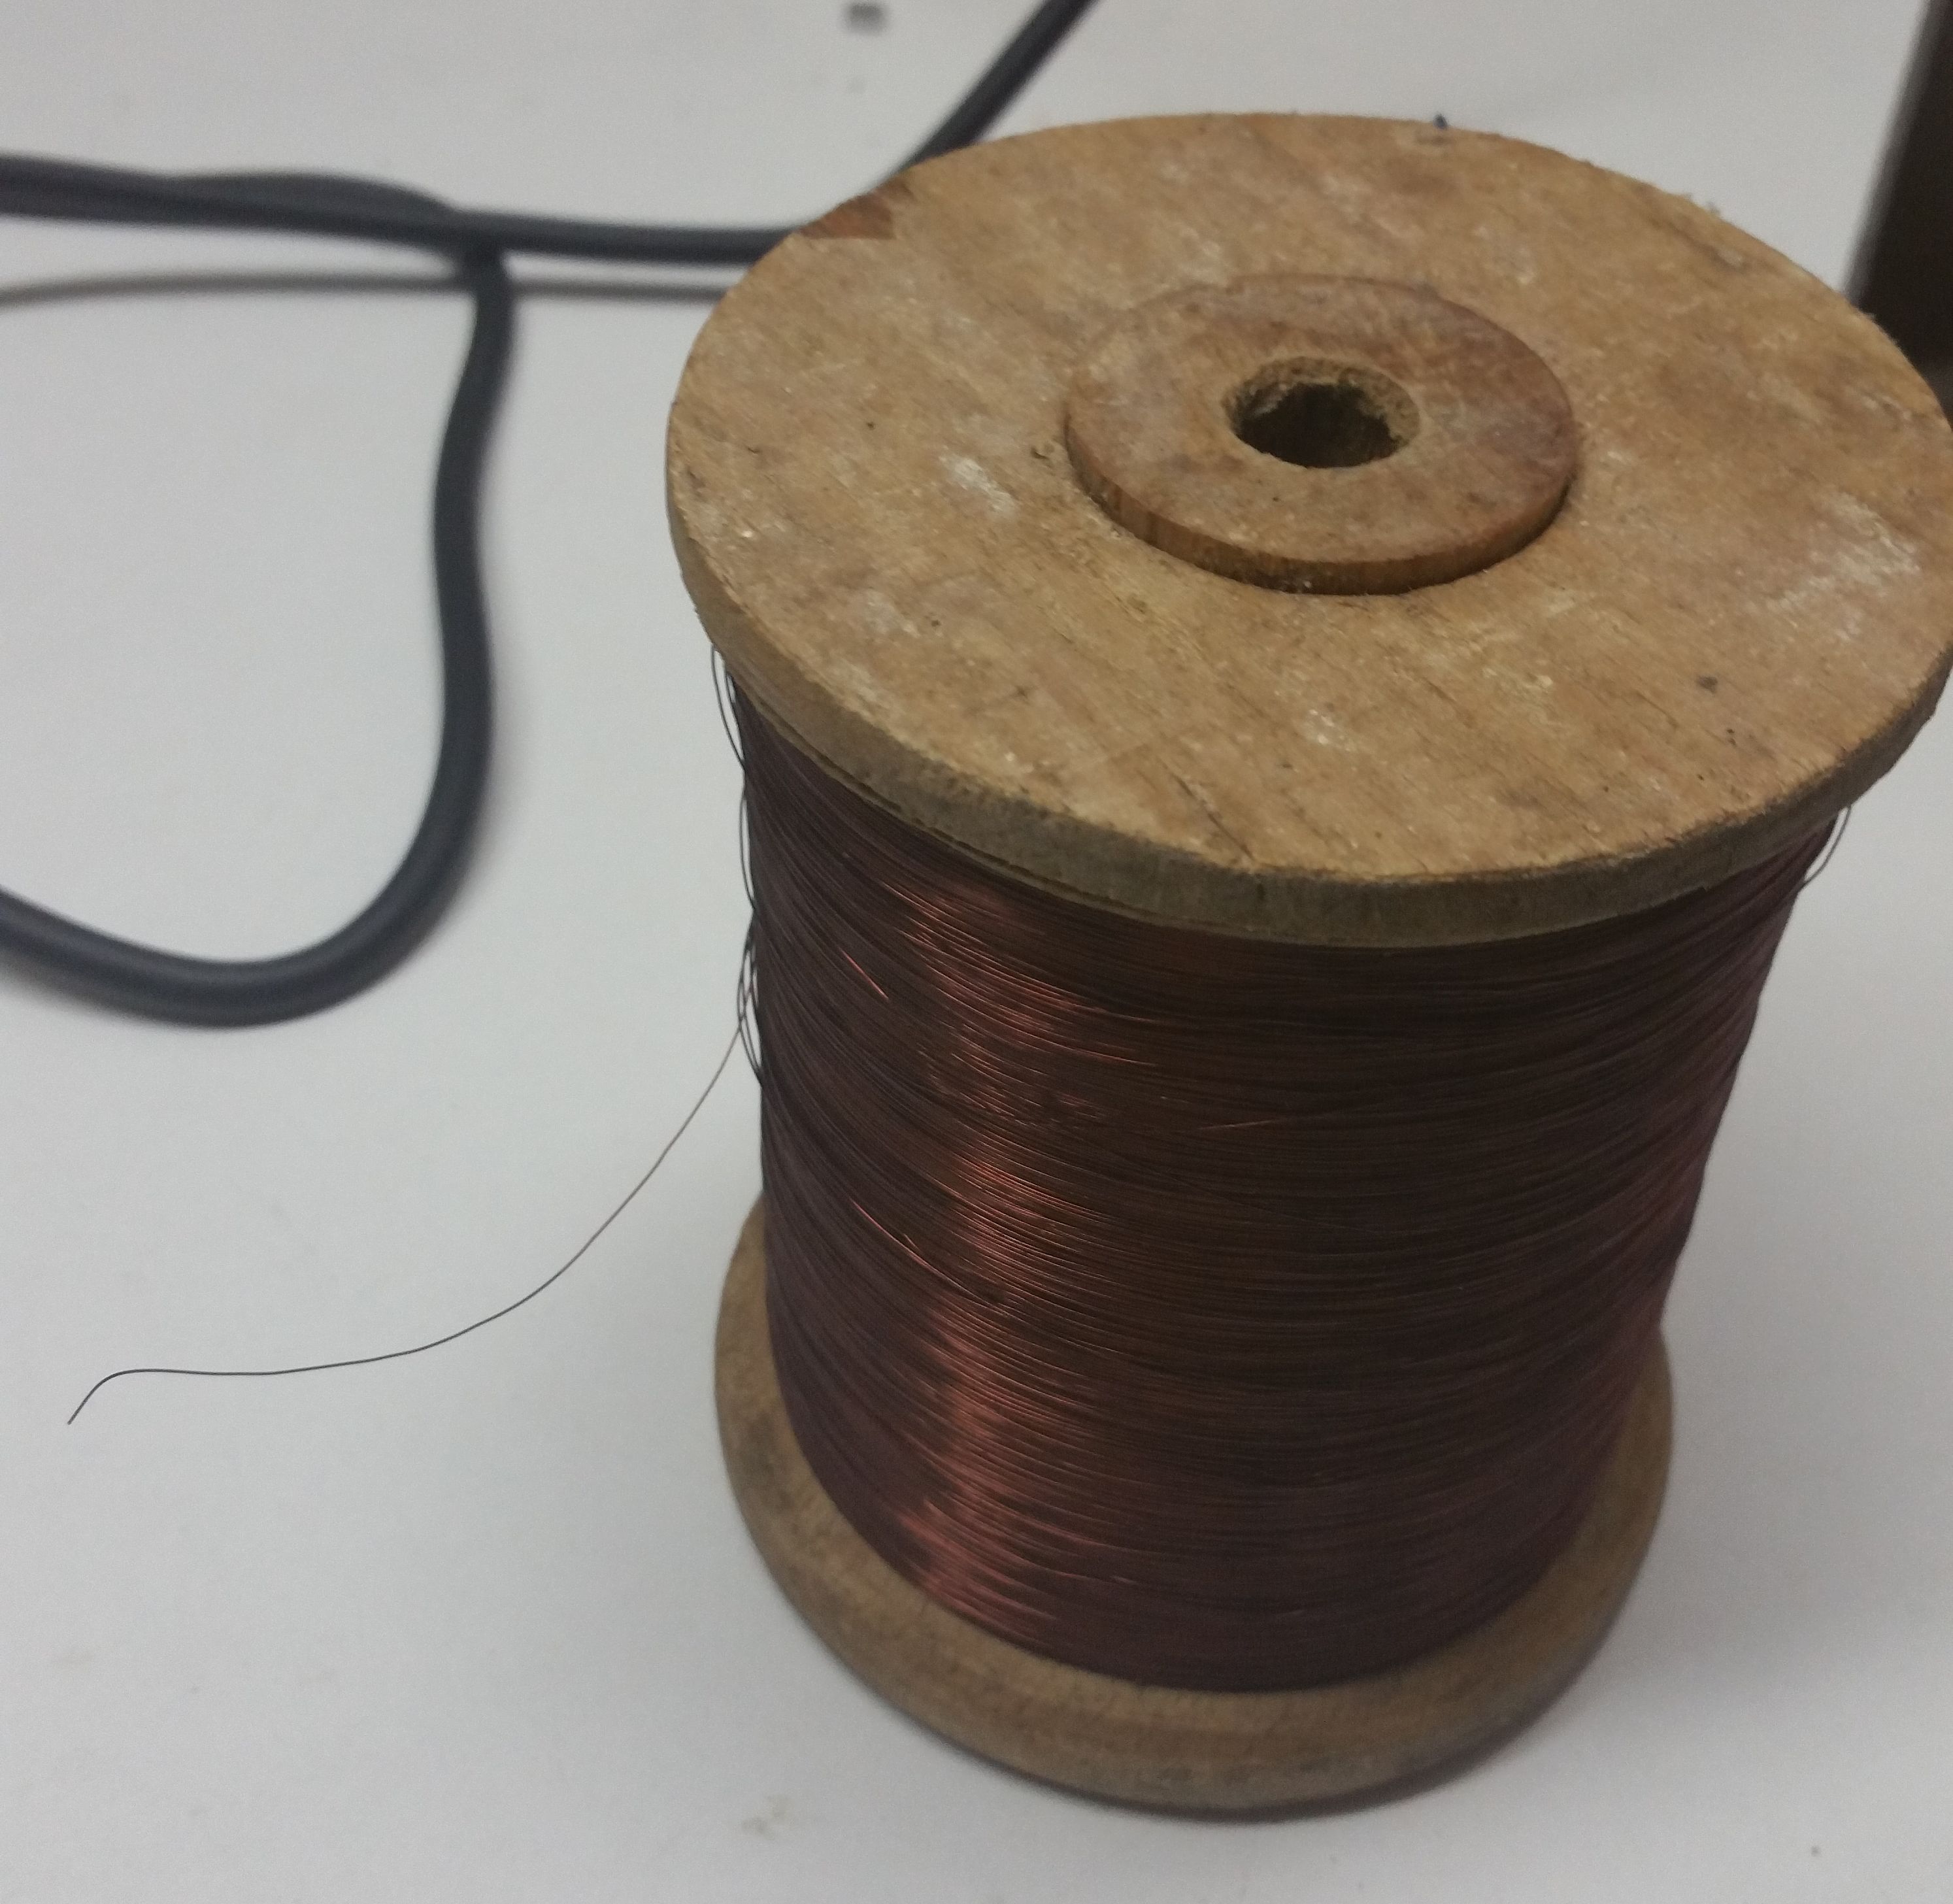
Step 4: Prepare the wires
Now we need two short isolated electrically wire (like copper). The isolation makes sure that there is no short circuit. Use fine sand paper to deisolate the ends of the wire.
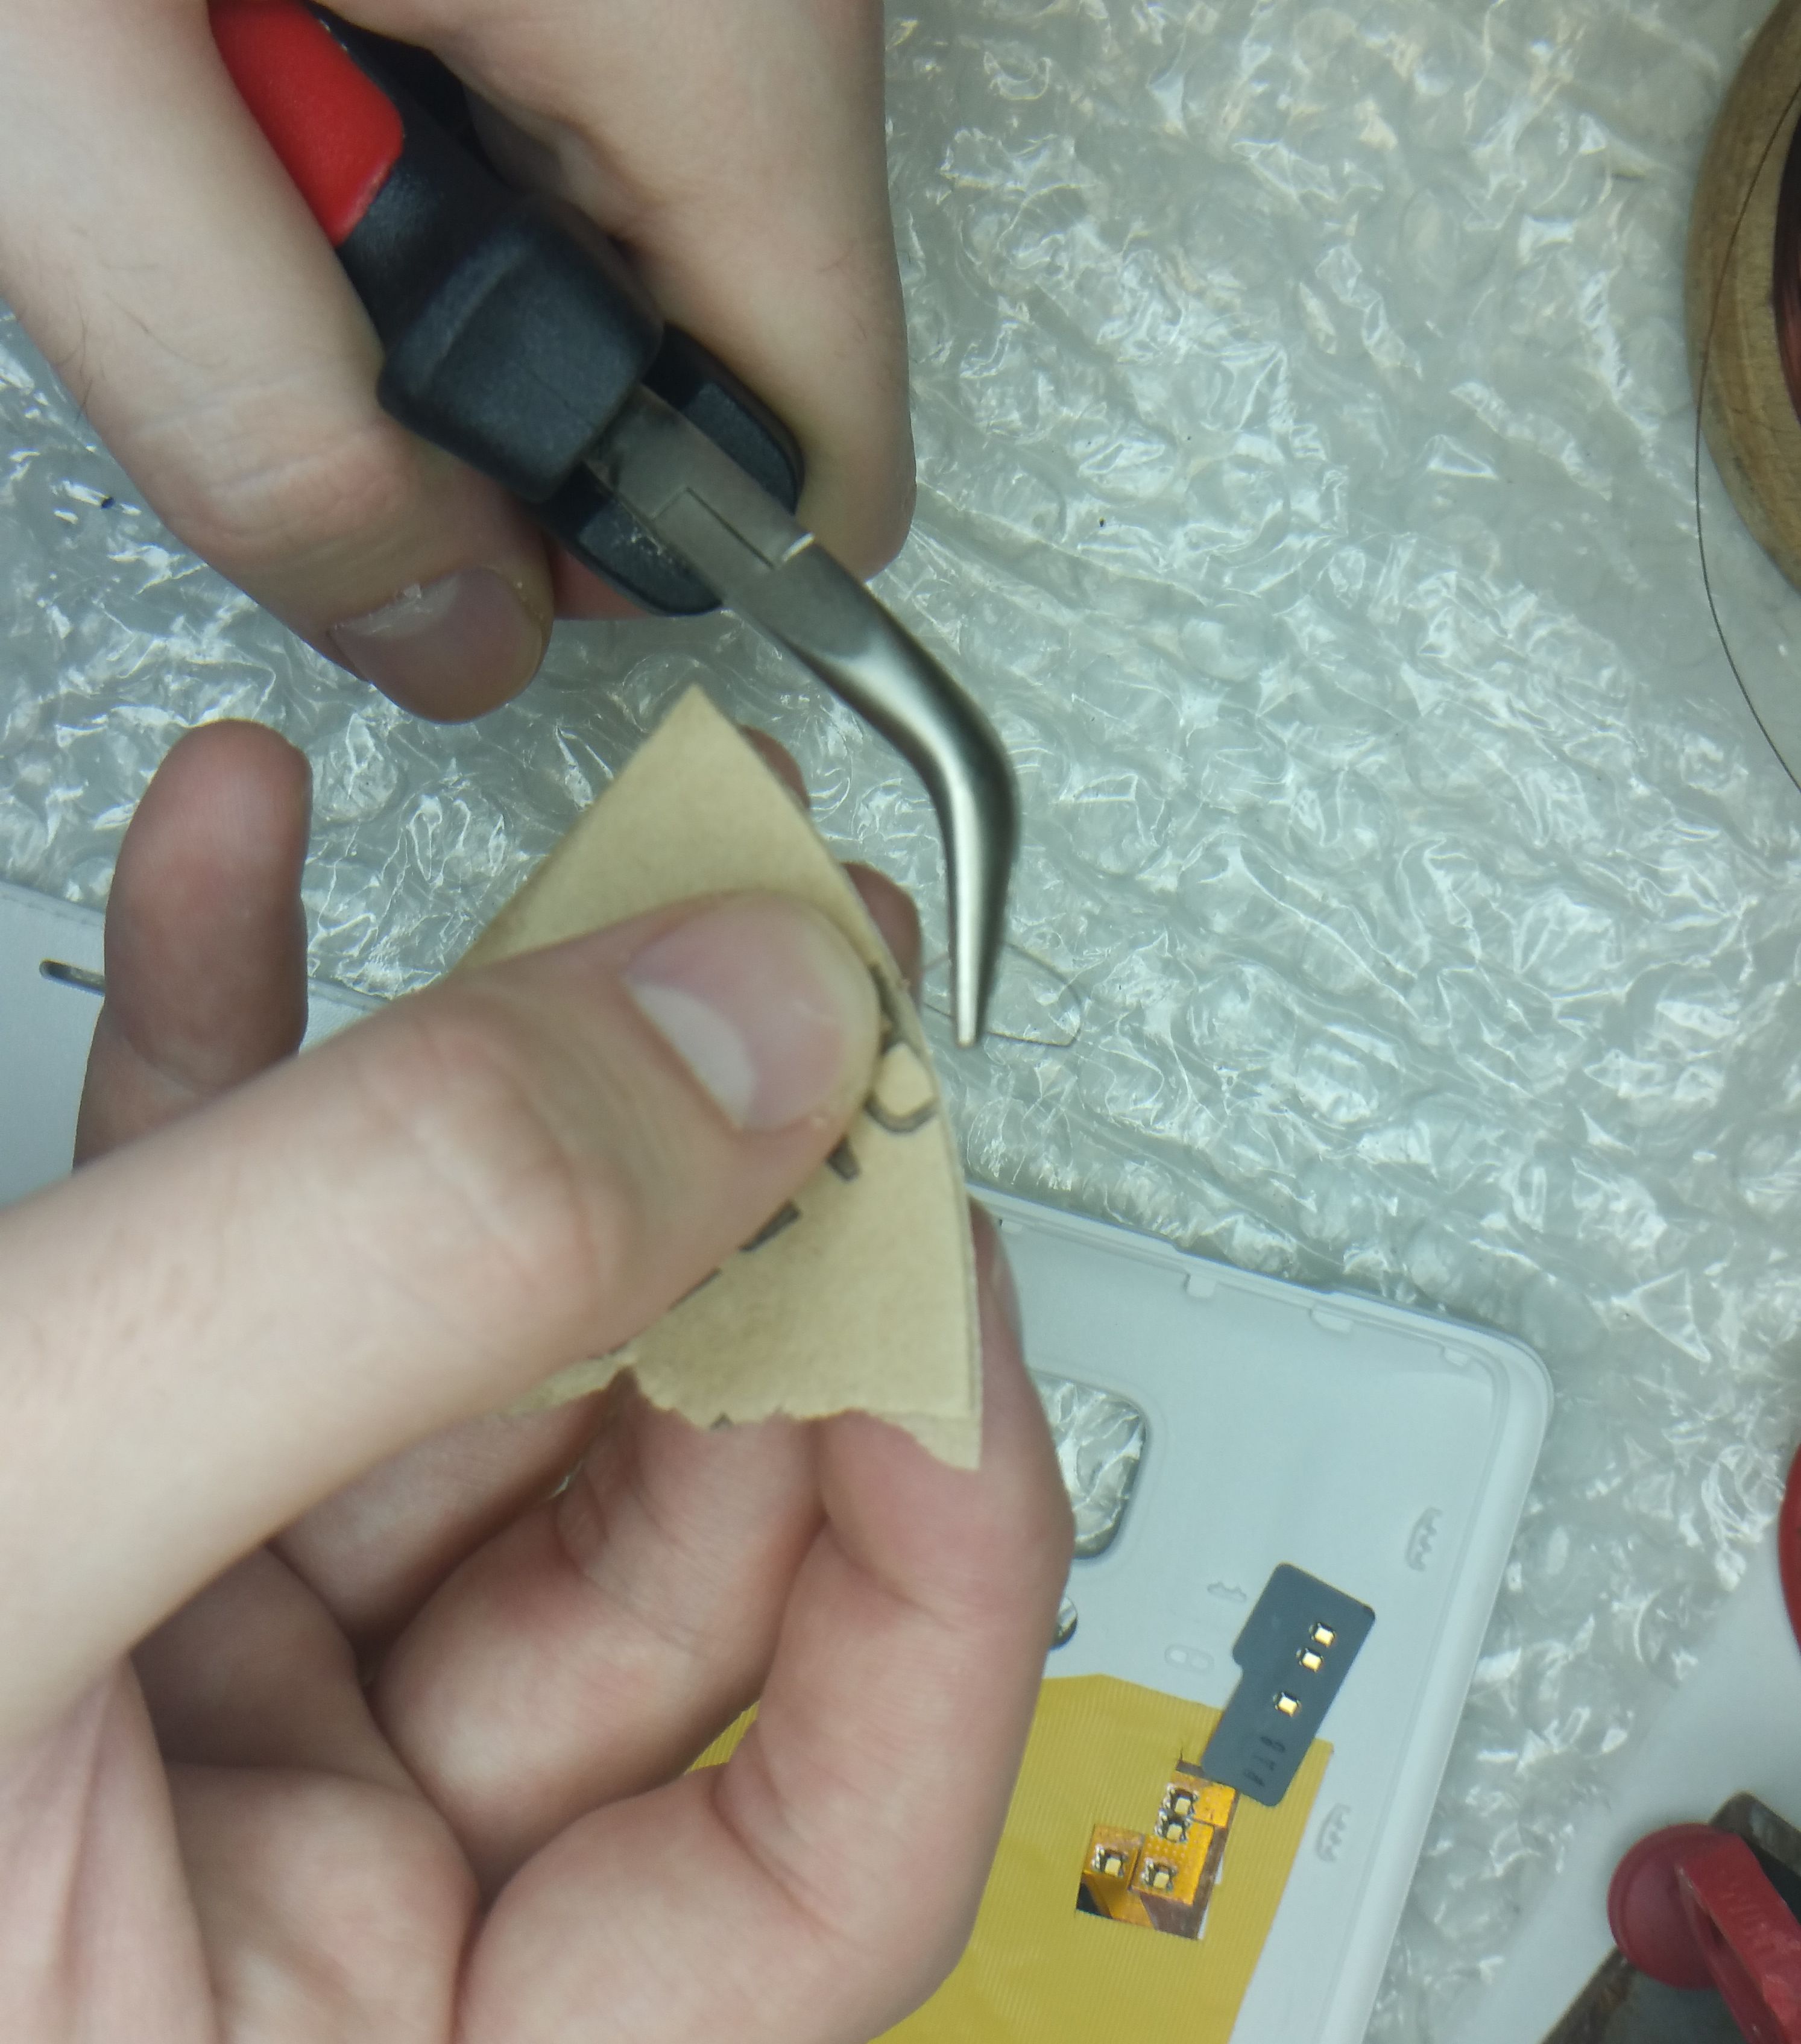
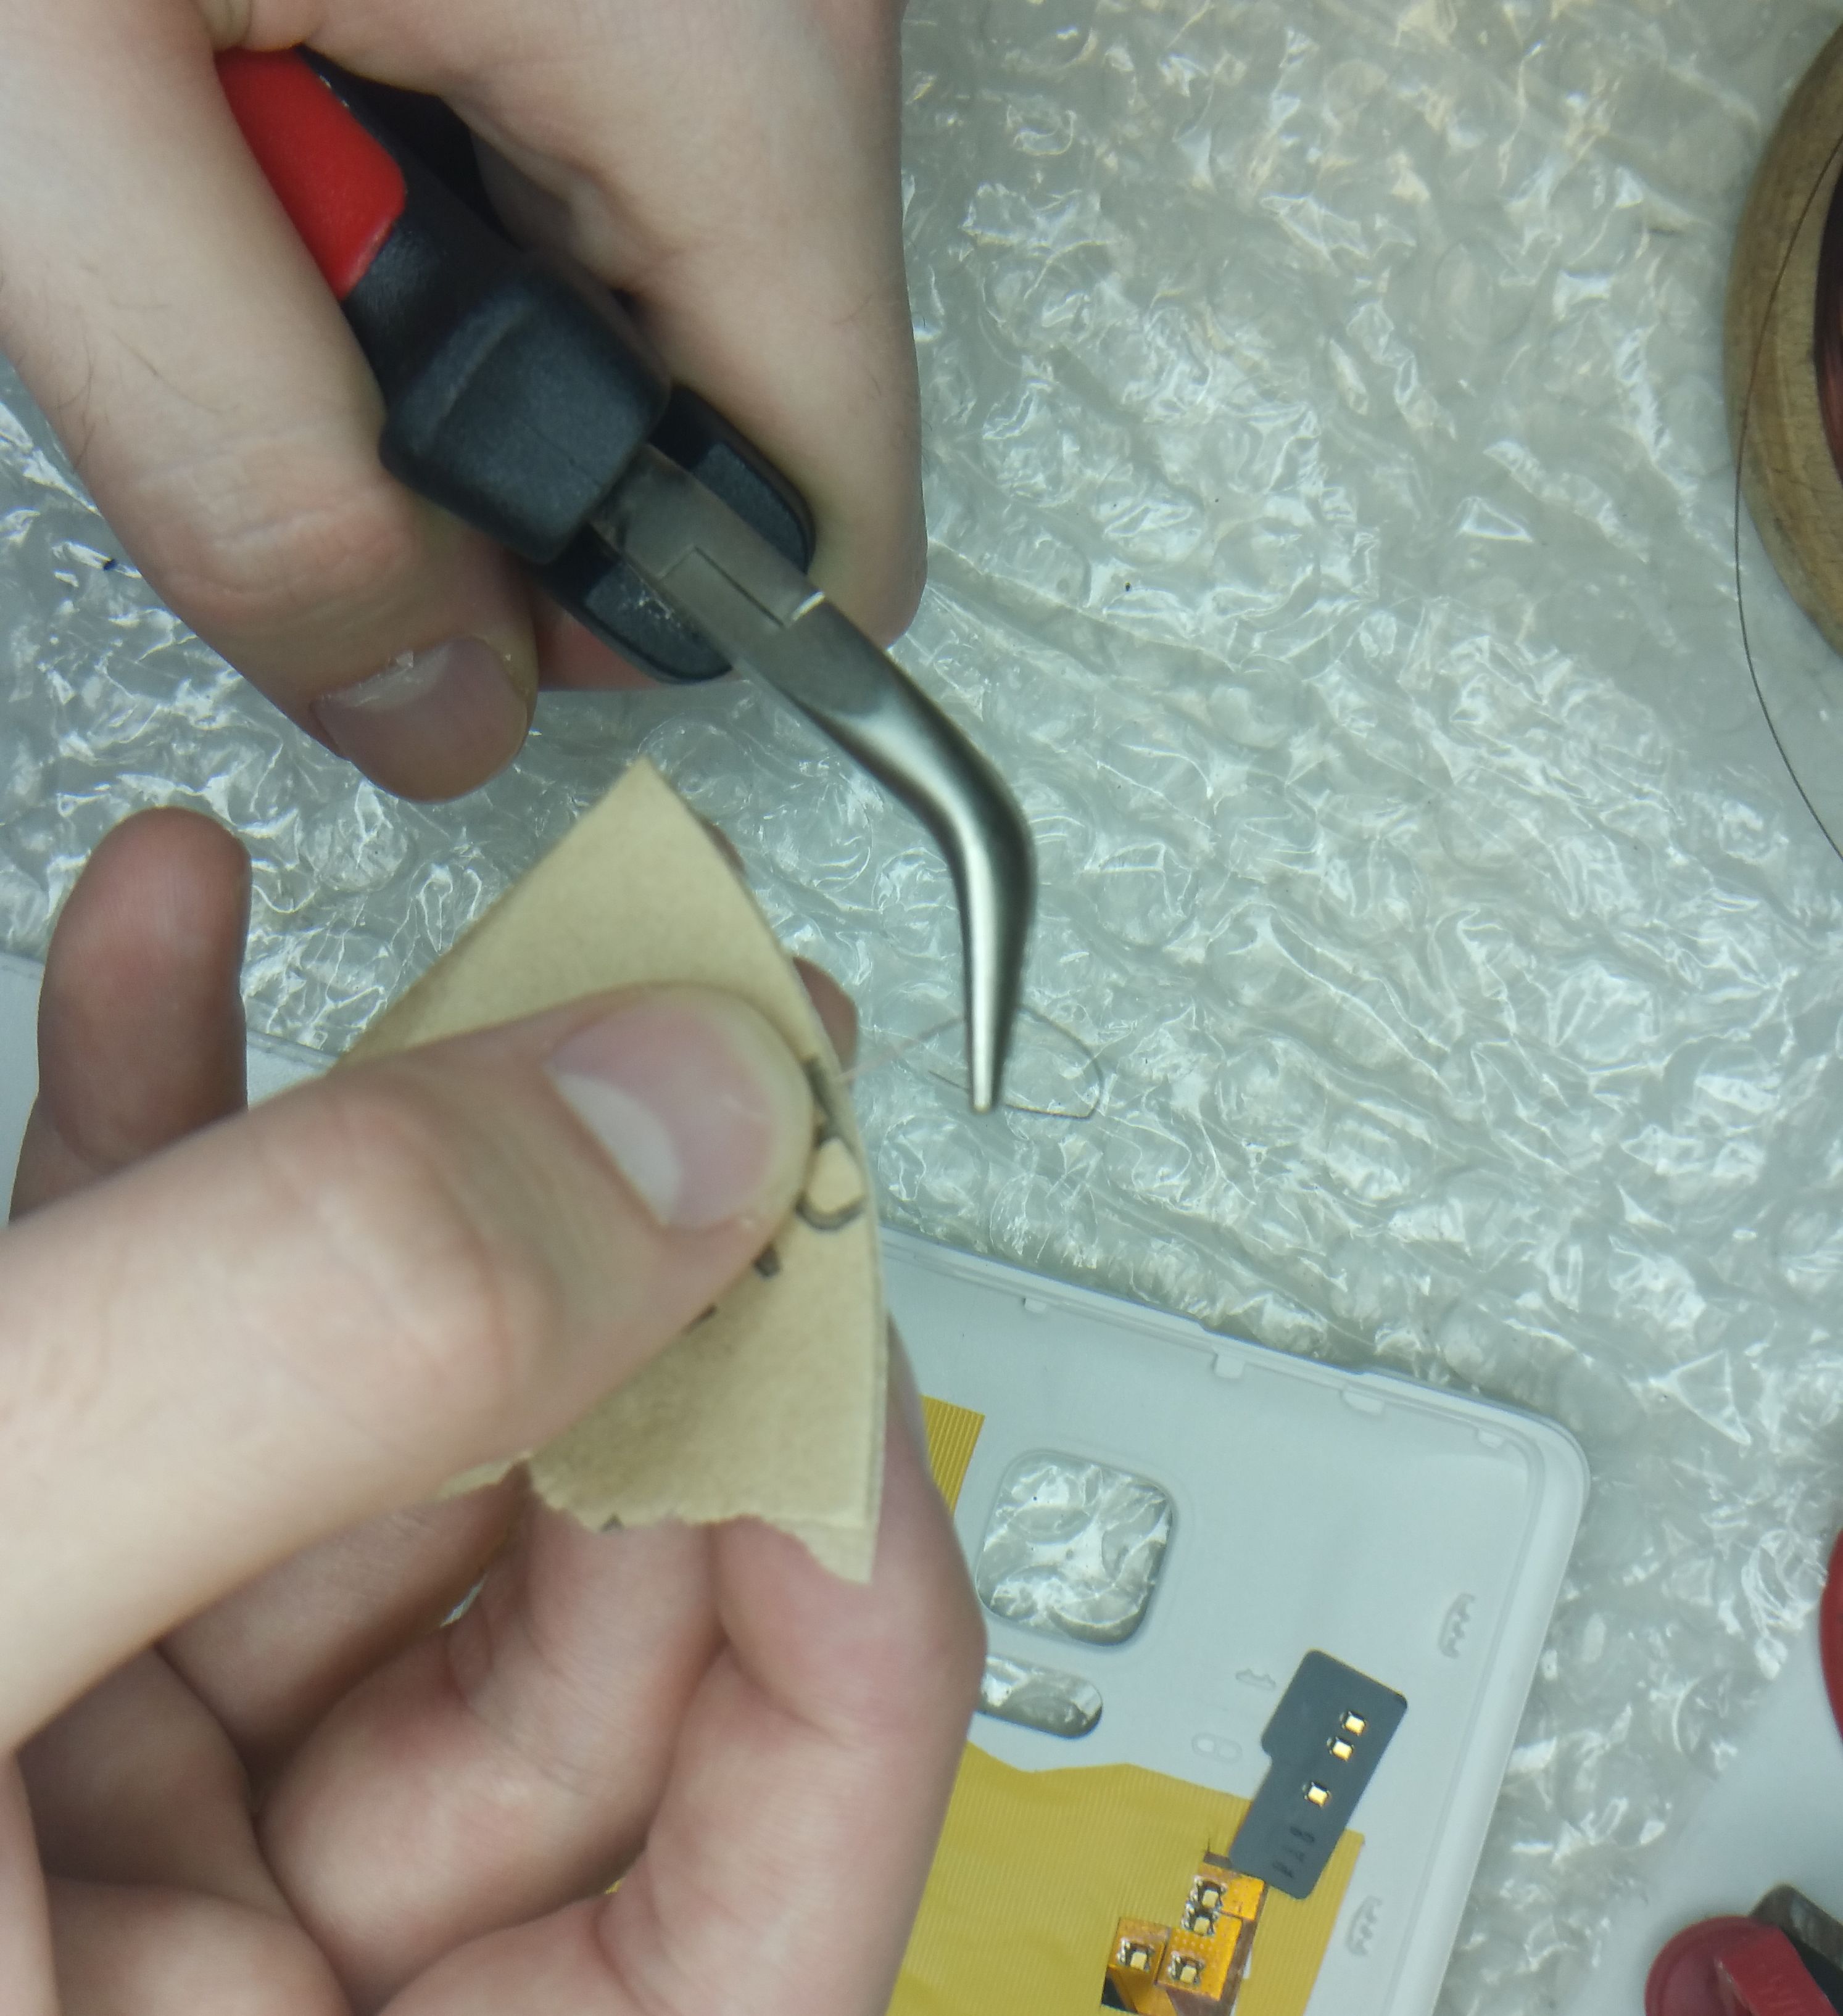
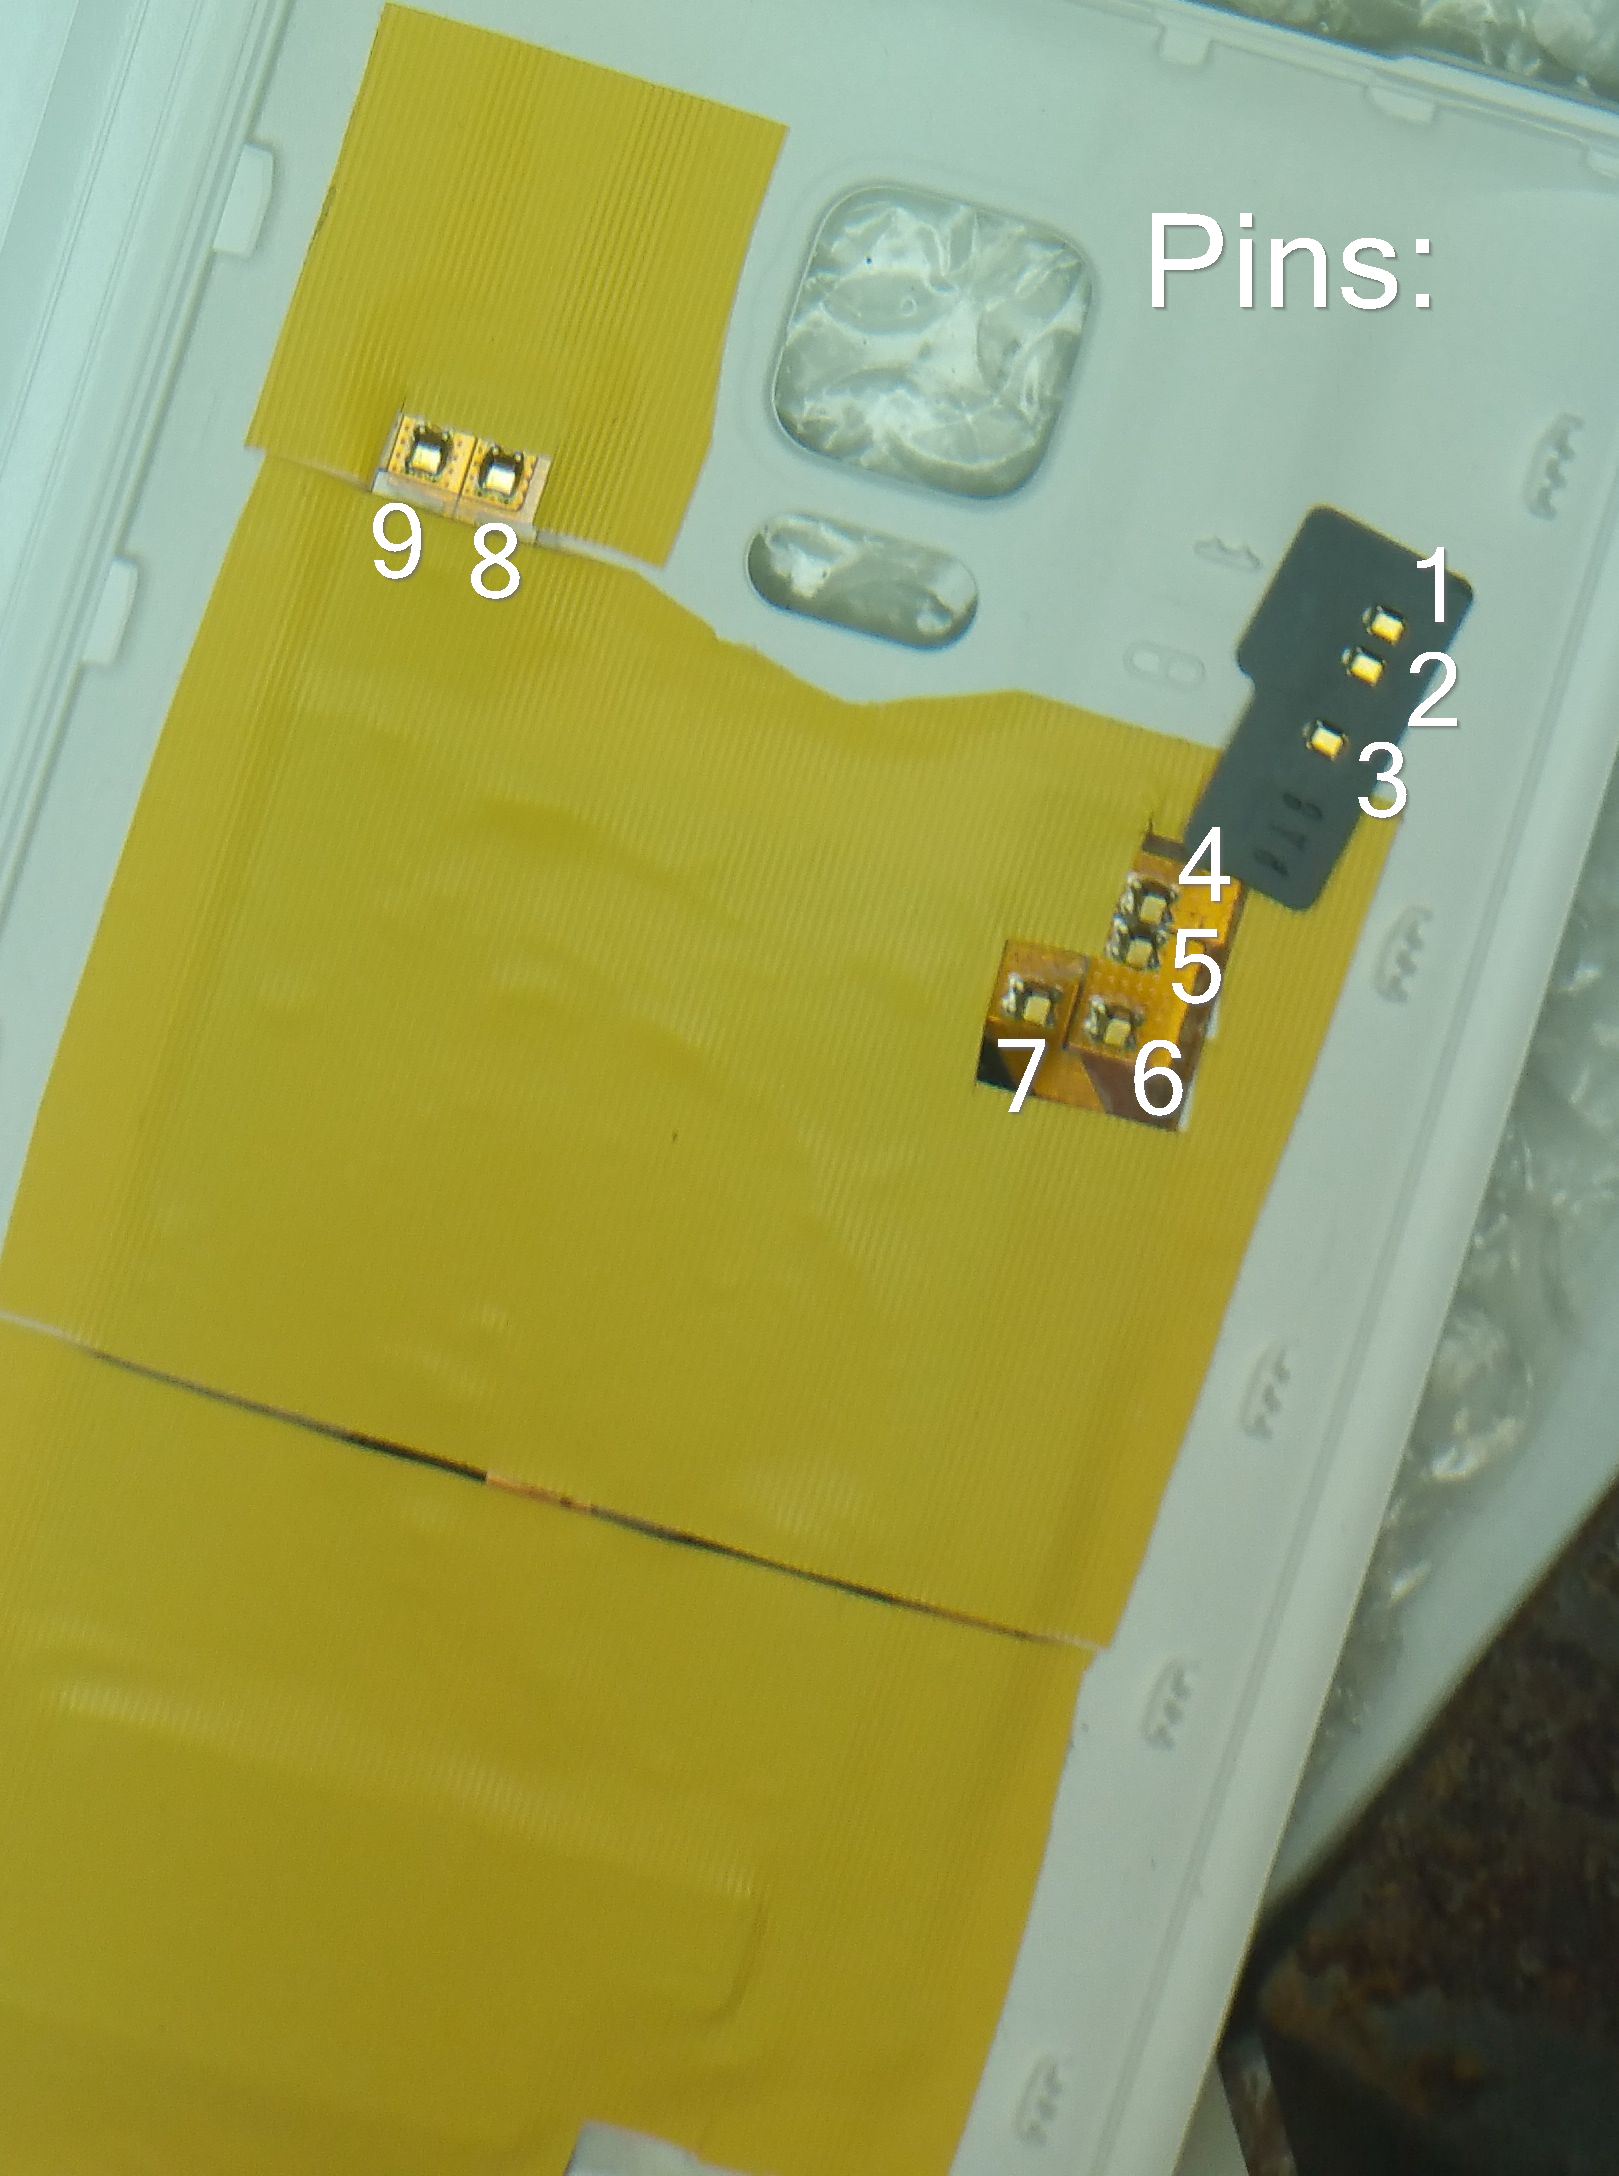
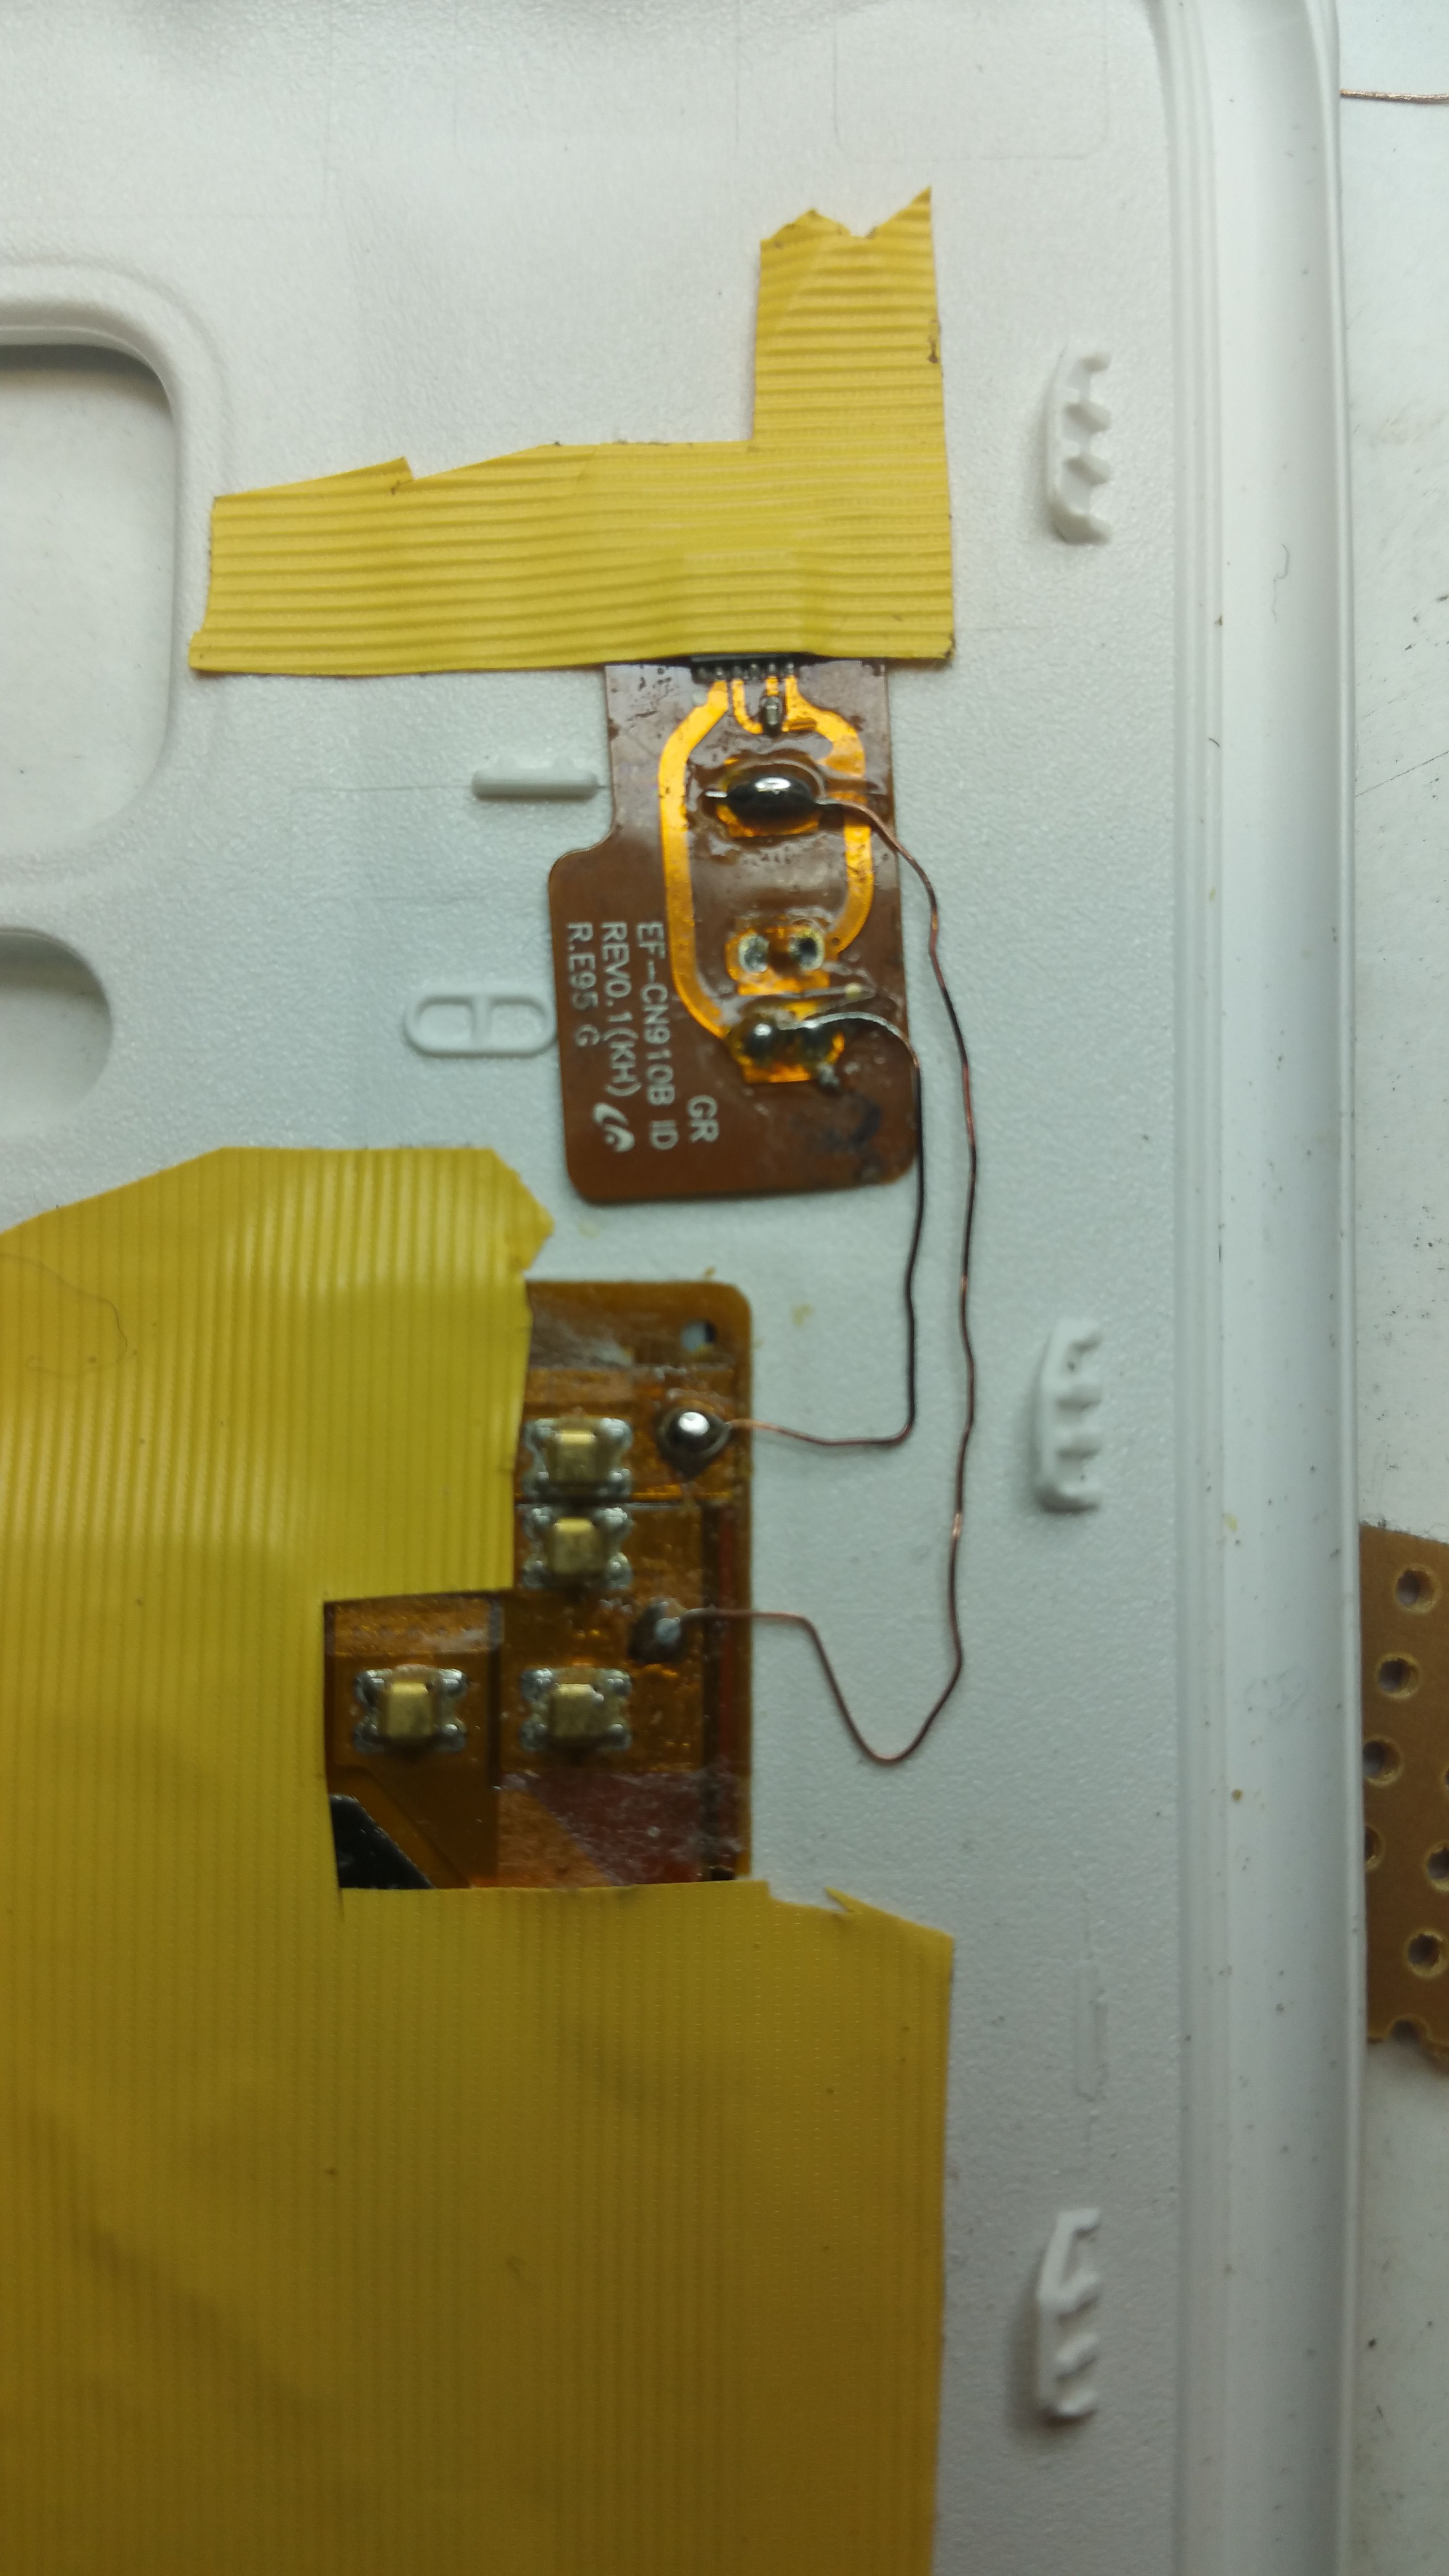
Step 5: Remove Pins 1-3
There is no place for the pins 1-3, so you have to remove them. You can try to desolder them, but in my case it does not really work. You can also cut off them.


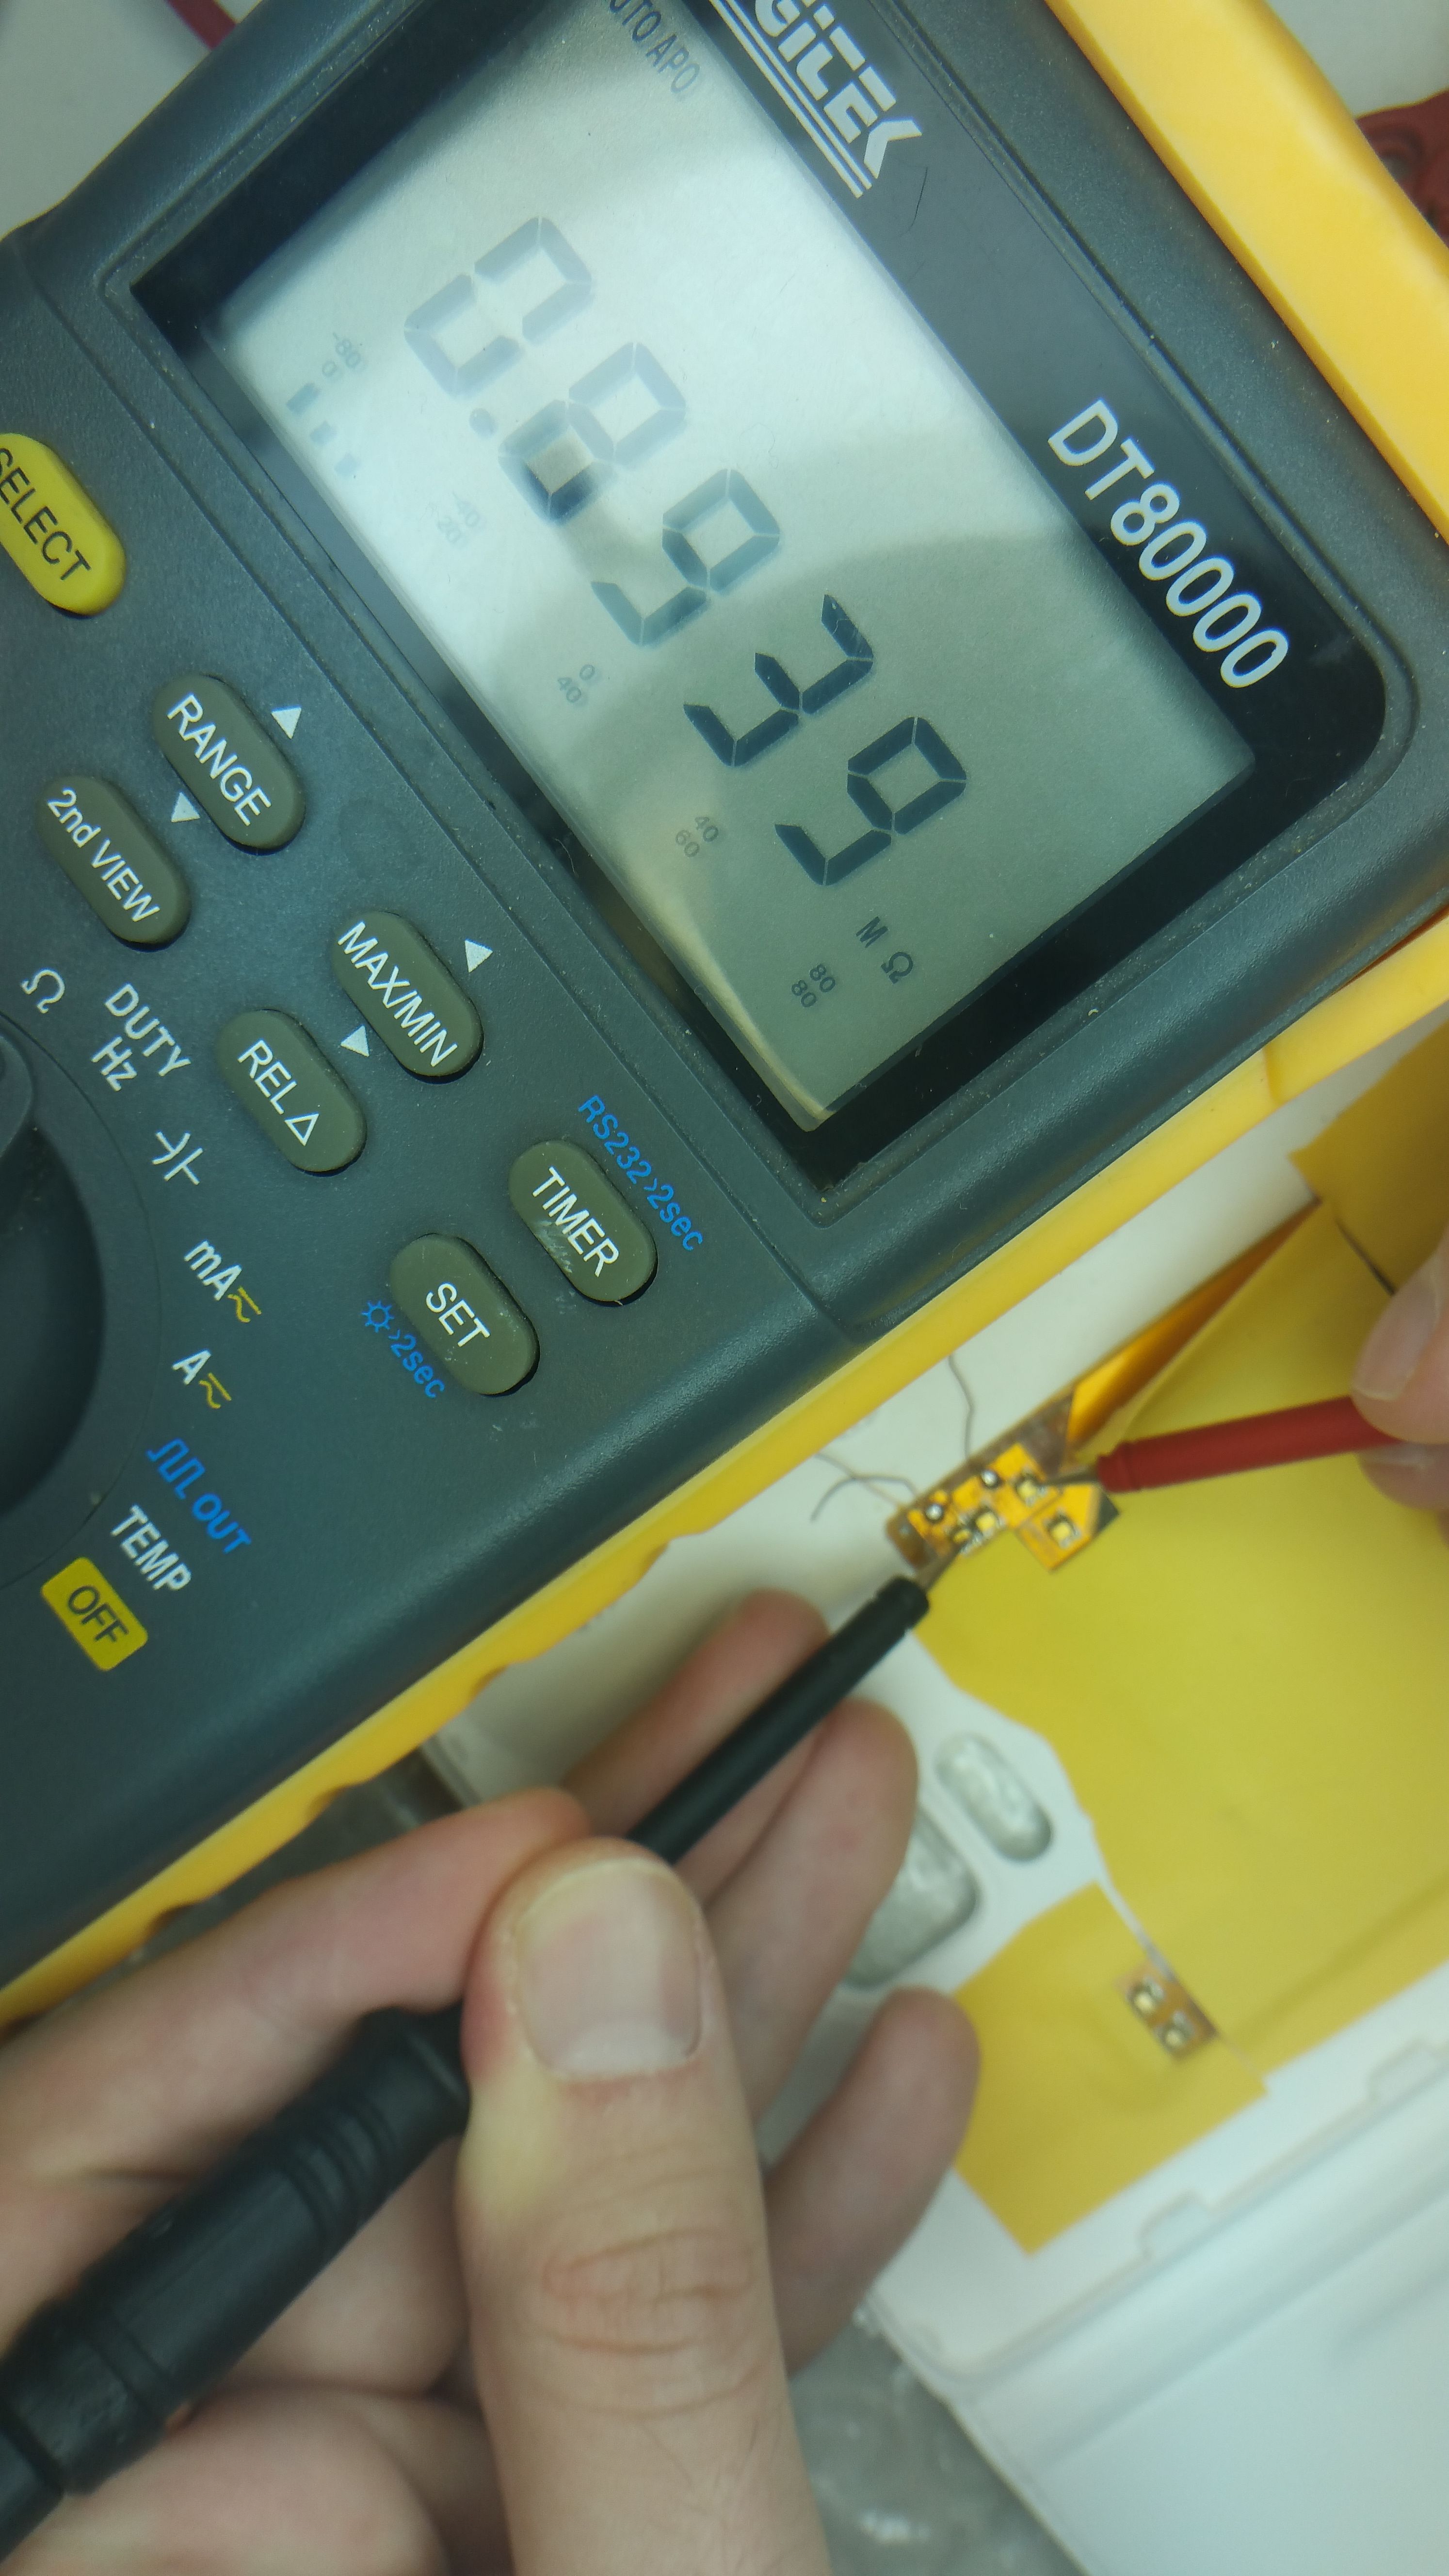
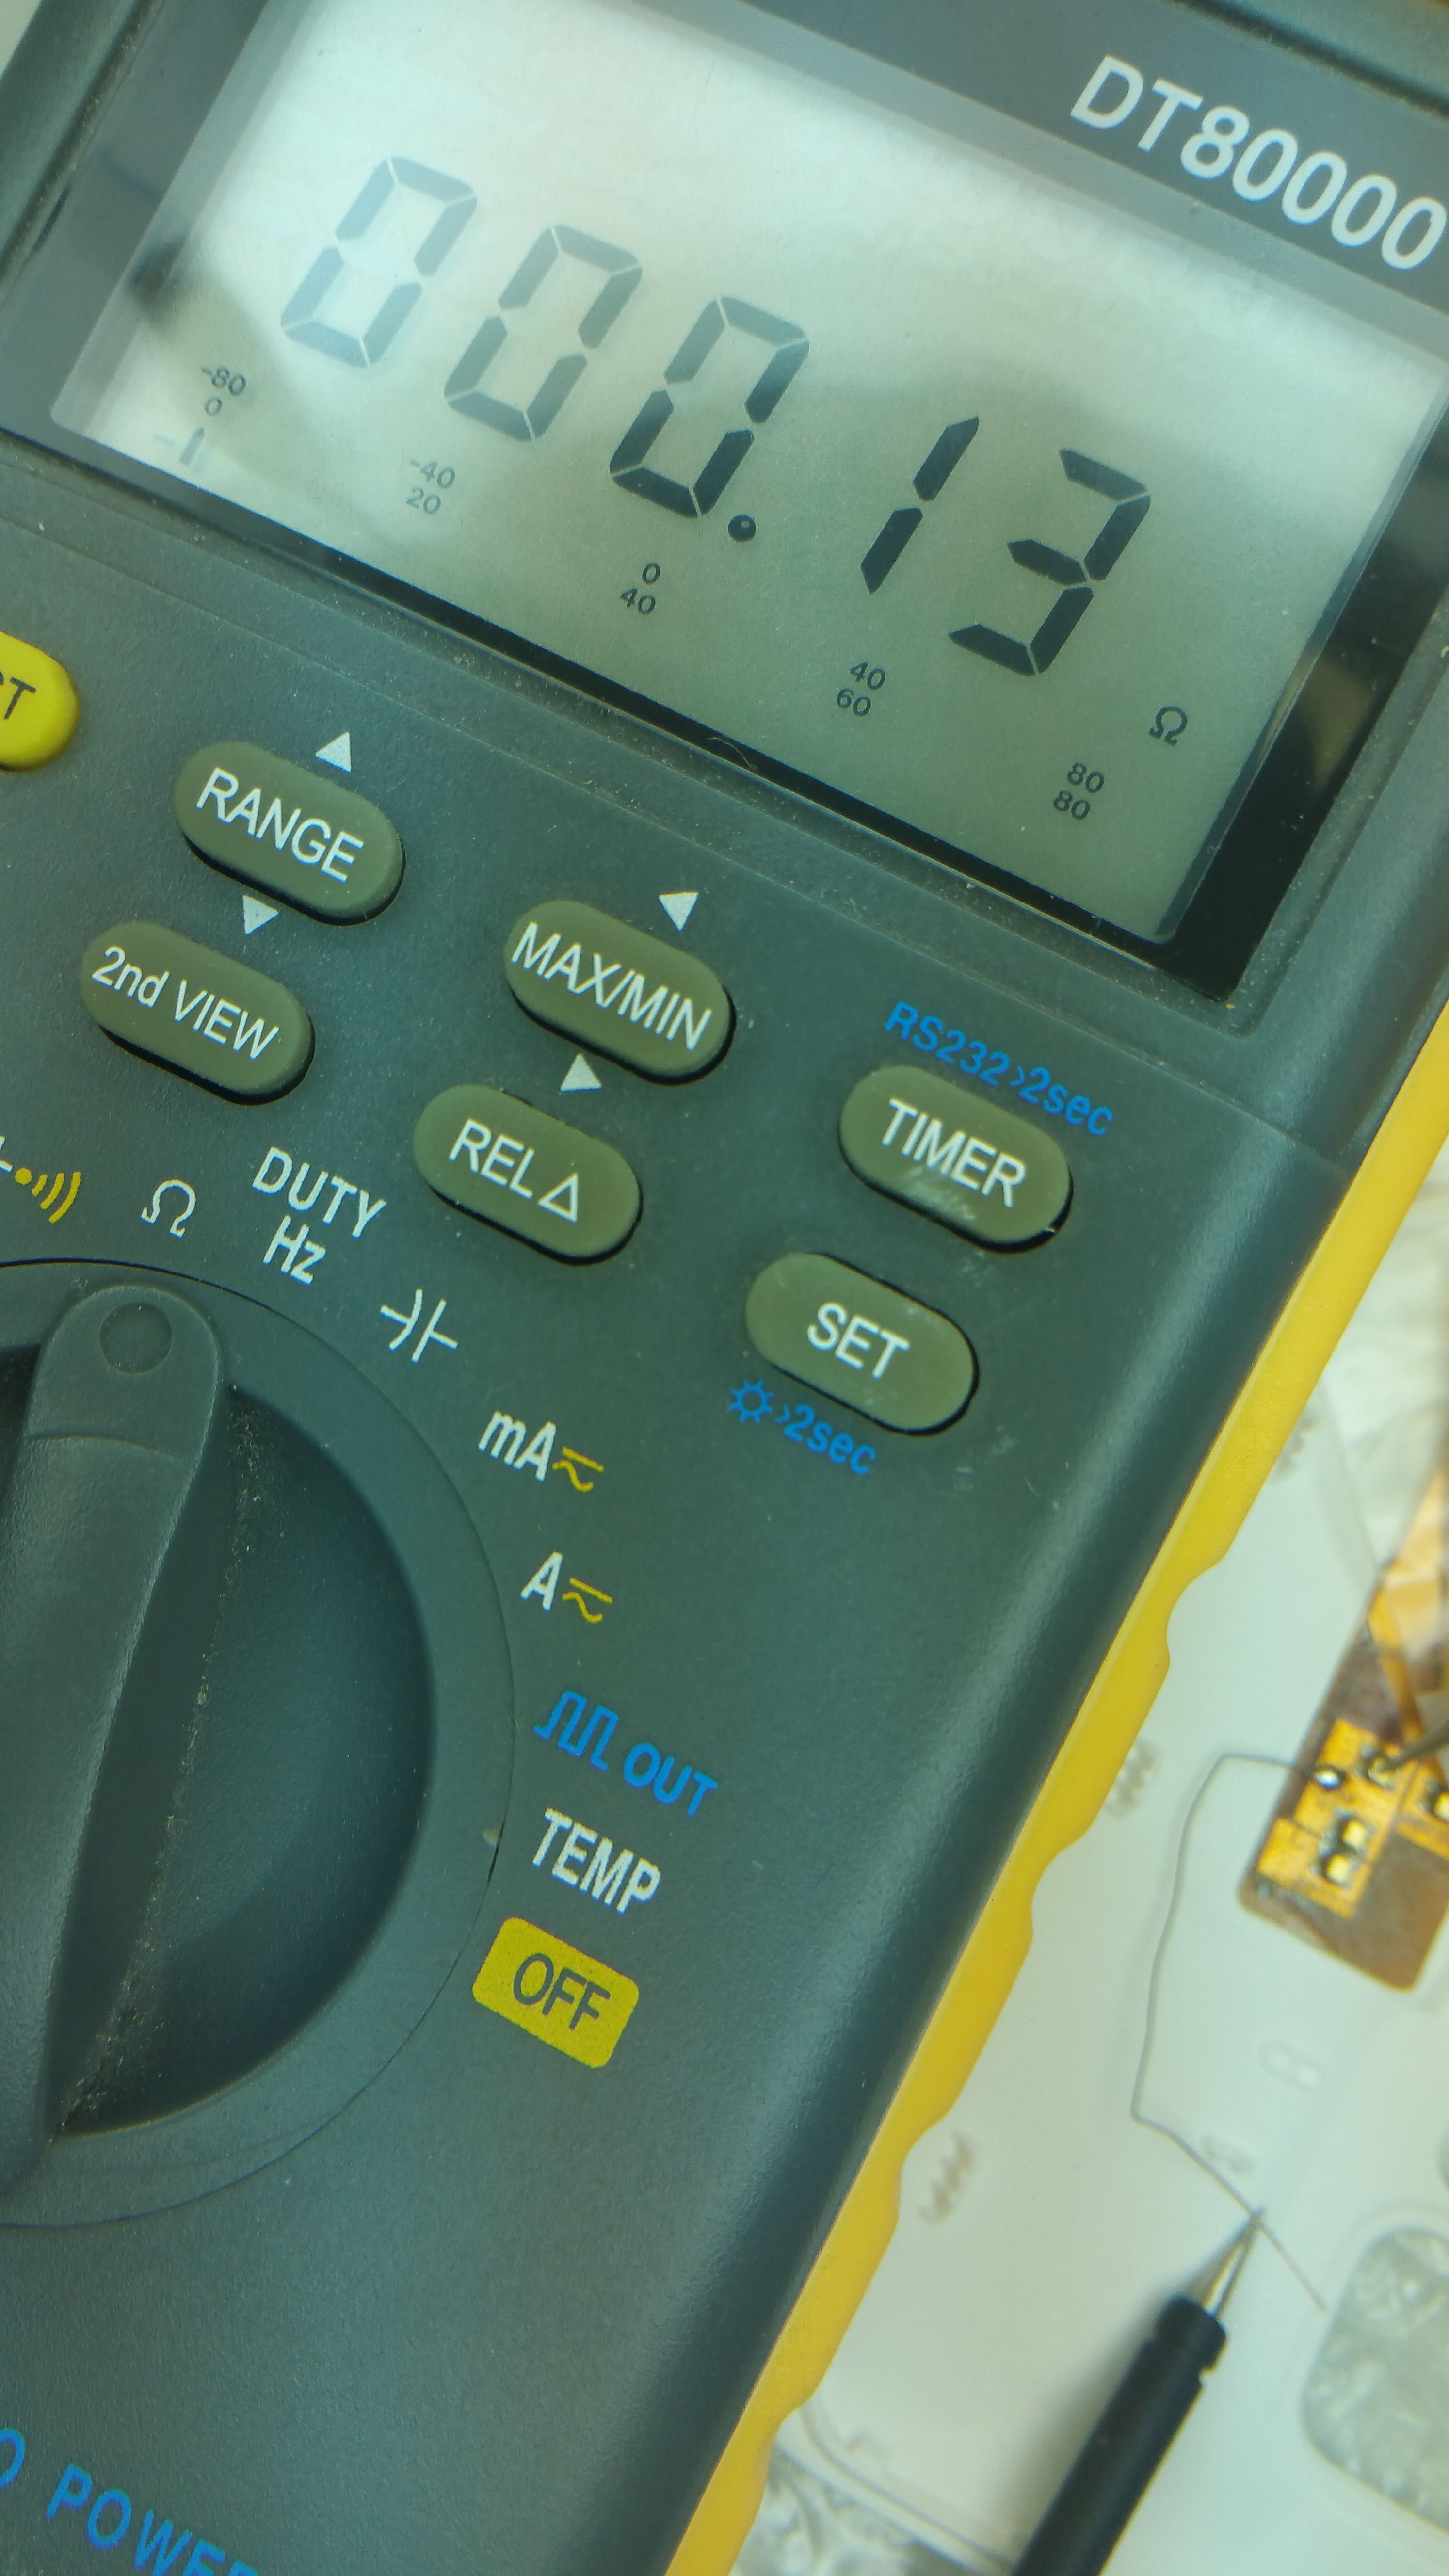
Step 6: Interrupt pin 4
Now you have to interrupt pin 4. Pin 4 is connected to the circuit of the coil, but pin 4 is needed for the on/off functionality of the flip wallet. A measurement will result in a very high resistance (~megaohm):
Interrupting it is quite easy because of the wire is direct at the border of the coil circuit. So simply cut off a piece:
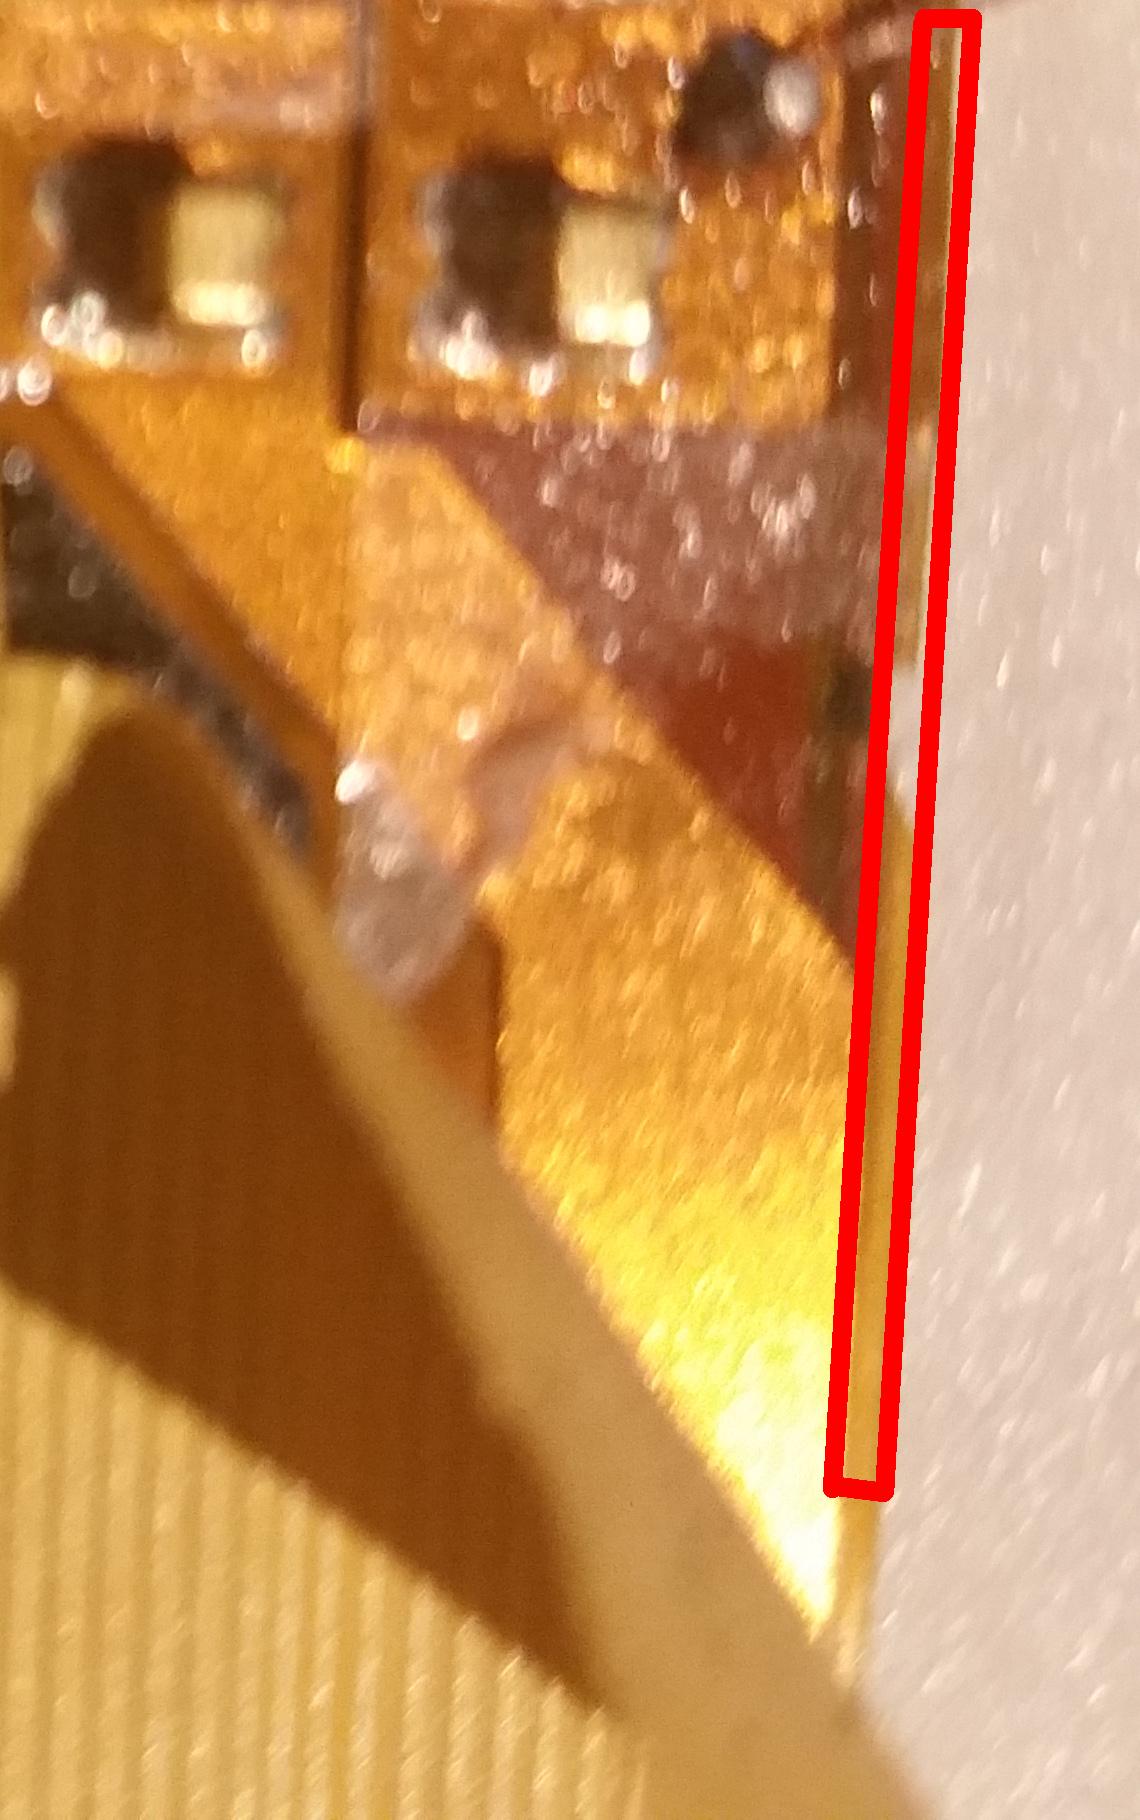

If do it correct, there should be no connection anymore:

(I am not absolutely sure if this step is required. I do not have tested it)
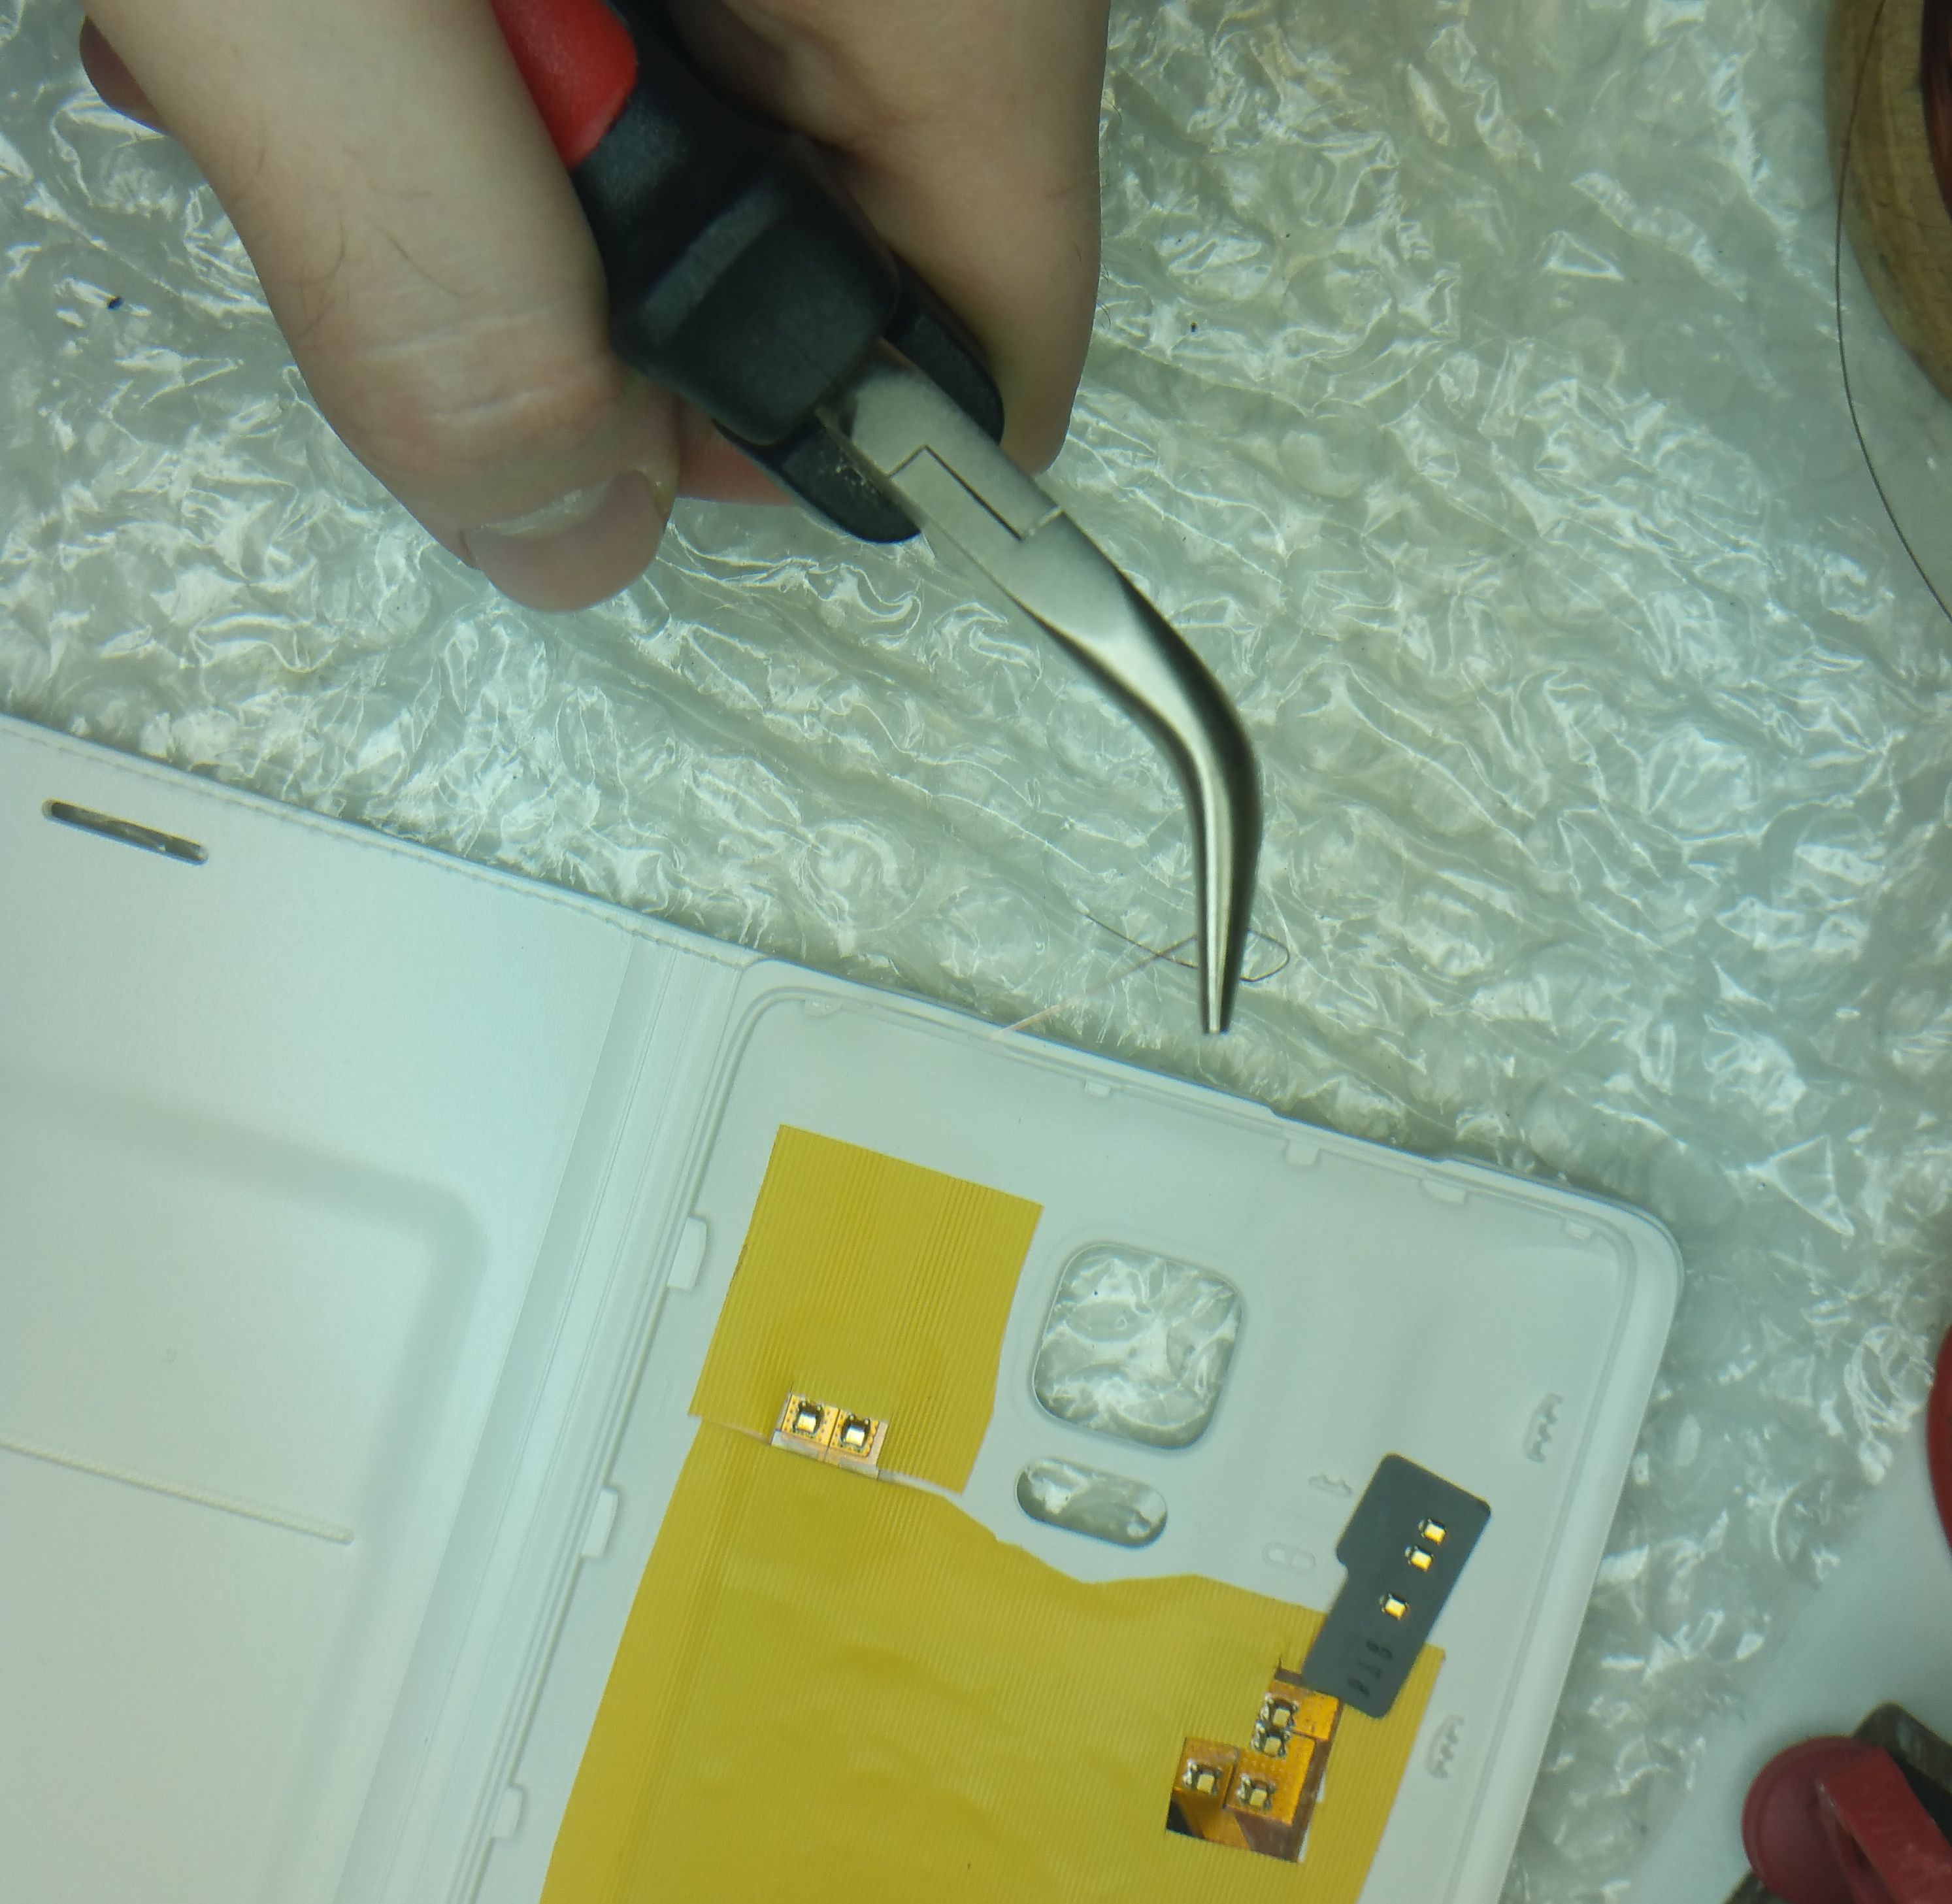
Step 7: Remove the protection layer
There is a protection layer on the copper to prohibit oxidation. Use a pointed instrument to remove a small circle of it, so that the zinc get a connection. You need two connections for pin 4 and for pin 5/6:

Make sure you have a proper connection:

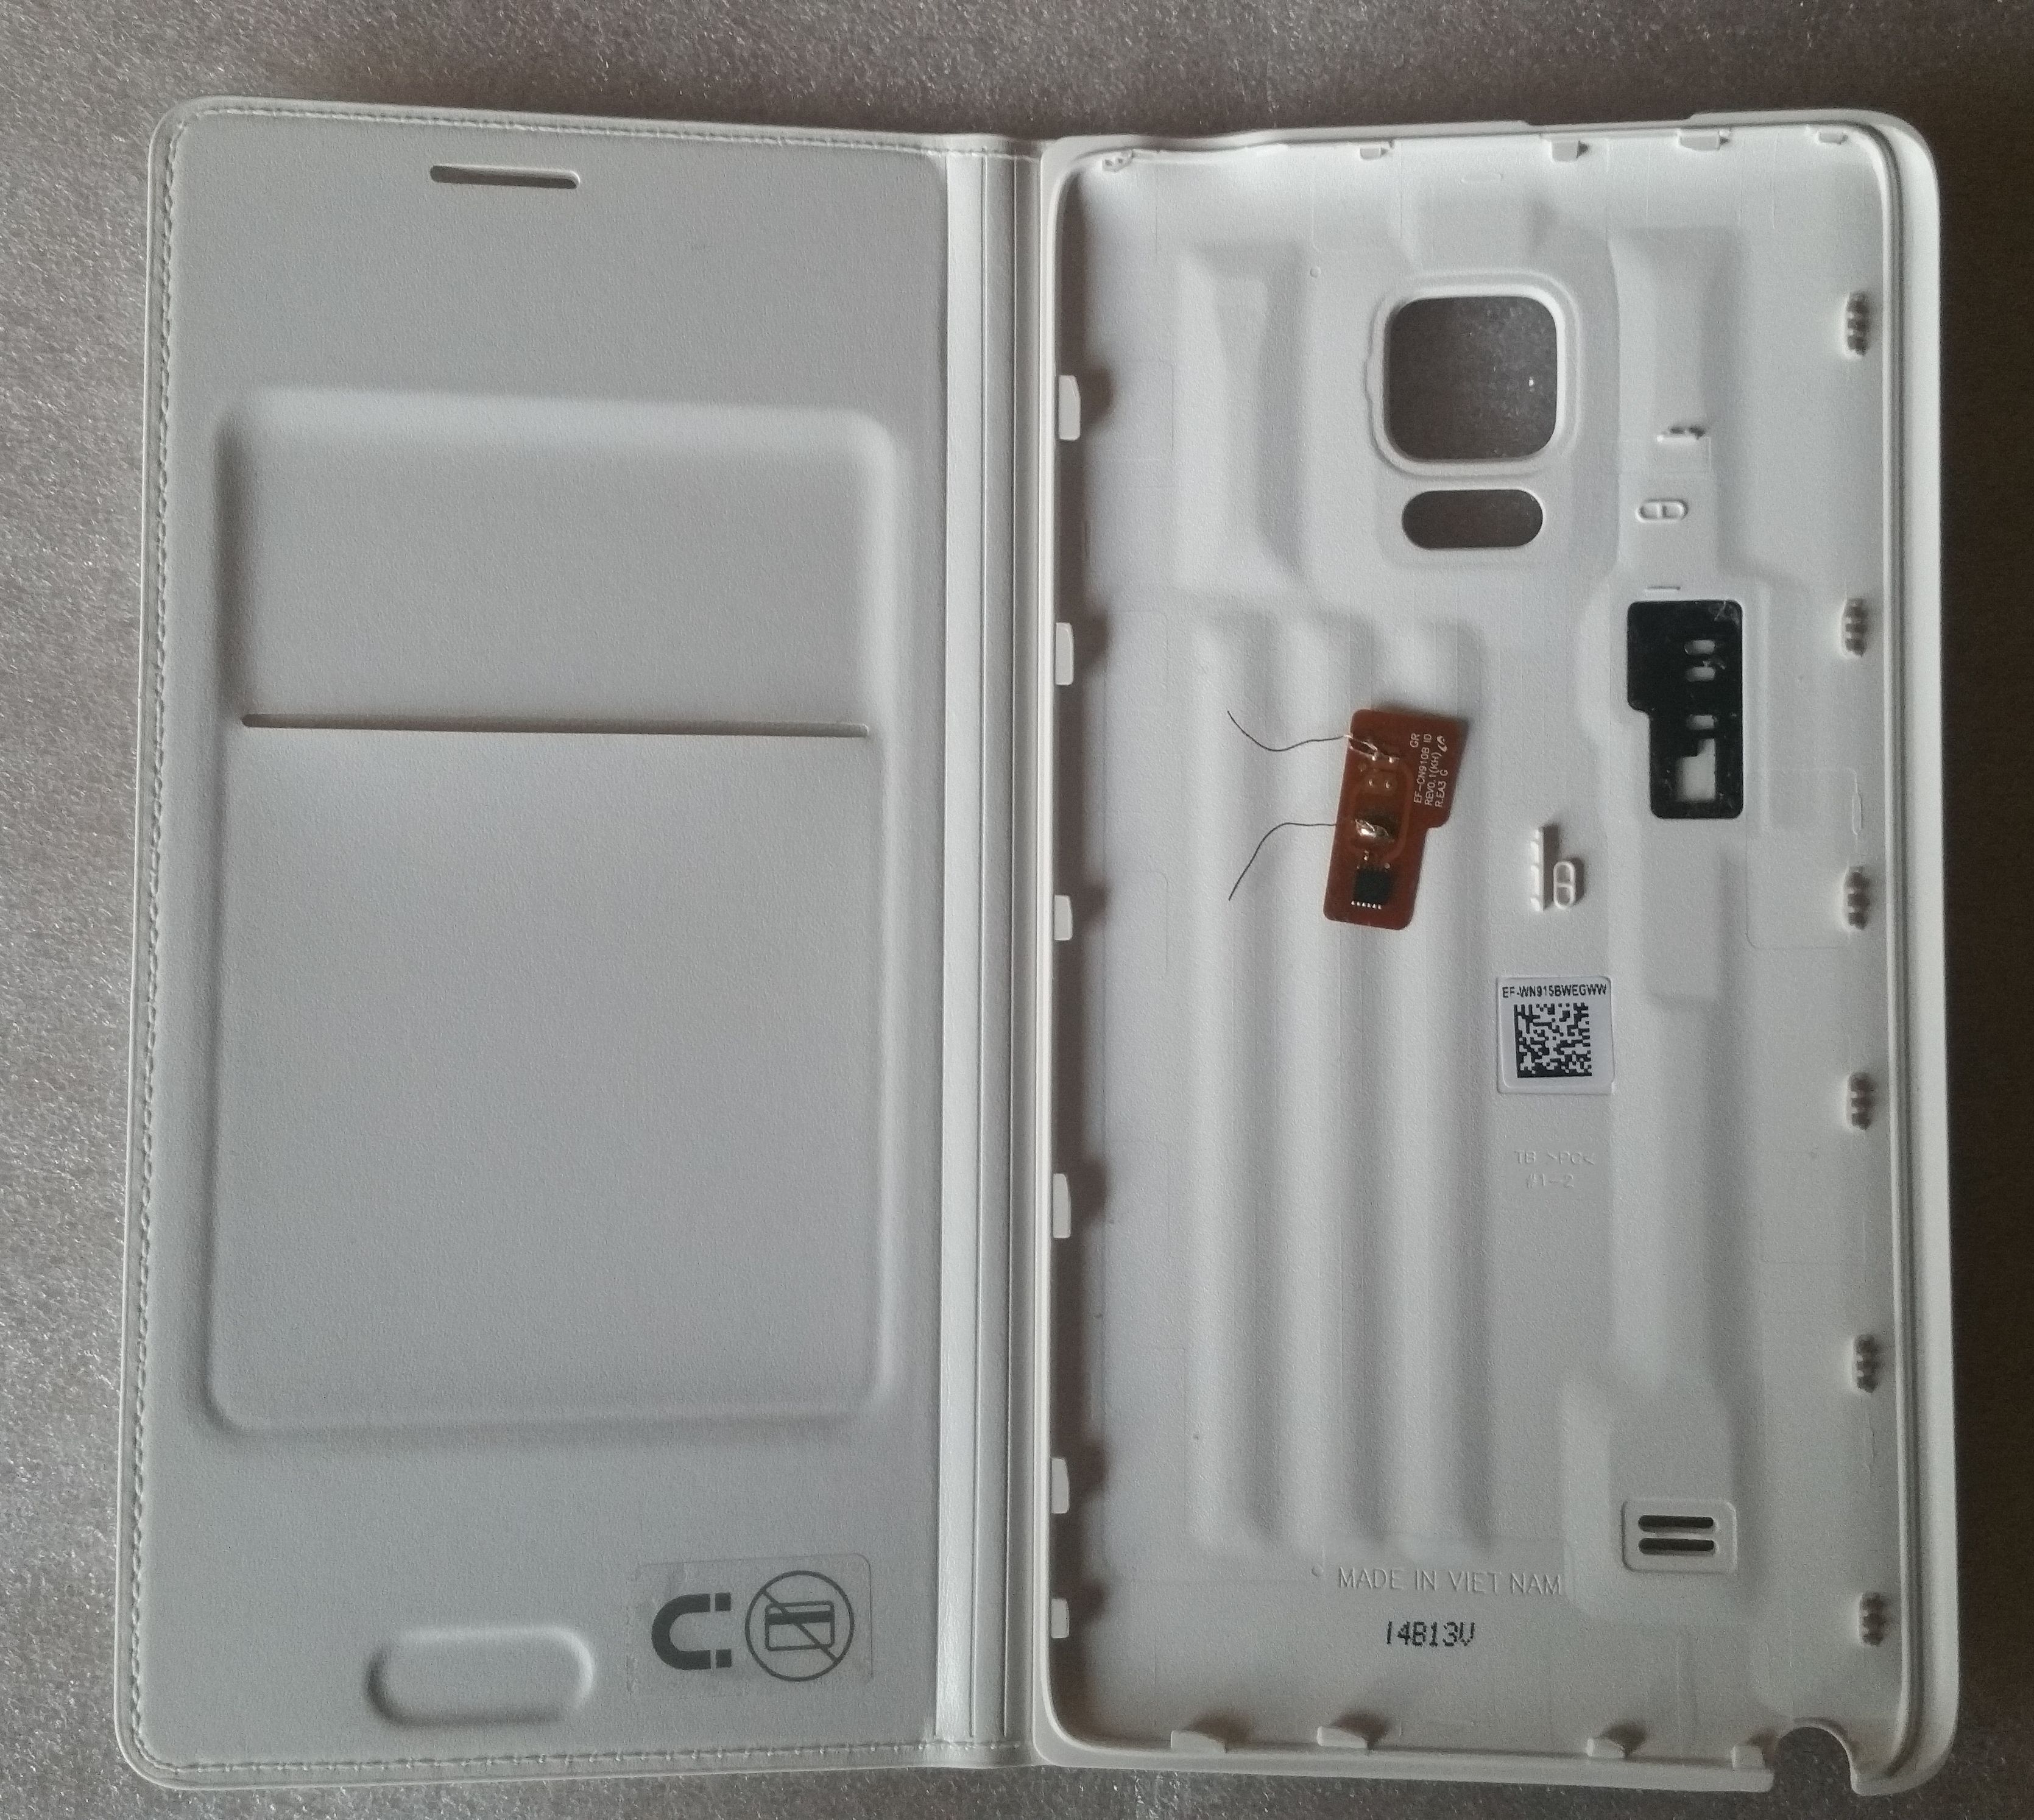
Step 8: Connect the two circuits
Now connect Pin 1 and Pin 4 as well as Pin 2/3 and Pin 5/6. Test for a proper connection during your work:
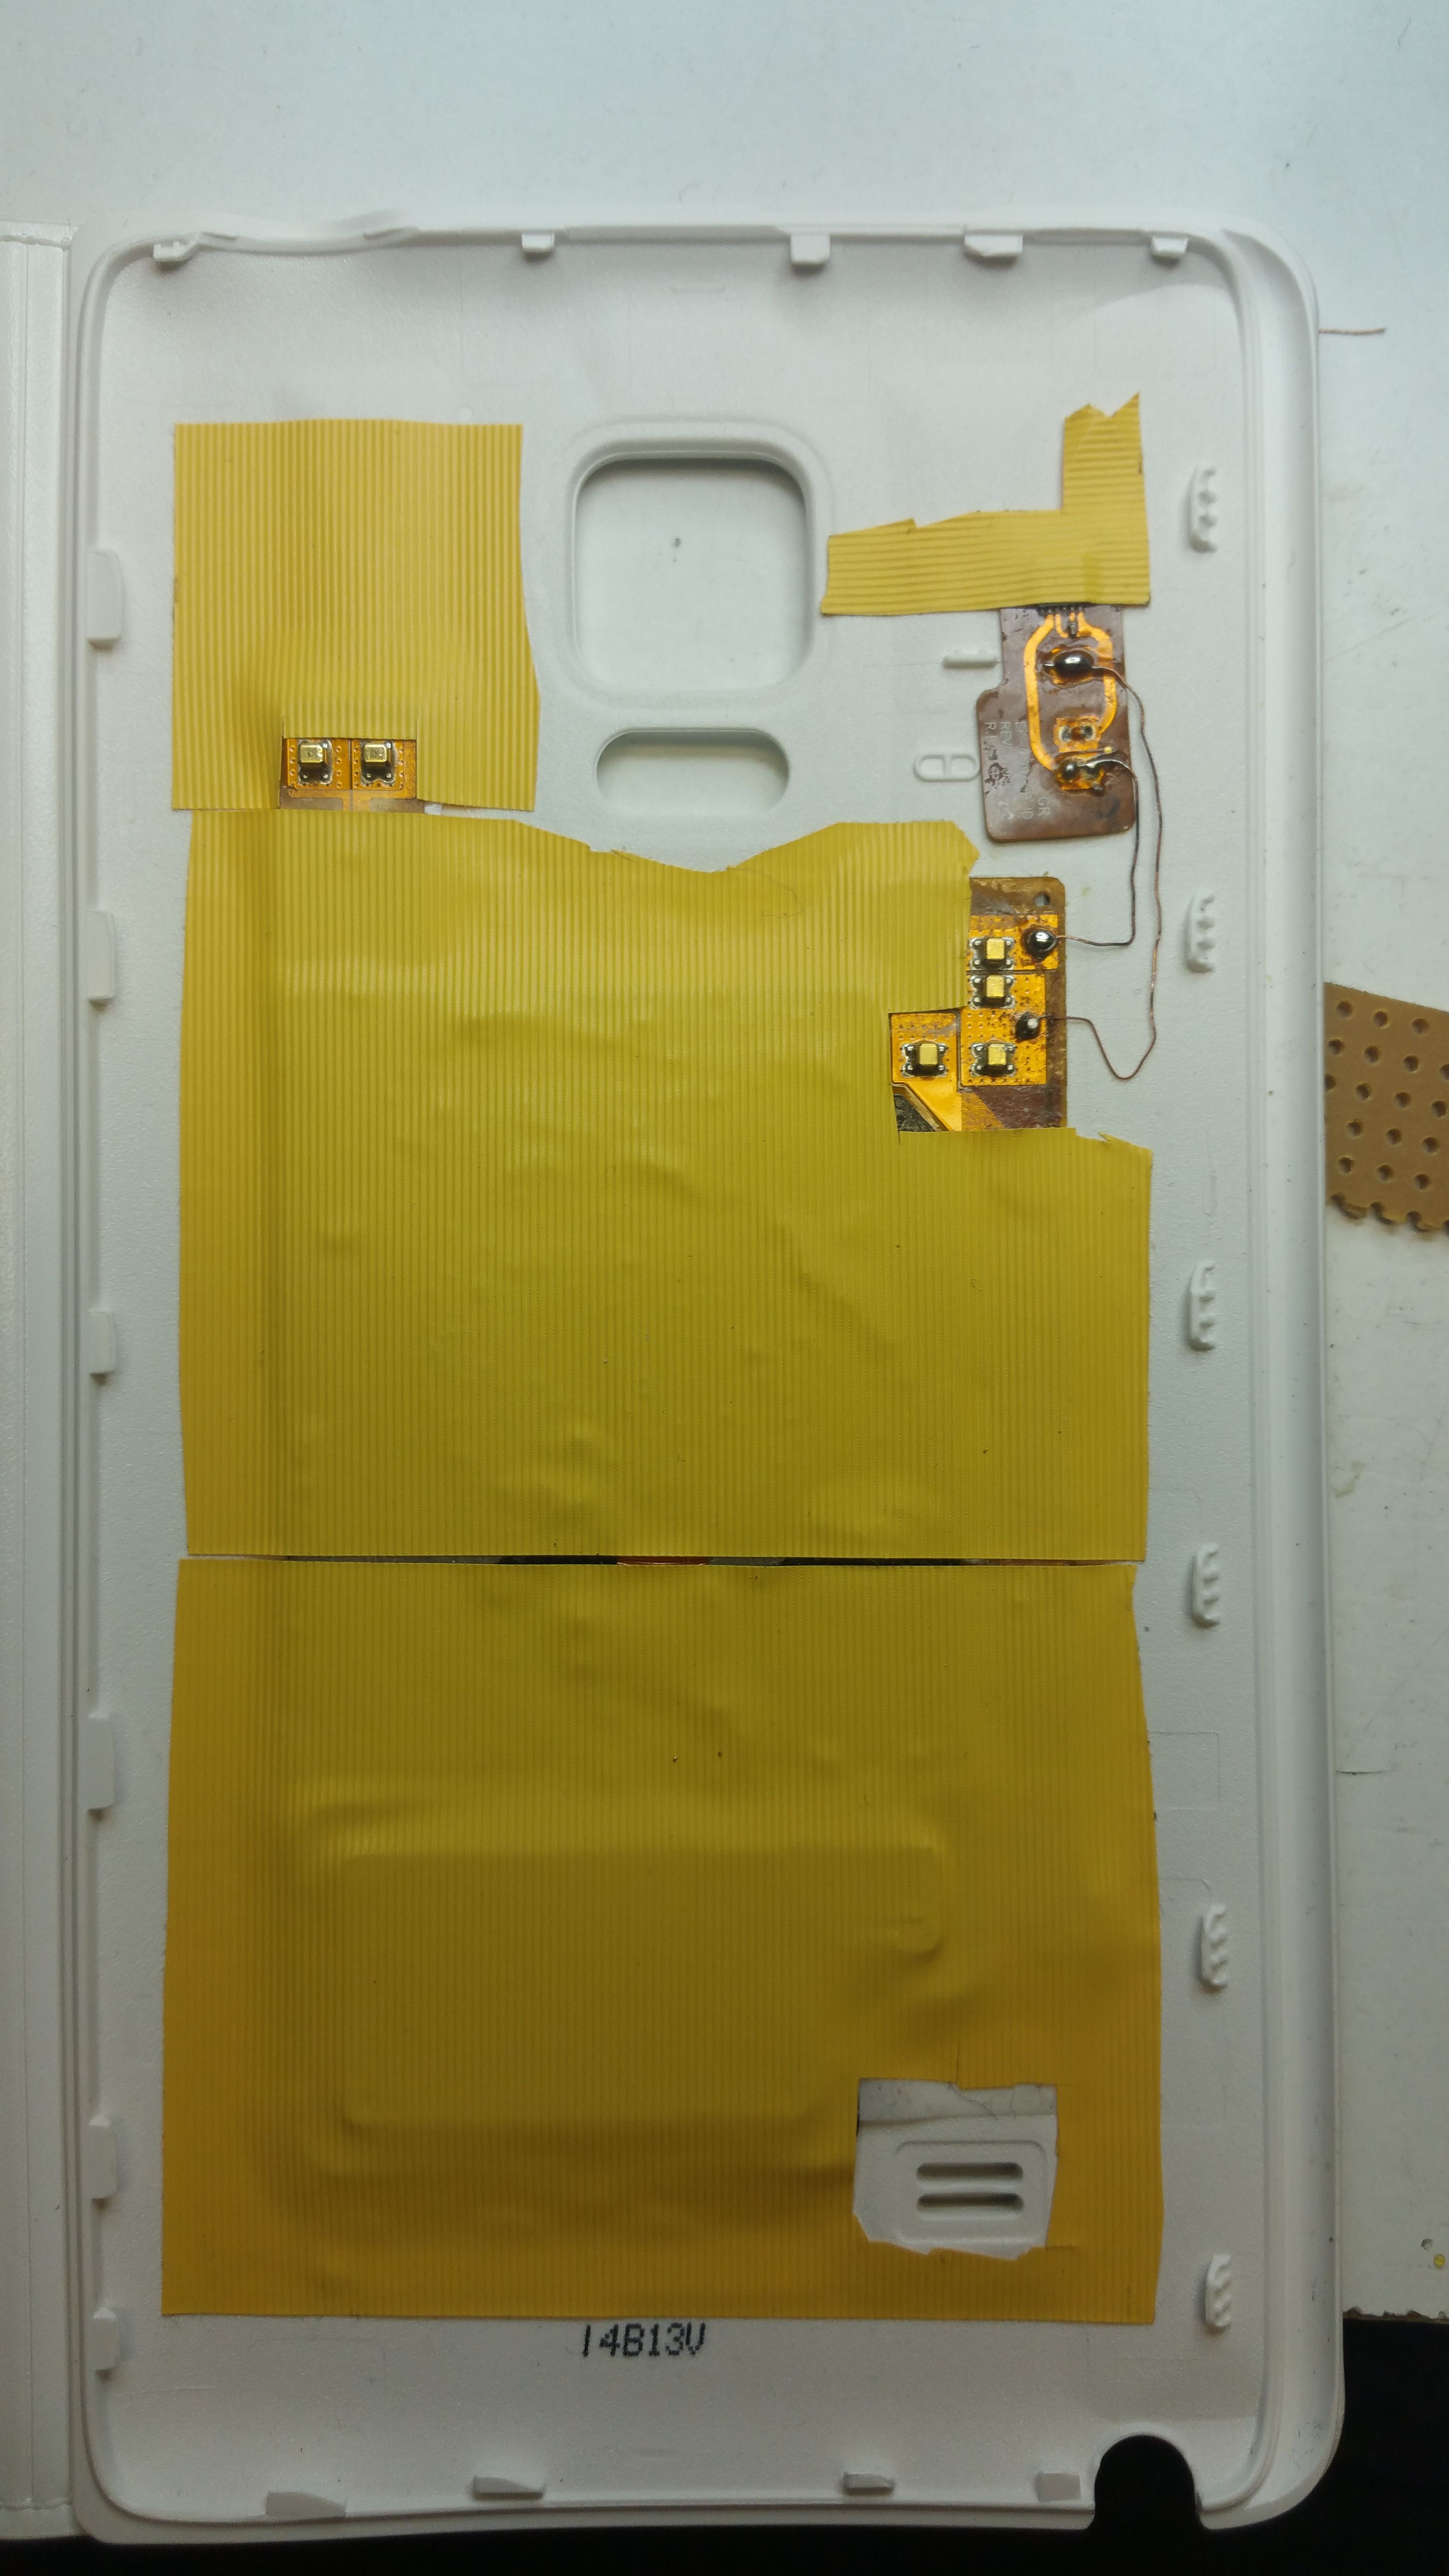
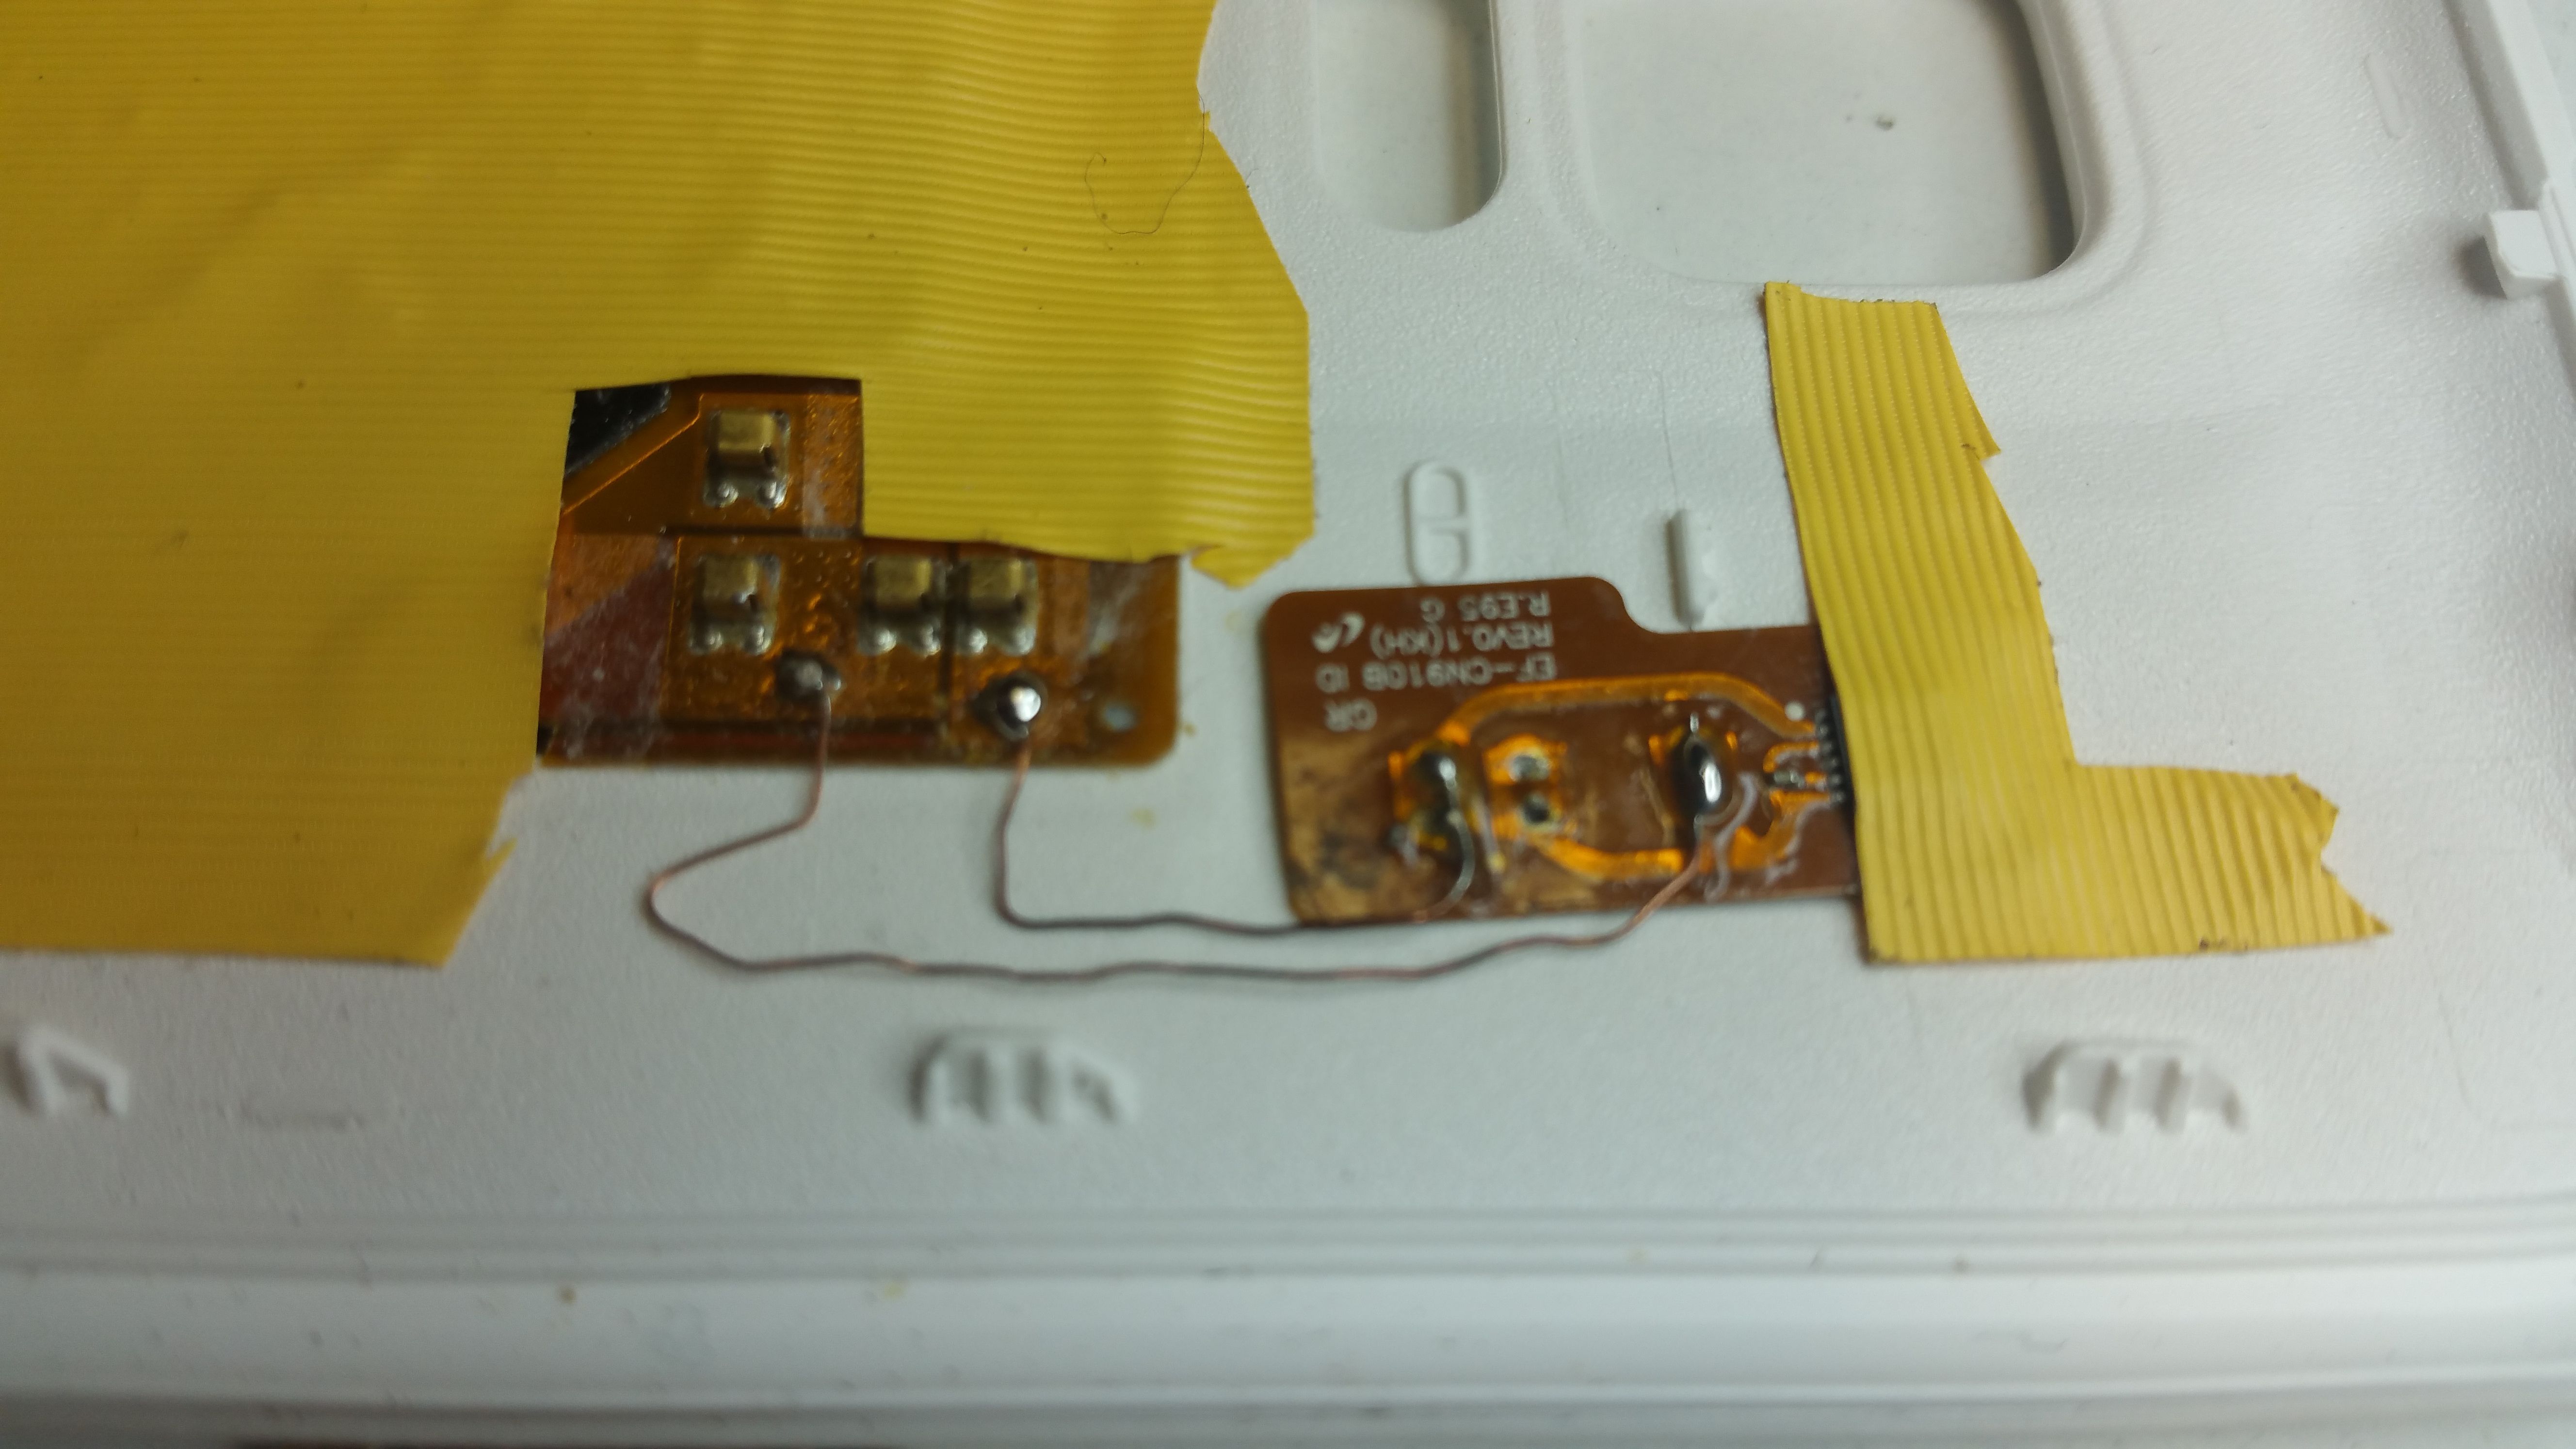
Step 9: Fix the small circuit
At least fix the small circuit with a two-sided adhesive tape and protect it with a film or tape:


Finnish! now the wireless charging and the on/off functionality should works!
Remarks
There are two alternatives which try to put the pins 1-3 over the pins 4-6. You can find the first here (pictures here) and the second one here.